I was struggling with this achievement for a while and couldn’t find any specific information on how to get it. Sharing my knowledge for those who need it.
How to Obtain The Hanged Man Achievement
Requirements
The Hanged Man
- Complete Port using only a taser, flashbangs, and bash.
Overview
“The Hanged Man” Achievement requires us to complete the Hide and Seek (Port) mission in either Commander or Practice mode with only the Taser, Flashbangs and the Bash (Melee).
Walkthrough
Firstly, just to clarify, Bashes refer to Melee hits (binded to B by default iirc) NOT Battering Rams, etc.
What I had equipped when obtaining the achievement:
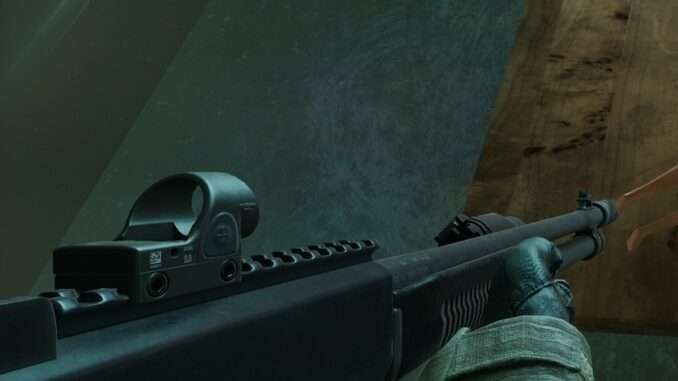
- Beanbag Shotgun
- Revolver
- Taser x 6
- Flashbang x 5
- Heavy Armor (Full) (Ceramic)
- M320 Gas
- Helmet Only
I italicised 3 of the above variables because we won’t be using or touching those items anyway. With information I got from my mates, they didn’t seem to affect the achievement as well.
I had the Taser equipped whenever I wasn’t switching to throw Flashbangs. When Bashing, I had the Taser out as well.
I strongly suggest you equip the AI with strong Lethal options such as the P90 as they will be doing most of the legwork.
Most importantly, you MUST hit suspects with the Taser, Flashbang and Bash (Melee) a minimum of THREE times each. So that’s 3 Taser stuns, 3 Flashbang stuns and 3 Bashes.
You DO NOT need to hit a different suspect each time. I literally just kept bashing surrendering suspects that I had already tased and got the achievement.


Managed to finish the mission after the last update, AI officers seems to be slightly better. Still some retry because long distance gun fight is still kinda bad, you can’t micro them so if they are frozen under heavy ennemy spray it’s not good. My setup was 1 taser (makes 8 shots), 10 flash, so everytime it gets hairy I toose a flash. Got the achievement even if I didn’t punch baddies, multiple use of taser and flash.
Got the achievement on first try, brought 3 flashes, 7 tasers and AI teammates with lethal weapons. Arrested a few suspects here and there, used up all the flash with G and 2 taser mags. One of my teammates even died, but finished with B rating. Not a soft finnish, collected everything and reported all objectives.
Took me roughly 3 hours to get this one bcs of Sueños gods hating me or whatever,….
My loadout consisted of: couple of flashes & taser with 2 extra mags. By bashing I thought that I can take shield with me and use it, appearently it was not the case. The run when I managed to get the achievement, I had my shield equiped in my loadout, but never used it. I also had my ballistick mask on, as well as heavy ceramic armor with both front and back coverage. Used no restraining, bcs I was convinced that some runs I failed to optain the achievement were caused by me restraining suspects or civs whenever my AI teammates acted buggy and refused to do so. My AI teammates ran with whatever weapons I gave them few missions back. All they did was moving and clearing rooms or areas at which I pointed to. FYI…. 3 taser stuns nor 3 flashbang stuns nor 3 bashes were required for me to achieve it. Good luck 😉
what is bash?
Bash is the quick melee which is binded to B by default if I recall correctly.
I was able to get the achievement with the ballistic mask.
I recommend your teammates have 6 rifle mags, 2 pistol mags. They will be shooting a lot.
You do not need to hit people 3 times minimum. 1 Taser is enough, or a teammate’s bullet is a-ok.
I used quick throw (pressing g) for flashes.
I primarily used taser and flashes.
My teammates did not use anything but pick lock, and flashbangs.
I also noticed that if you equip 6 tasers, you’ll only have 4 in the field. Probably a bug.
I highly recommend you abuse alt-lean to rapidly peek corners without getting beamed. I believe your hit-boxes are weirder (good thing) when alt-leaning.
I’ve tried this achievement couple of times. The last time I followed the guide and finally got it. Remember to remove your googles and gas masks! Also remember to use flashbang, tazer and bash at least once.(Don’t use quick throw!)
Just got it after hours of trying. The kicker was to carry a shield and have the squad AI fall in behind me for half the mission. This allowed enough of them to survive to the end so I could direct them to take out the suspects without me having to fire at them. I tossed a couple of flashbangs, none using quick throw, when moving through larger areas, and didn’t use the bash or tazer at all. I had all of the team equipped with ballistic masks and lethal weapons.
Well, I got this achievment. Had to complete successfully this level six times.
I removed all antiflash googles. Also I didnt pick locks even by the squad. Used tazer, bash and flashes on the suspect three times. Didn’t use any tactical devices even by the squad. Don’t equip your squad by the shield
there is an issue:
1 taser = 4 cartridges = 8 shots
I think you can’t have more.
Also: Bash with Taser = electro domination 😛
I’ll add. Many attempts where I thought I’d do well appeared to be bugged out by the AI squad identifying a faker, who they would not cuff. The AI would just scream at the faker and not execute any order. When I invariably decided to cuff, I did not clear whatever the arbitrary conditions are. In sum, forget about bash, forget about bang, just use the taser maybe once. Everything touched in the level save for the shipping containers should be something your squad does. Also, I removed all shields and gave them breaching shotguns which I never ordered the use of. Only kick and open.
doing it 3 times was what made it work for me. Ran this level like 12 times before I got it to pop. Tasing once or twice didn’t get it for me. Really makes me wonder what the hidden conditions are. It could really boil down to just the SWAT AI doing something different. Either way, this method in the guide was what worked consistently for me and my mates.
You do NOT have to do all three conditions three times. Just use your taser as your primary and command your squad to do everything for you. Do not touch anything and have your taser out as soon as you spawn. I did not even use a flashbang on the attempt where I hit all of the hidden conditions, and used the taser only once on the gimp who was not complying.
can you like.. Make one suspect surrender, then flash him 3 times, tase him 3 times, and bash him 3 times and you’re good?
I cant make this achievement pop for me :/
Real suffering, either I die or my bots run and die. When I slowly progress, they get headshots from across the map. Once I was fine, but I was shot to death through a container, maybe by the last suspect. Won’t try again, unless online with friends, because bots a simply too stupid and passive for large maps with long distance gunfight.
From what I’m aware of, Achievements for this game only pop in Commander & Practice Modes. Just try to play it slowly and isolate the suspects. If your guys are getting shot at from a distance and not firing back maybe try getting a flank with the taser or flashbang him.
It’s okay to lose an officer! I had 1 SWAT AI die on me and still got it. For this reason maybe try running it in practice so you don’t mess up the campaign in Commander Mode.