
A simple and fun guide for people new to the game, explaining basic game mechanics.
Guide for New Players
Starting a New Company [Startup]
When starting a new game, you first have to decide what kind of starting troop you have, each with it’s up and down sides:
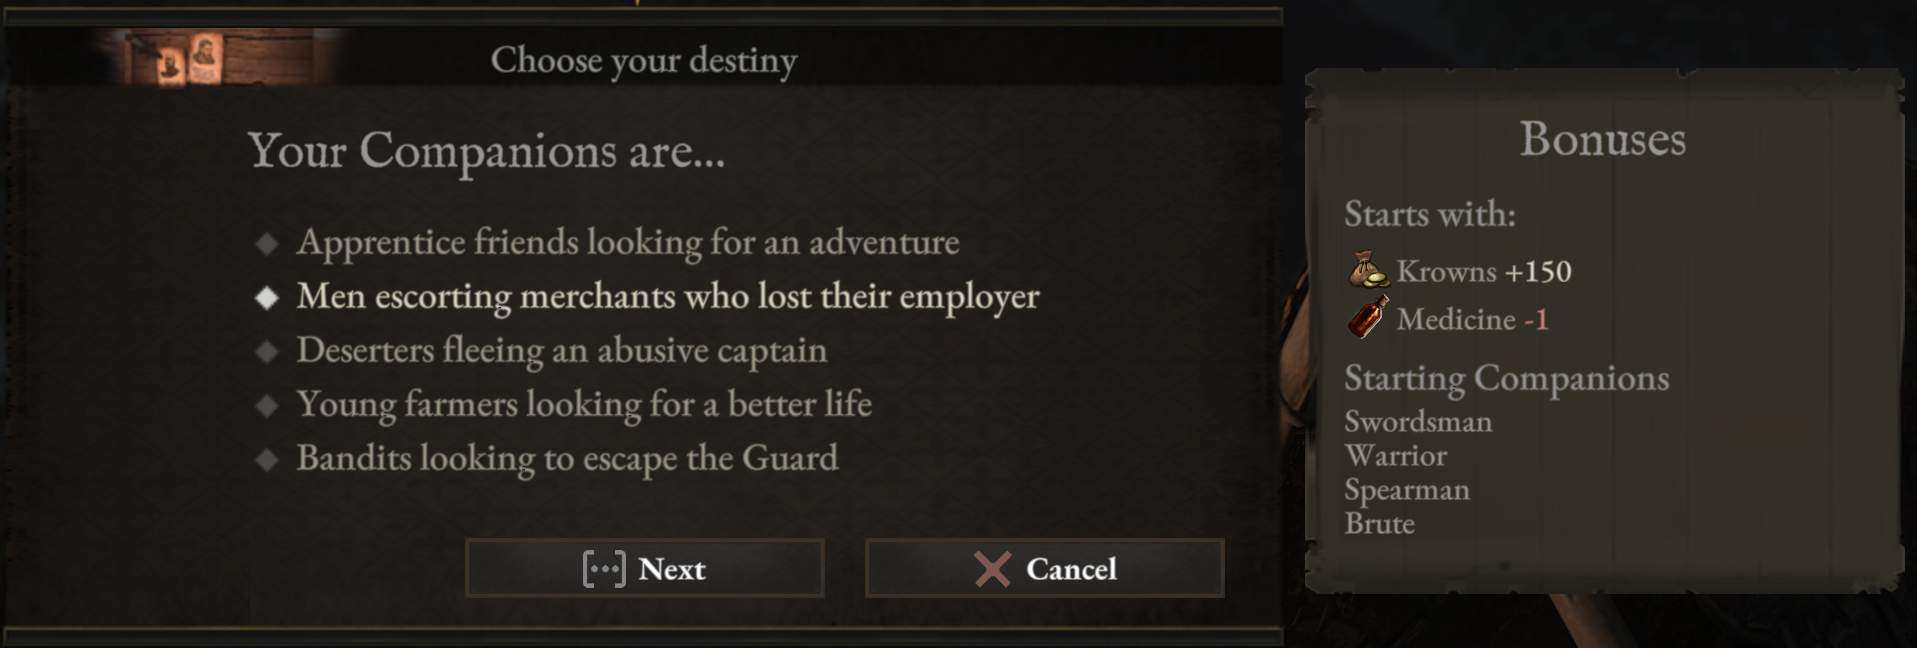
Since money usually makes life more easy, I’ve picked the Merchant escorts who ‘lost’ their employer. I think the medicine was supposed to save the employer but apparently it didn’t so we’ll take his crowns since he has no more use for it anyway.
With this troop we don’t have any Ranged companion(s) but i really don’t mind since puny bows only do puny damage and i will probably keep hitting my own Companions in the back all the time due to horrible roll-chance based accuracy.
Next we have to decide what positive trait the company has:
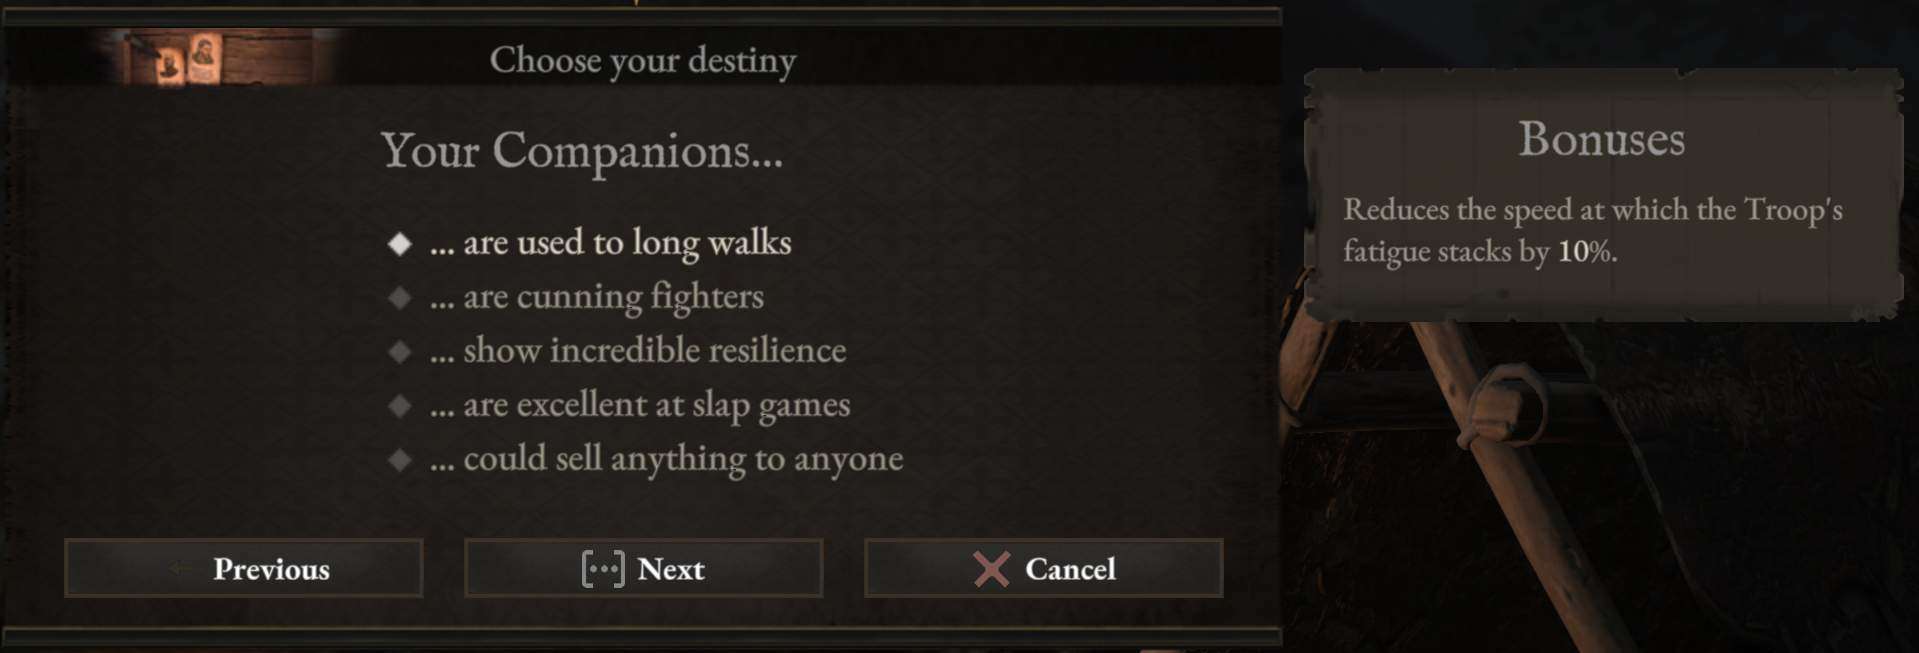
Usually with this kind of games, fatigue is quite an important stat since it can make your Companions quite puny because they are too tired to fight and will have quite a negative drop on their main stats so that’s why i decide to take the 10% decrease in fatigue.
Each upside has it’s downside so we have to decide what our negative trait is:
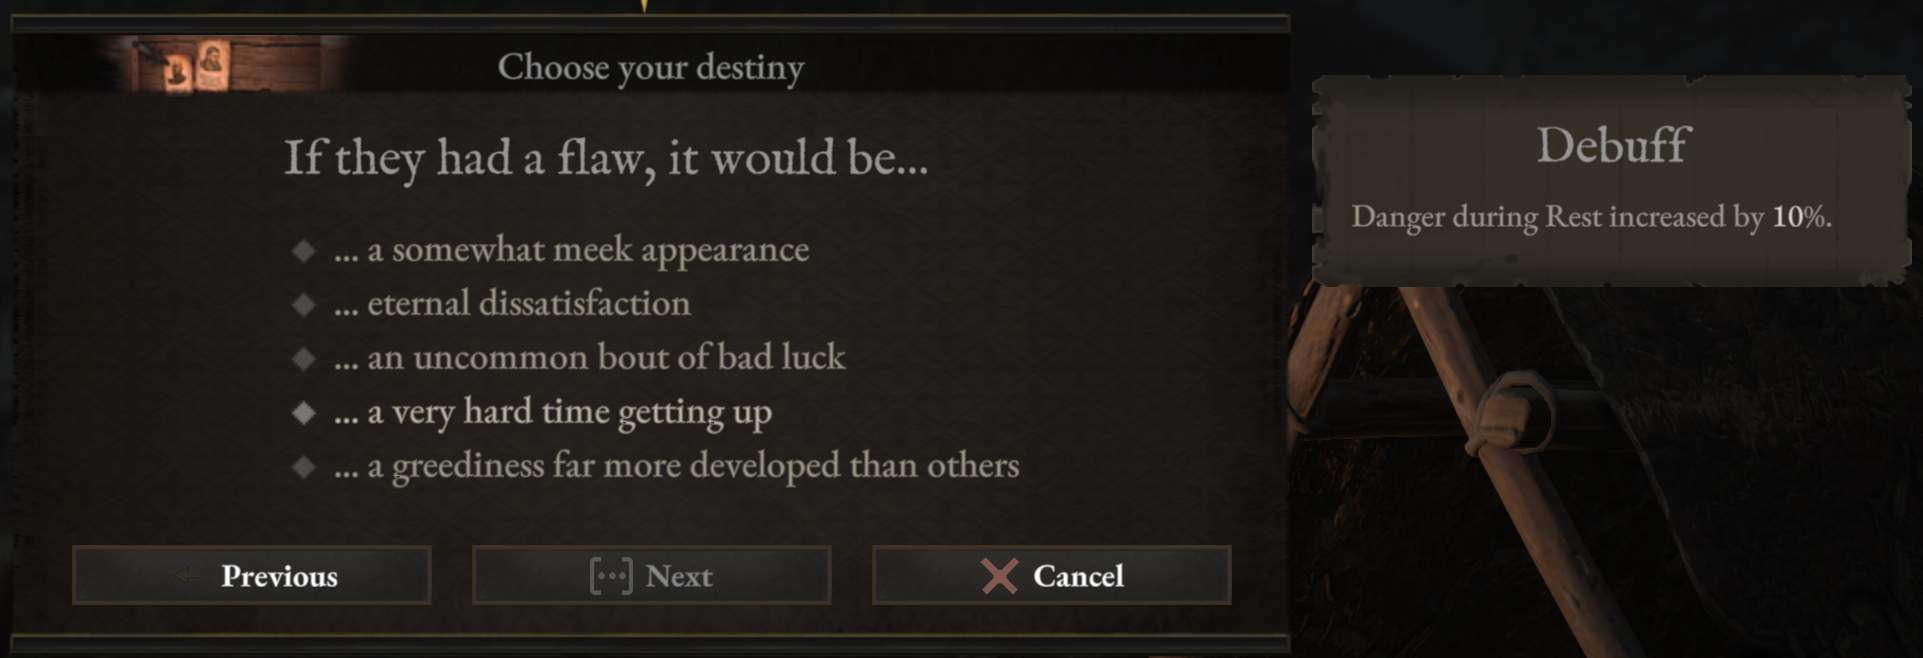
This one actually reminds me of myself since i’m more of a night owl and definitely not a morning person and since our company consist of big bad melee bruisers, we’re not afraid of a little extra danger at night!
Finally we have to decide where to start and on what difficulty we would like to play:
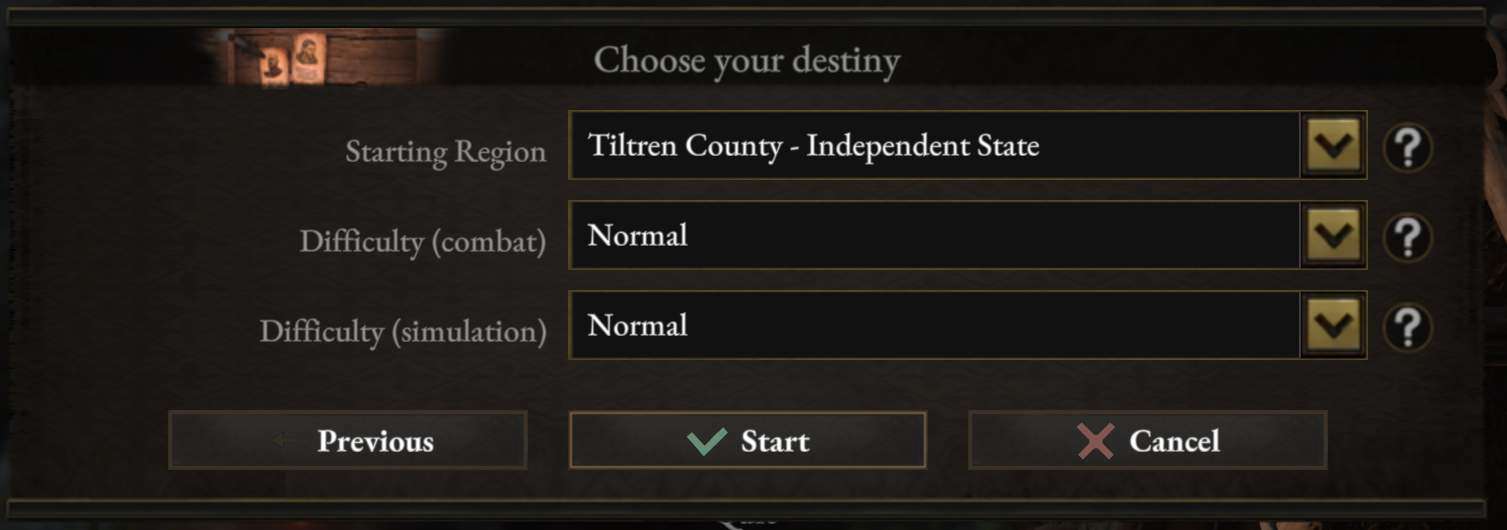
Let’s stick to normal difficulty for now and see if we can actually survive the coming days…
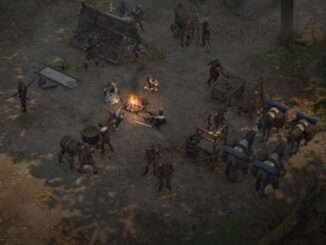
Hello World! [First View in the Game]
As you enter the world with your new found company you see that it’s a open world in a real time setting, you’re free to move around, loot stuff, attack people and lot’s of more fun stuff:
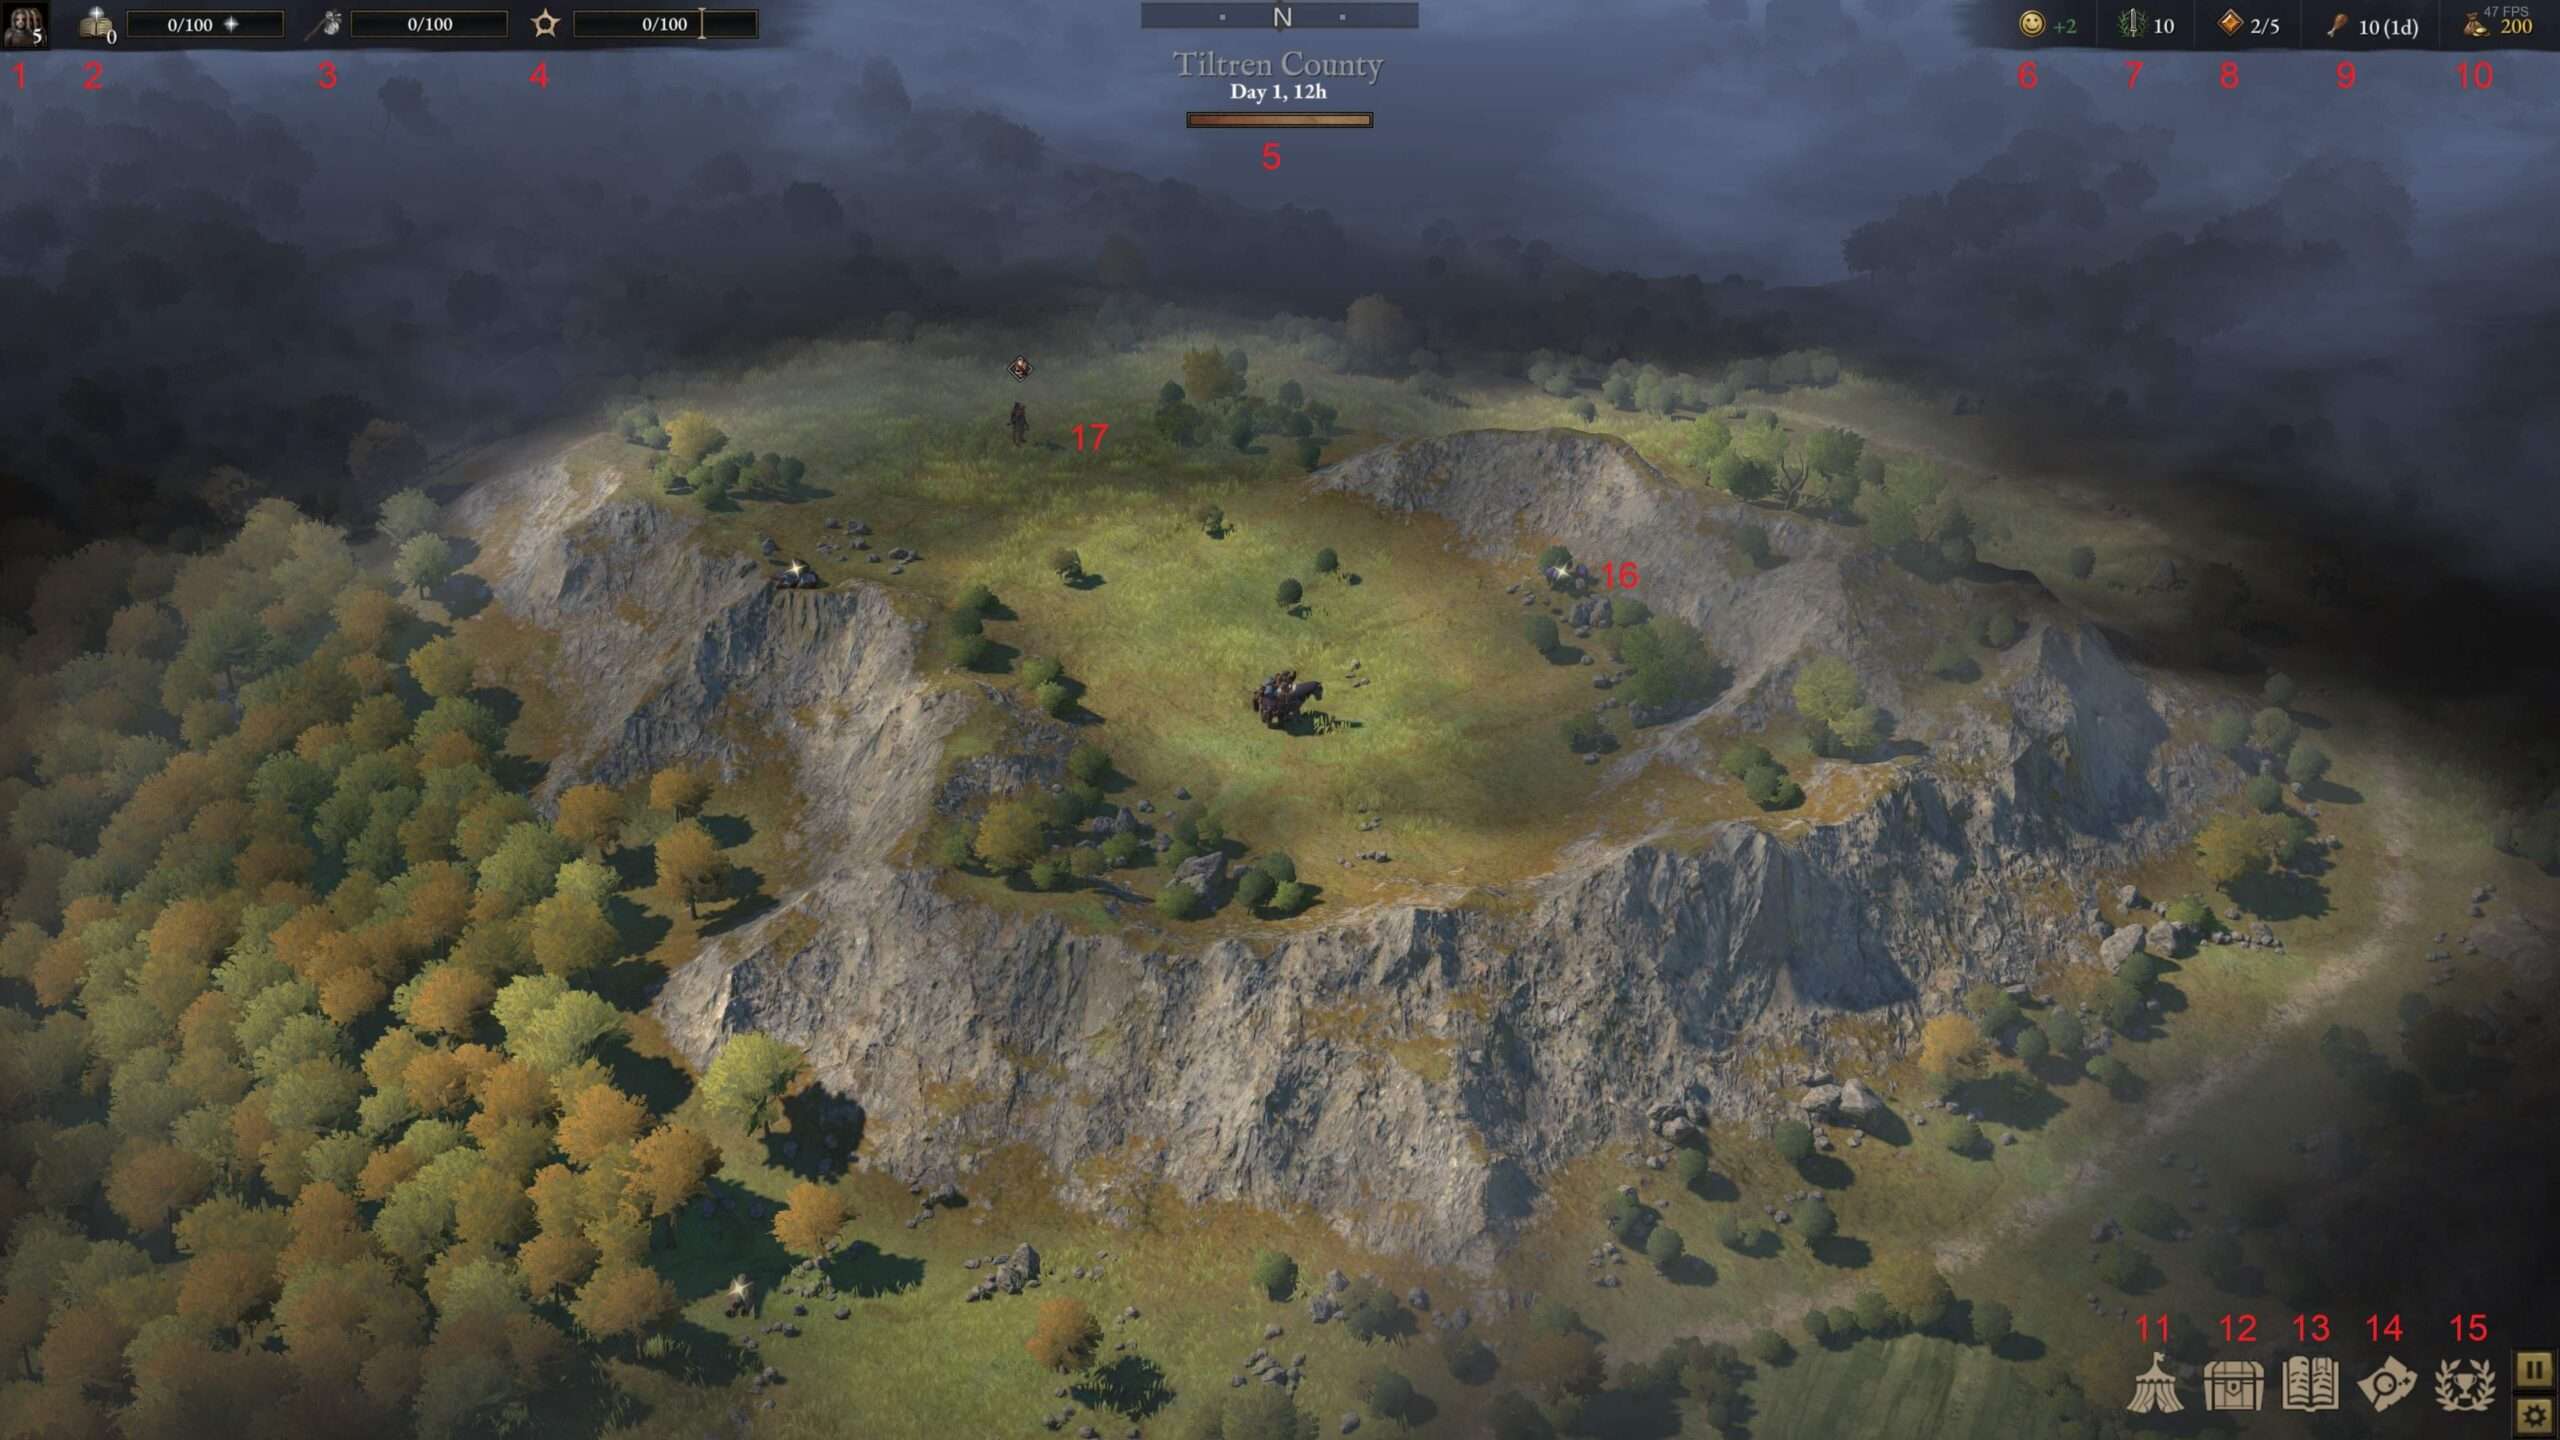
I marked each point of interest / HUD button and explained it below:
- Companion menu: here you can check out all your employed companions skills, gear, stats etc. it’s showing 5 since we actually start with a pack horse! more stuff we inherited from our former now dead employer.
- Knowledge: We’re not all blood and muscle, we also have an actual brain! and during the game you can increase knowledge by simply exploring new areas and once you get knowledge points, you can invest them in either new skills or recipes for crafting.
- Scenario progress bar: Each region has it’s own scenario and it’s dedicated region quests. By doing such quests, you will have to make choices which will determine how the region will develop based on your decisions, Such power!
- Suspicion bar: If you act against the region owning faction by either stealing, killing peasants or just naughty stuff basically, this bar will fill and by doing so, the local guards will start looking for you and tear you to pieces unless you are happy to pay your crime fees and continue living in this beautiful world.
- Fatigue bar: Ahhh.. Fatigue, we’ve talked about this before and this bar shows how tired your companions are. Walking around, fighting and doing other ‘physical’ stuff will cause your men to tire down and be puny weaklings. If the bar turns red, your men are fatigued and will drop their main attack stat (Strength or Dexterity) by a percentage based on how fatigued they are
- Happiness level: Being unhappy in an company will make you want to quit and just as in Wartales, unhappy company members will cause them to leave your company so it is important to shove a few beers into their mouths once in a while to keep them satisfied. Of course there are more ways to keep them happy but what brawler doesn’t get happy by drinking beer paid by his employer!?
- Influence: Back in the day, we didn’t have Instagram to show off how bad ass our company is with our bathroom selfie brawlers but instead our influence rises by actually doing stuff! In Wartales it actually a type of currency you need in order to recruit new members to your company or do use it for other purposes which can act in your favor.
- Valour points: These points are used for your Kamehameha-like skills AKA your most powerful skills. You can refresh them during by resting in the camp or, when your companions level up, they can get skills which will regenerate these points.
- Food: Simple, if you don’t have any food, you die. The End.
- Krowns: Money! Always keep an eye on your money, every 3 days you will have to pay your companions their salary, otherwise you will end up like their former employer (by total accident of course).
- Camp: Here you can hang out with your companions and do camping stuff like crafting, eating and sleeping and rest so you can recover your fatigue bar. Note that when you camp, the real time world is paused so it’s a nice time to check your bro’s, quests and whatever needs a look at.
- Inventory: all stuff you hoarded so far! Note that your hoarding has a limit in weight so take care not to rob a town to its foundation or you’ll have a hard time walking.
- Compendium: All your recipes and acquired skills through knowledge found here!
- World Map: The map of the world (it’s huge).
- Paths: It’s up to you on how to develop your company and win the game. This can either be by just killing everyone you come across and loot every town or actually be a bit less violent and help out the poor poor souls in this chaos infested world.
- Loot: You can see a small blinking light which is loot! A lot of stuff is lying around and luckily you have this magic gift in this world that you are the only one who has to power to actually pick up these up!
- Peoples!: This is one of many dudes you will encounter and the small symbol represents what kind of faction those dudes are and in this case it are some puny bandits who are eager to die by your company.
Getting to Know Your Bro’s [Character Information]
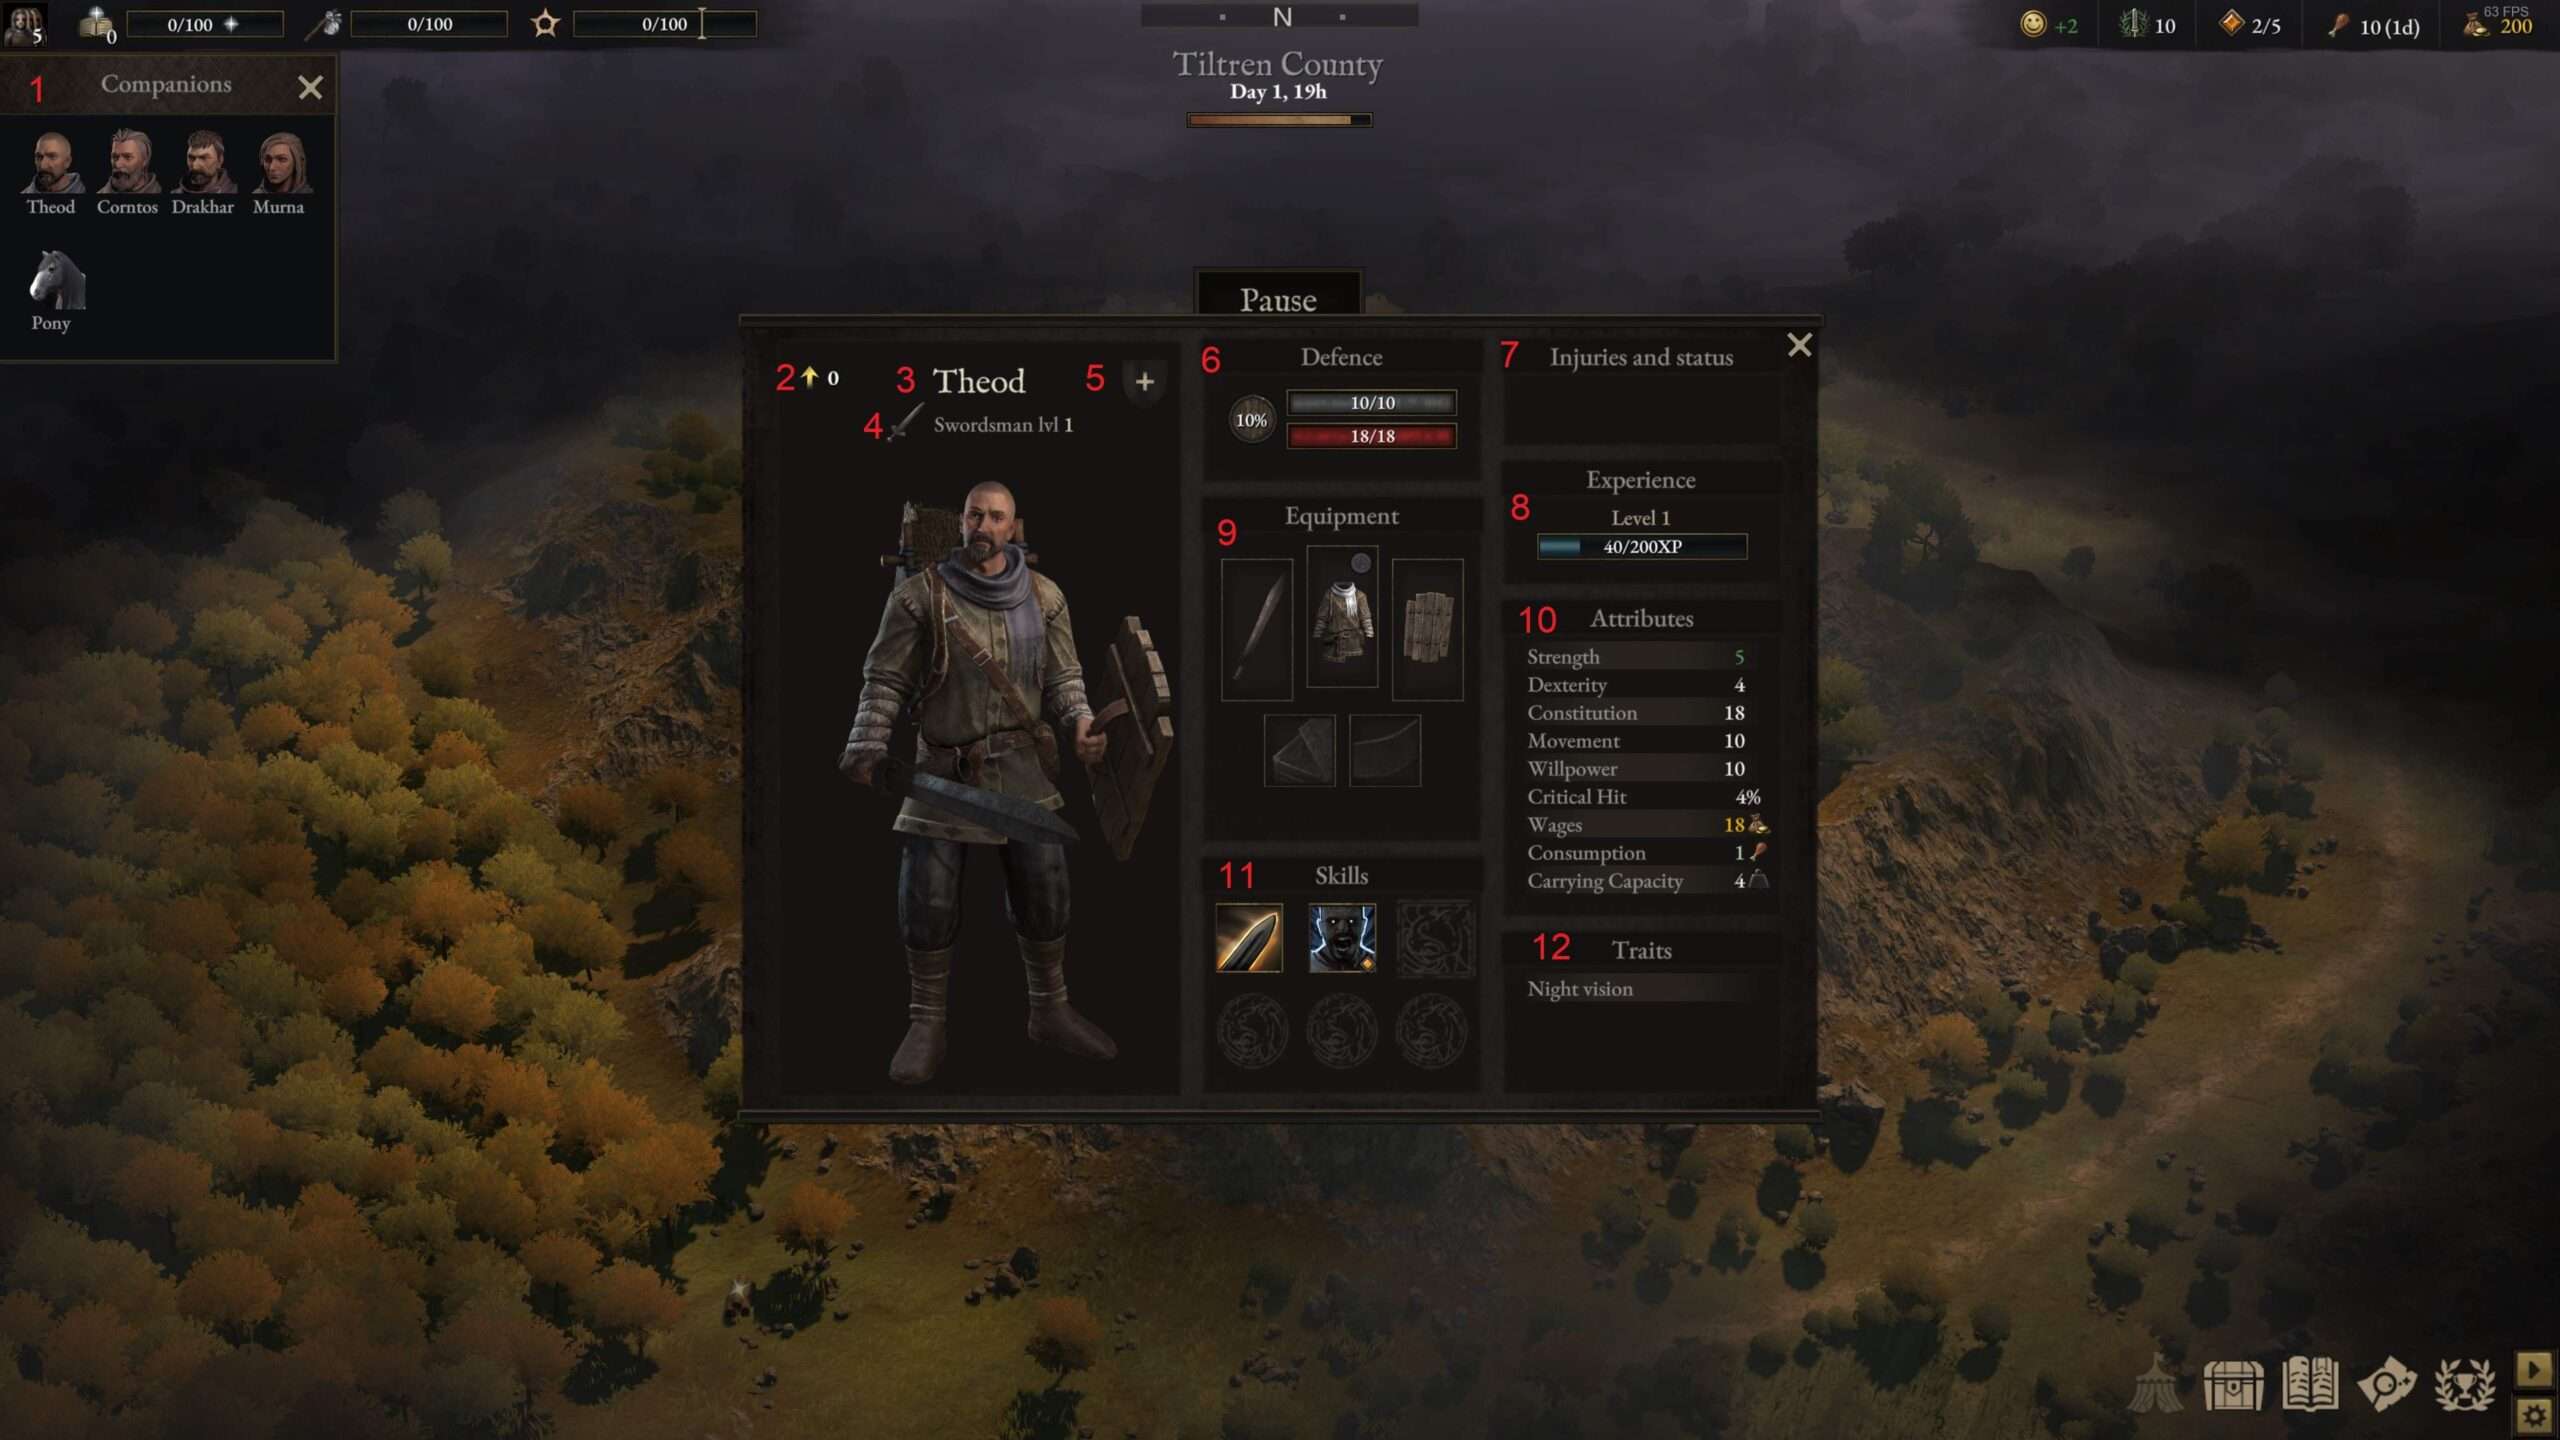
Time to meet your employees and see if they actually have what it takes to be a cashcow killing machine for your company:

Above we have Eager young swordsman Theod, who just graduated from mercenary school by killing a man! But wait, wasn’t our former employee killed by a similar looking sword as Theod is carrying!? oh well, back to explaining stuff..
- Roster: Here you can check out all your dudes and girls! and ponies ofcourse.
- Level up: When you’ve killed enough other dudes, you gain experience and level up! If you have accumulated enough (see point 8), your dude can progress to the next level and gain extra attributes and skills.
- Your dude’s name, you can actually add a cool nickname like ‘former employee inheritor!’
- Your dude’s class: you have quite a lot of classes and each with their own unique skill tree and abilities. i haven’t progressed far enough yet to know all the classes but so far i have found:
Swordsman
Brute
Ranger
Archer
Spearman
Warrior- Profession: Besides hacking % slashing stuff, you can also have your bro’s learn professions! What more fun to make your own weapons of destruction to try out on puny bandits? Even better; every profession give’s attribute bonuses like extra strengths as a blacksmith or extra crit chance by being a tinkerer so be sure to give your dudes a profession to profit from these extra bonuses. So far i have found these Professions:
Tinkerer
Blacksmith
Angler- Defence: Ofcourse, your dudes can die, here you can see their total armor durability (grey bar), Health (red bar) and Guard (wooden shield with percentage). If you’re out of durability, prepare to feel your hitpoints getting trimmed and losing them all will cause you to die :-). By wearing shields or certain skills, you get Guard which actually reduces damage by the amount displayed in percentage. Note that being back stabbed the guard bonus is reduced by half!
- Injuries and Status: If a companion almost died during battle, they will probably leave with some injuries or mental issues and in this section the ‘bonuses’ are displayed with effects on your character performance.
- Experience progress bar: Keep killing people to get experience since there is no other way to get experience.
- Equipment: All the cool stuff you’re wearing, be sure not walk around naked or you will have a very short journey when meeting some wolves or something.
- Attributes: The cool stats! the ones in green are actually buffed by equipment. So by wearing a sword you actually get stronger!
- Skills: Basic skills, the first one is based upon which weapon you carry so by wearing a sword you can slash people! The second skill however, i character and classed based and differs per unit. When looking out for new recruits, be sure to inspect this skill and see if it fits with the role you have in mind for him/her.
- Traits: Another charcater based mechanic, these are randomly generated and could grant certain bonuses or negative effects. Again, check the traits of your bros and see if it affects their role
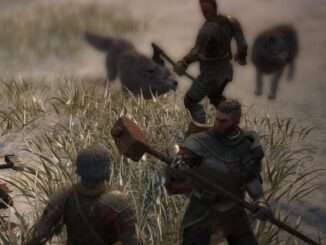
Our First Battle! [Combat]
Oh noes! We just got attacked by a Hoodlum and Poacher, having high hopes to be able so seize 4 battle hardened bruisers… Time for crushing.
Combat is turn based in Wartales and so far i haven’t noticed any mechanic which determines whoever acts first in a round. Below is a screenshot of the initial round of combat:
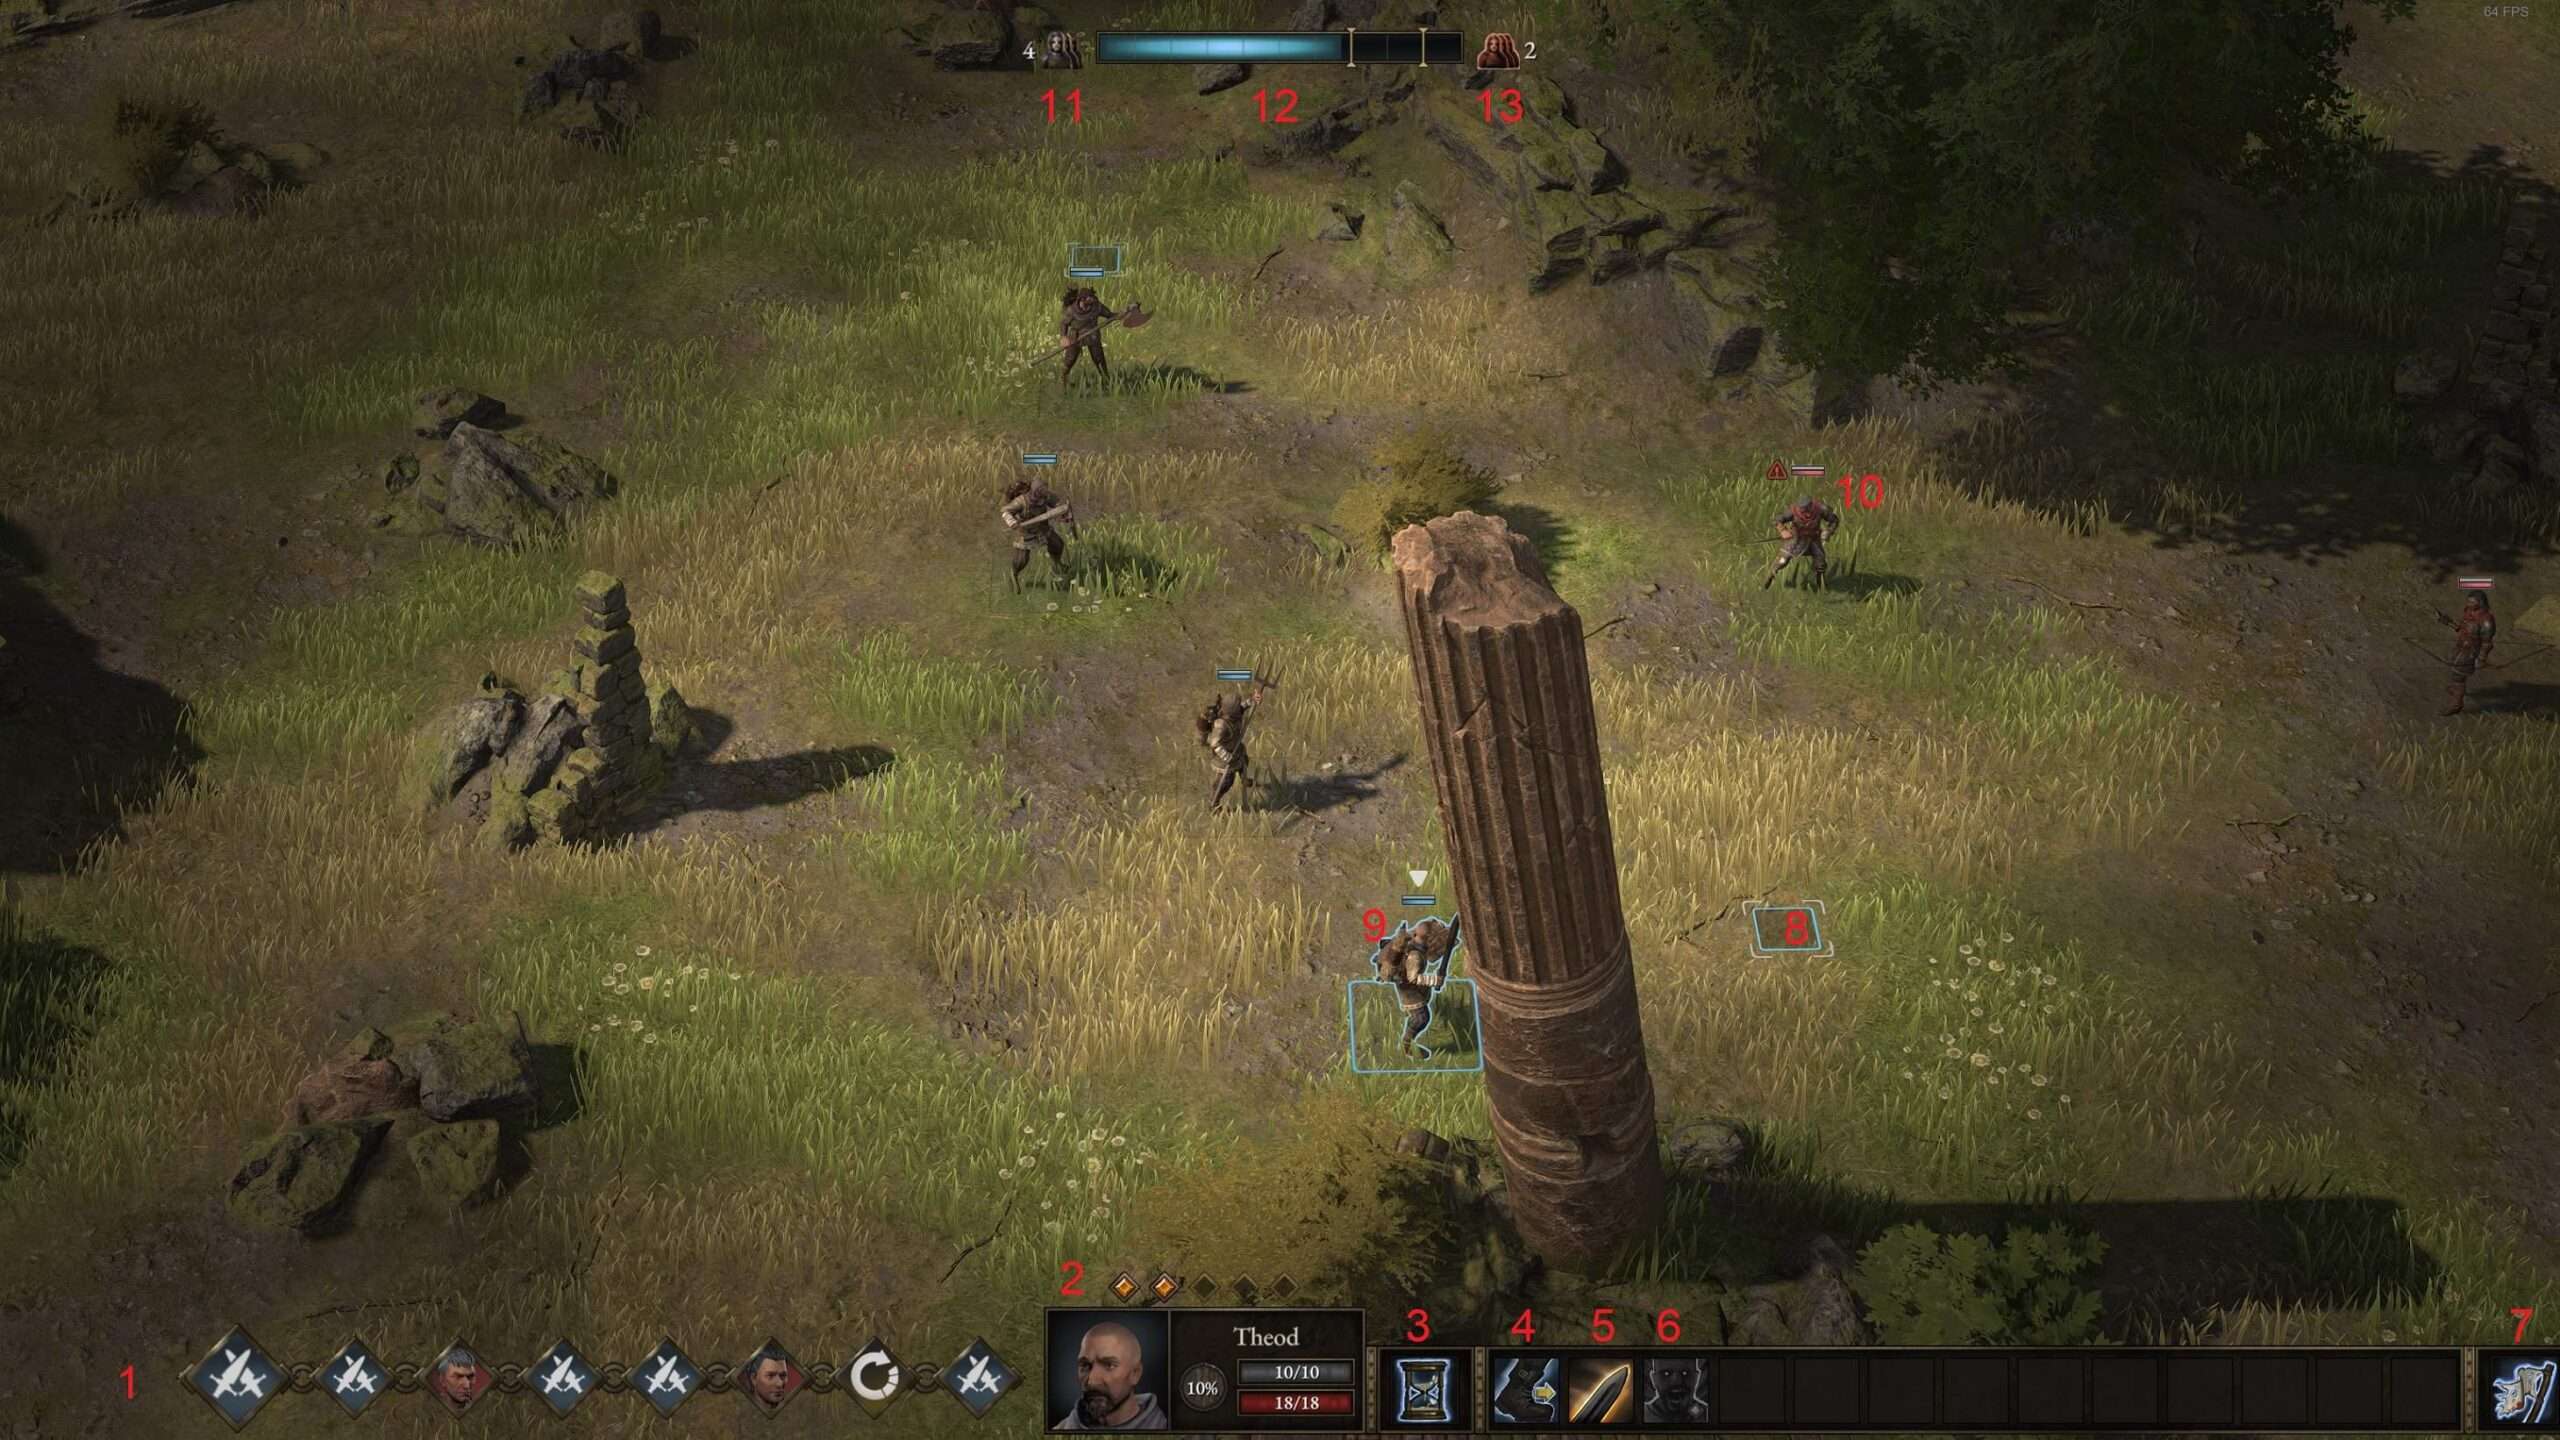
Again i marked every notable objects with numbers and explained each:
- Move order: At the start of each new round, you can choose any character who didn’t move yet to make a move. As seen in the screenshot, two of our bro’s can make a move before a enemy unit can make a move.
- Valour points reserve: above the portrait of our beautiful boy Theod, we can see how many valour points we can spend. We can replenish them by either resting in the camp or by some special skills.
- End turn: When you spent all your moves (moving, attacking and/or using valour skill), you can press this button to finish your turn with the currently selected character.
- Move: You can move up to a few meters, depending on your characters move attribute. It doesn’t deplete if you move few meters so you can keep walking until you run out of meters.
- Attack move: This is the default attack move of your weapon and is different per weapon. Some default weapon skills have some nice extra’s such as knockback or poison on hit.
- KAME-HAME-HA! I mean Valour skill: This are your strongest skills, only use so when really needed since they cost valour points and best used when you’re in a tight spot.
- Retreat: As a famous old wizard once said: “Fly, you Fools!” when things get bad, like half your party getting whacked, it’s time to run and come back to fight another day. After all you’re running a business so you can replace fallen bro’s if you yourself are alive ofcourse.
- Free spot: At the initial turn of the first round, you can move your bro’s around, positioning them like what you think whats best and these spots are possible starting positions for your bro’s.
- Our boy Theod!: friendly units are marked with a blue health bar.
- The enemy: The bad boys marked with red health bars. See that little red warning sign next to their health/armor bars? It means he is the first next enemy to make a move.
- Your bro’s/allies currently alive: This shouldn’t reach zero… EVER.
- Morale meter: Killing bad boys and girls raises morale (yay!) and killing a lot of them causes your guys to go in a whooping killing frenzy and could fetch them a +50%(!!!) damage bonus after passing the first slide. If you manage to pass the second slide, you get the enemy to run (Ha! puny cowards) and it’s all free game to shoot to kill for sports and loot. 🙂
- Enemy units alive: This counter should definitely always reach zero 🙂 it shows how many sheep are left for the slaughter by your killing machines.
Let’s make a move with our tanky boy Theod! Since he has a shield and quite some armor and health, it’s a good idea to engage him to the enemy in range of walking distance:
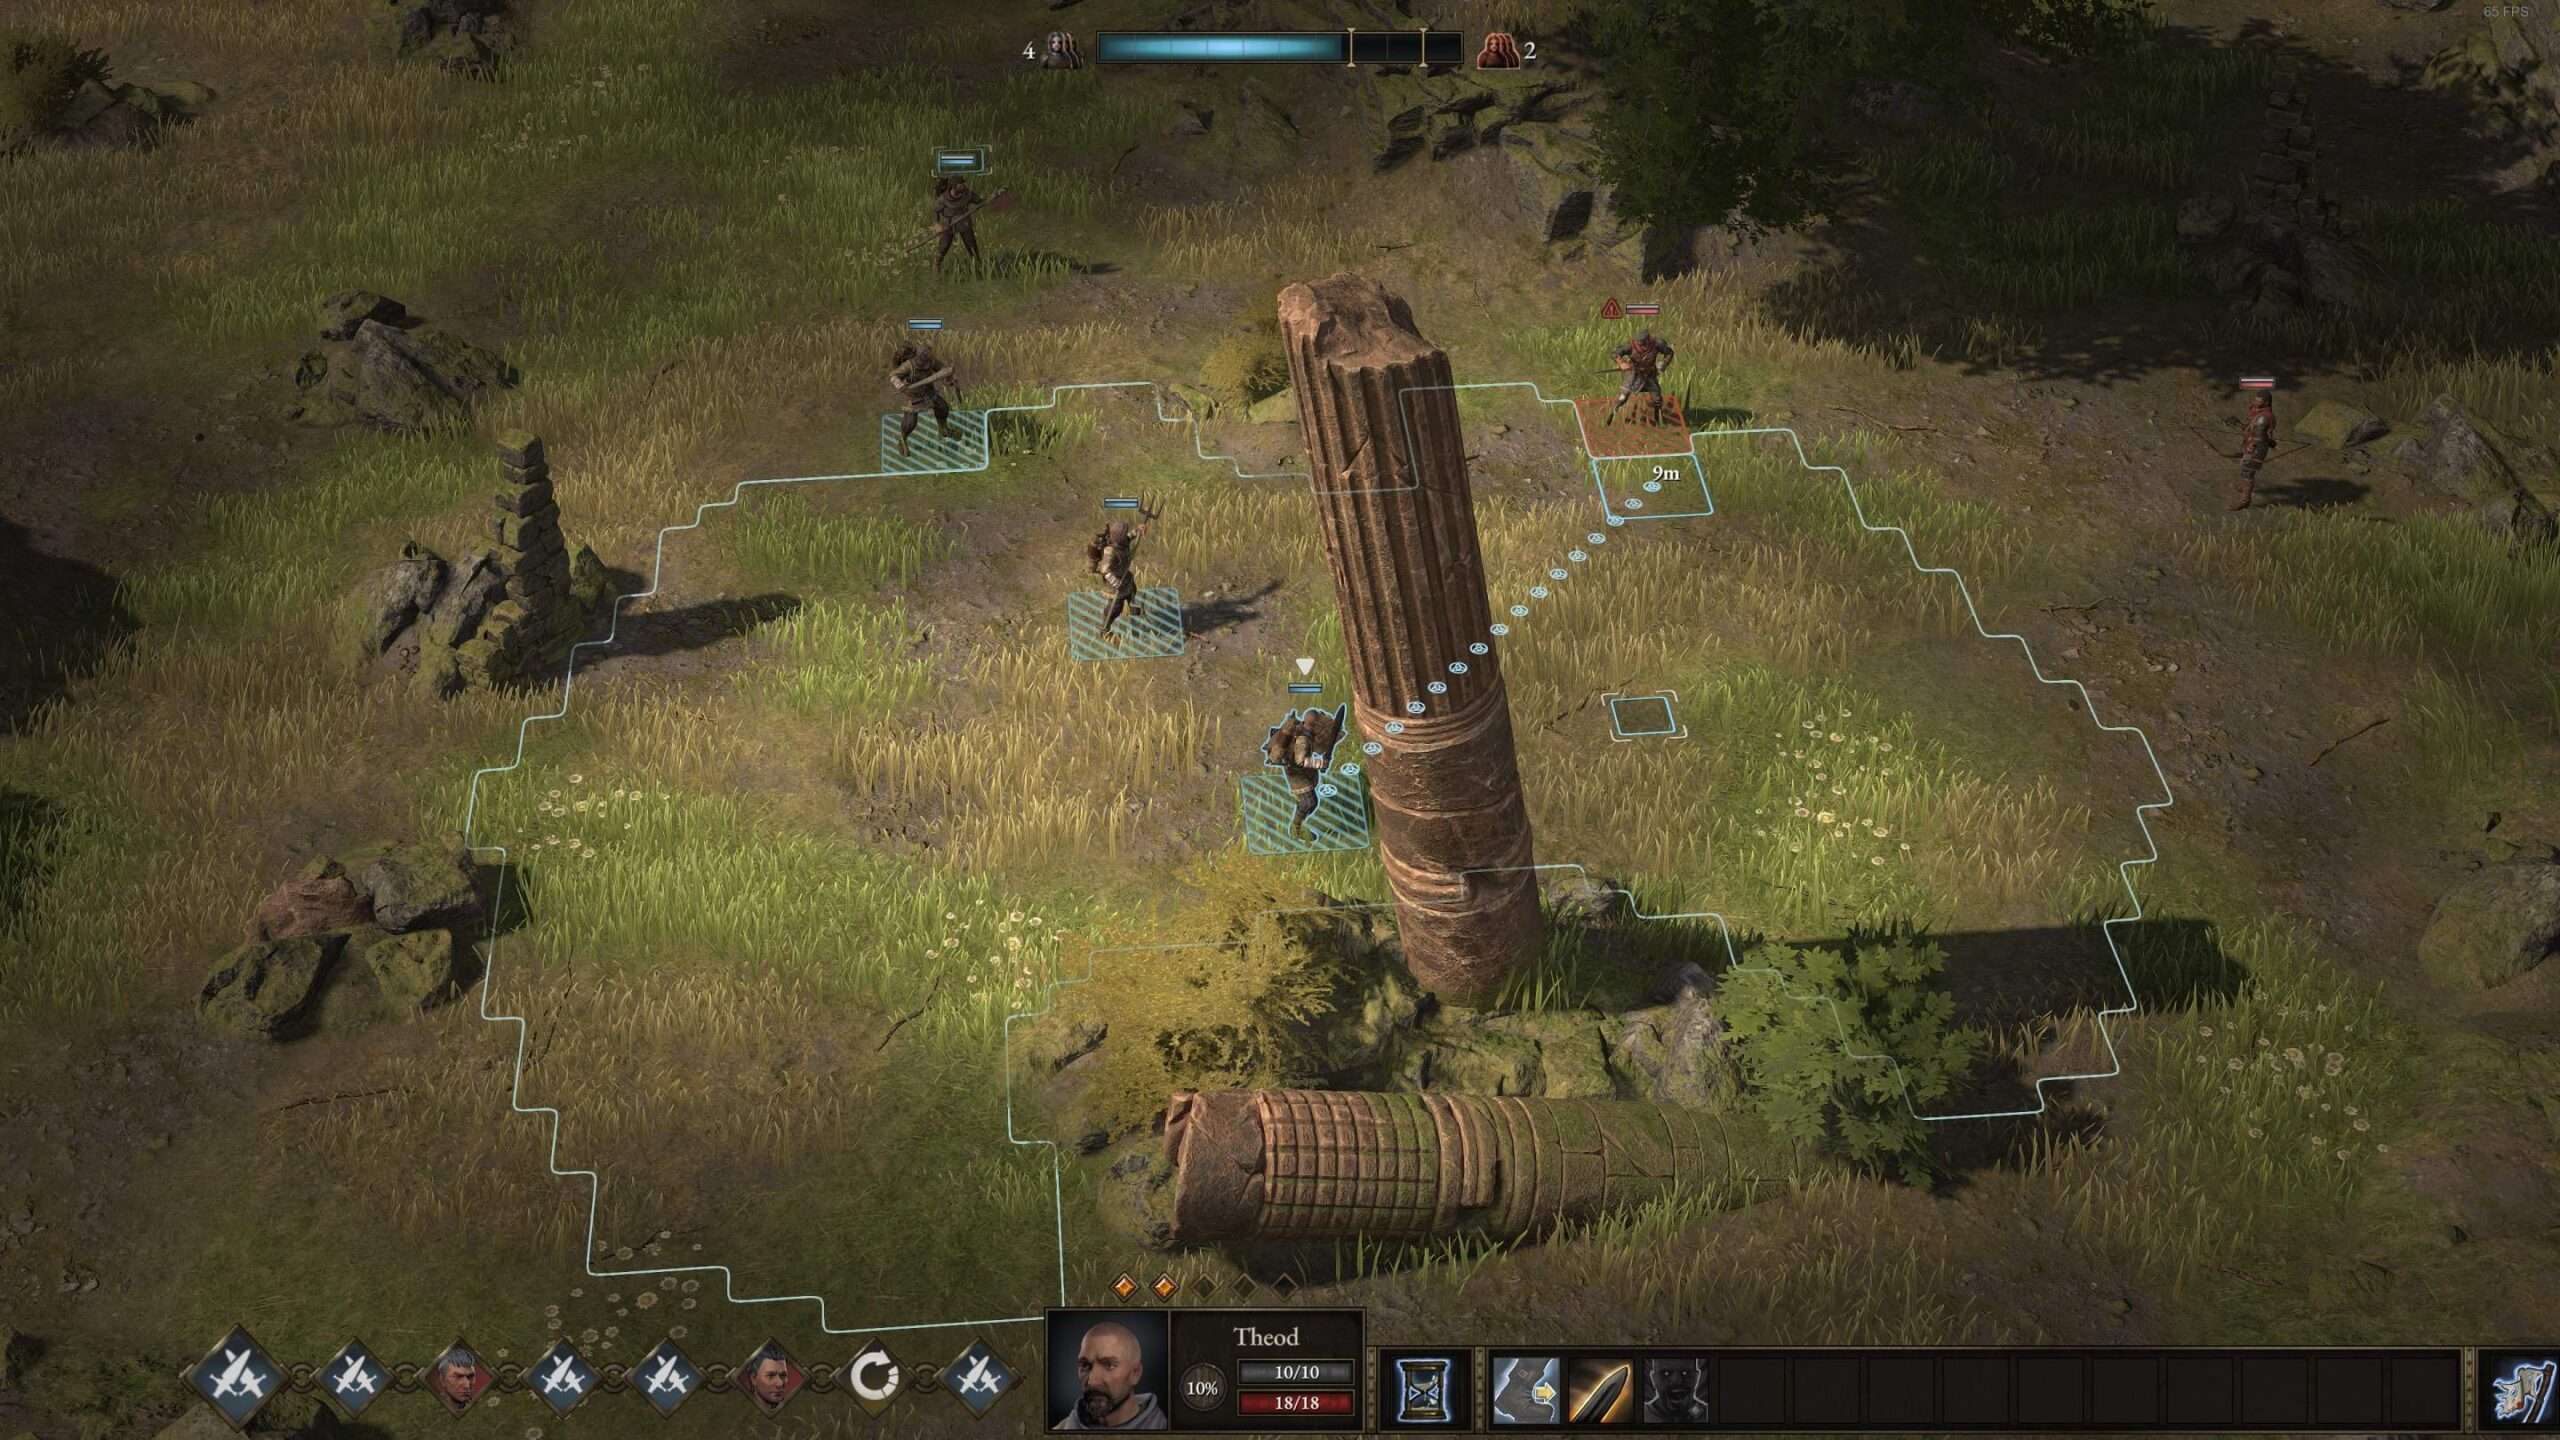
After we’re eyeballing with the bandit, we can engage and attack him. This will ‘lock’ both characters in engaged combat and if either of them want to move away, they risk an attack of opportunity by the other combatant and risk getting hurt and not moving at all:
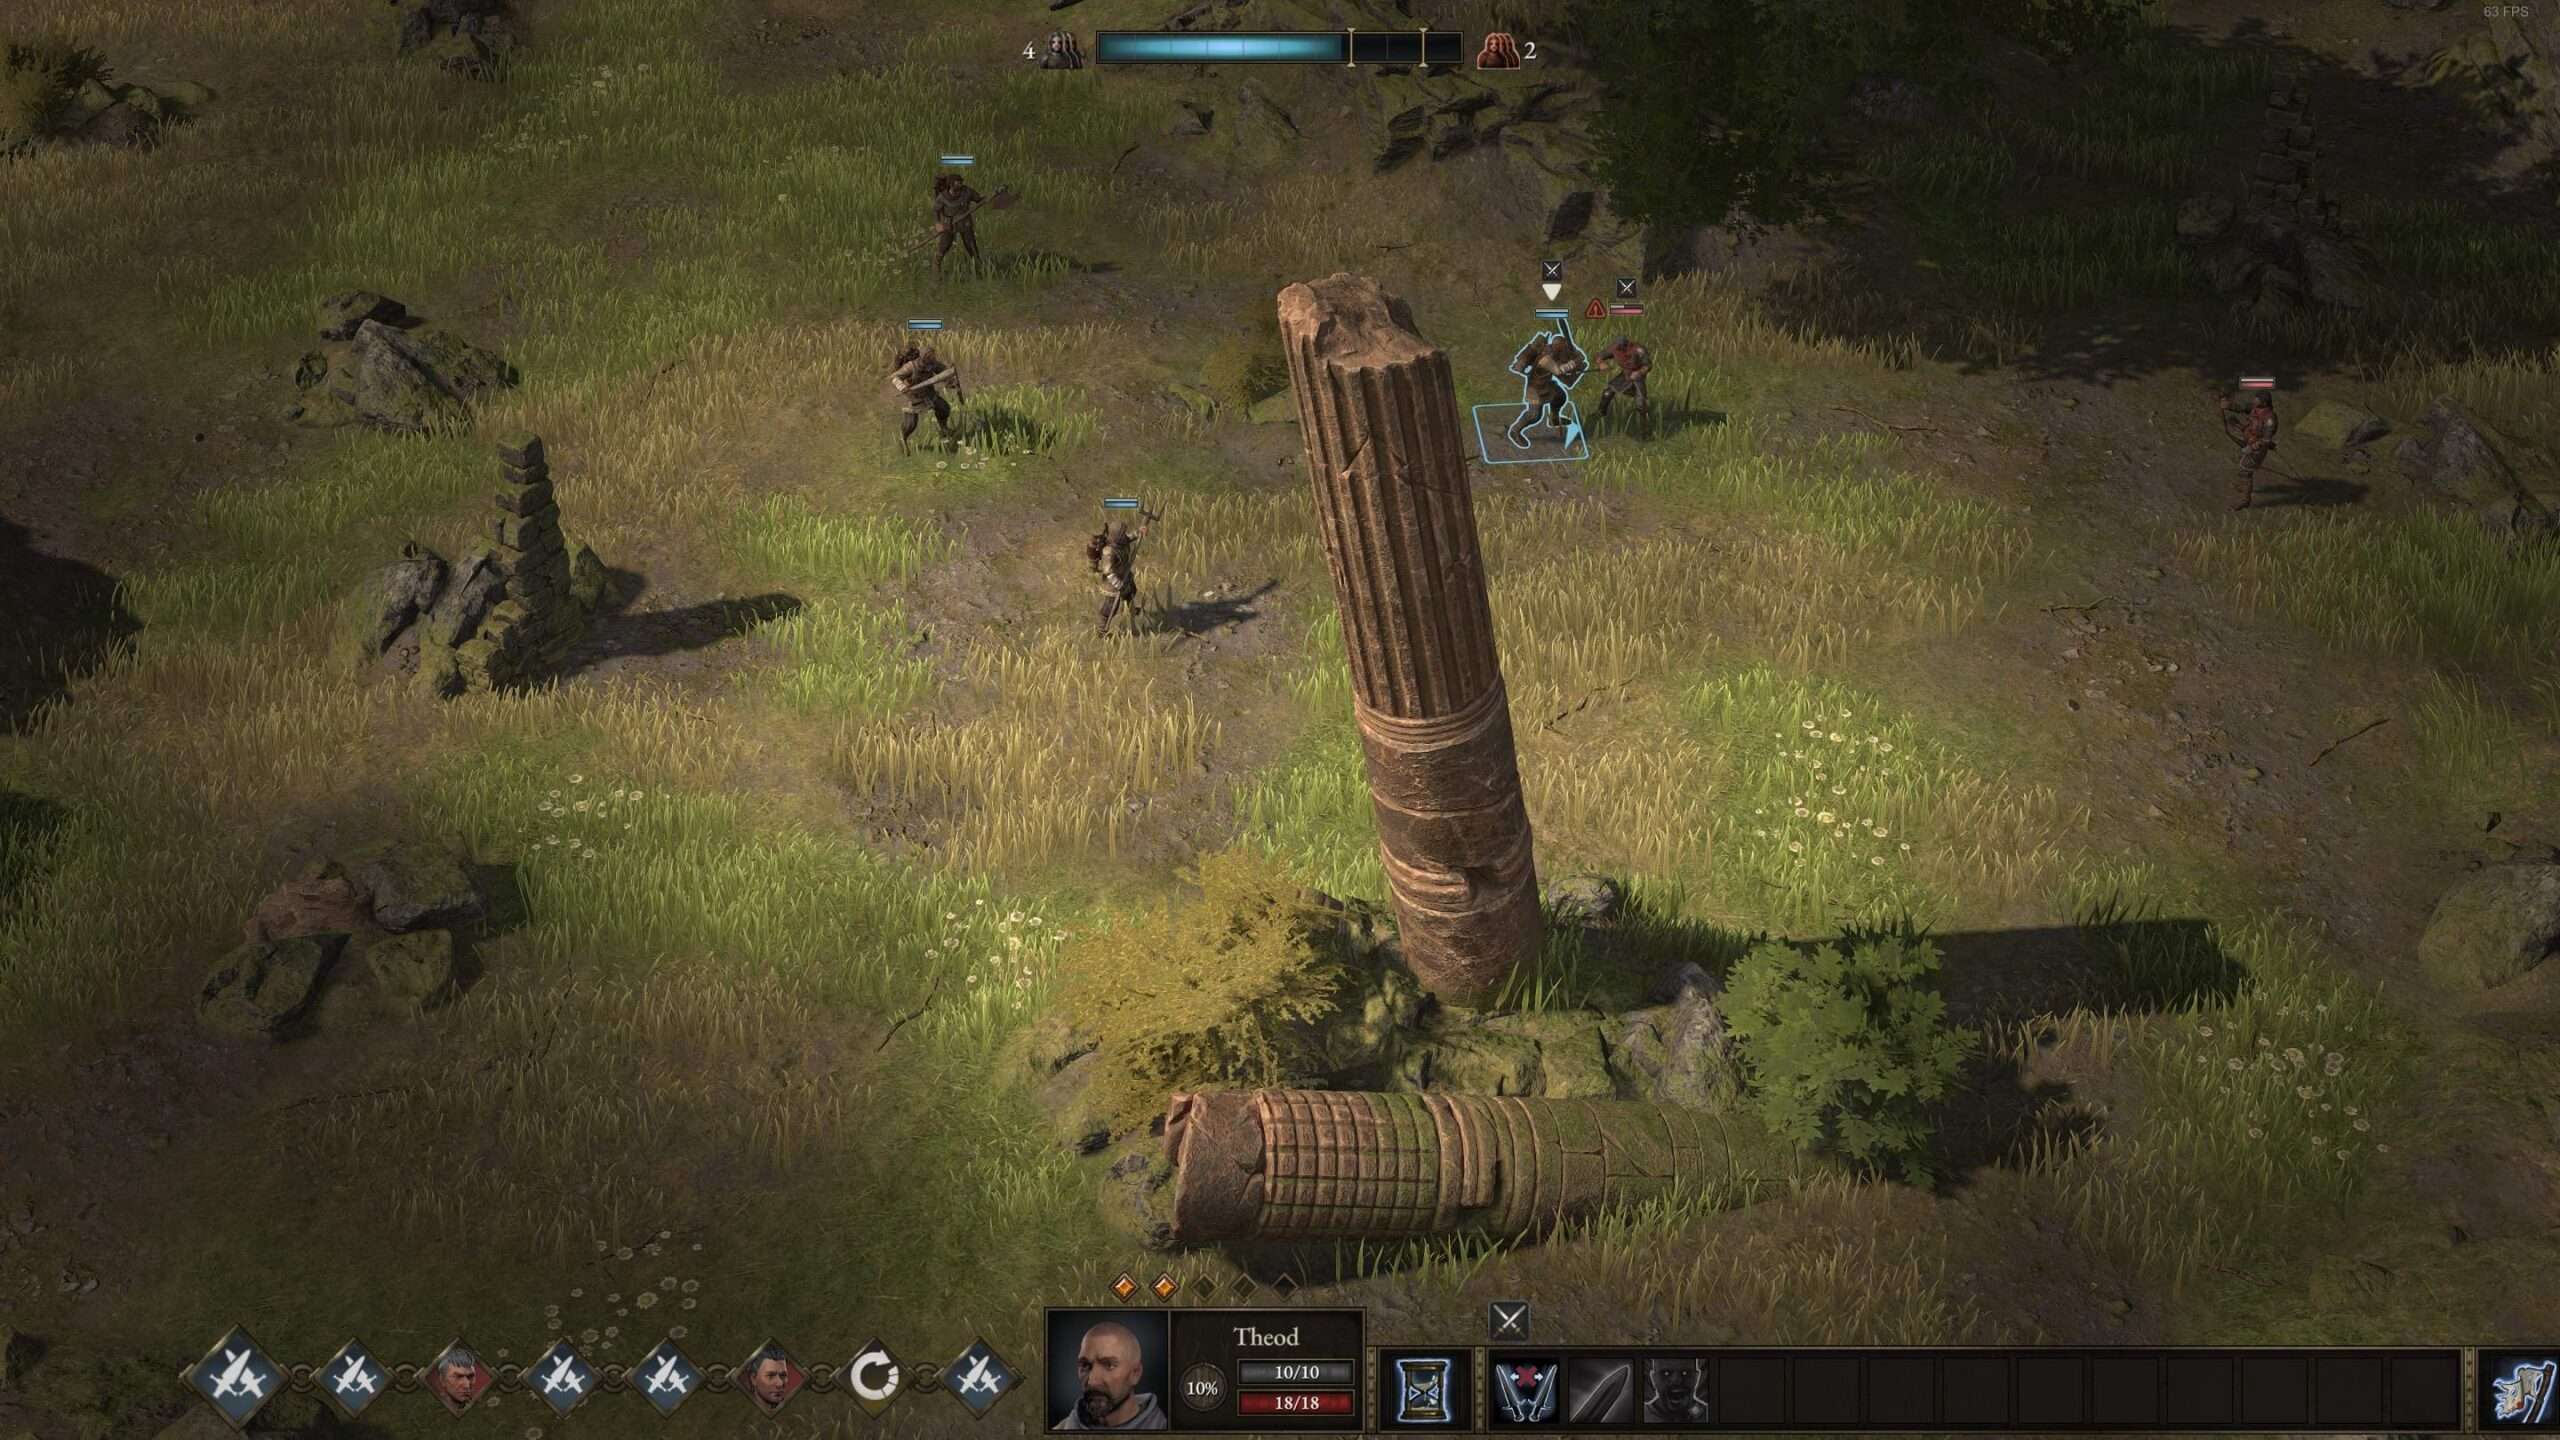
You can see that both Theod and the puny bandit has a cross sword icon above their heads, this means that they are engaged in combat and are forced to only attack each other. Such a lovely bond.
Now that we’ve engaged this bandit in melee combat, we can move in other bro’s to attack him from the sides or even better, from the back! If you have a rogue like bro with daggers, he can get bonus critical chance from attacking from behind on top of neglecting guard protection bonus. We don’t have any puny dagger-like weapons in our roster so we just crush them with heavy weapons which shouldn’t take long.
After a short battle, resizing some punny bandits to the lows of the land with an axe and emerging victorious, we gained some loot (yes, body’s are also loot!
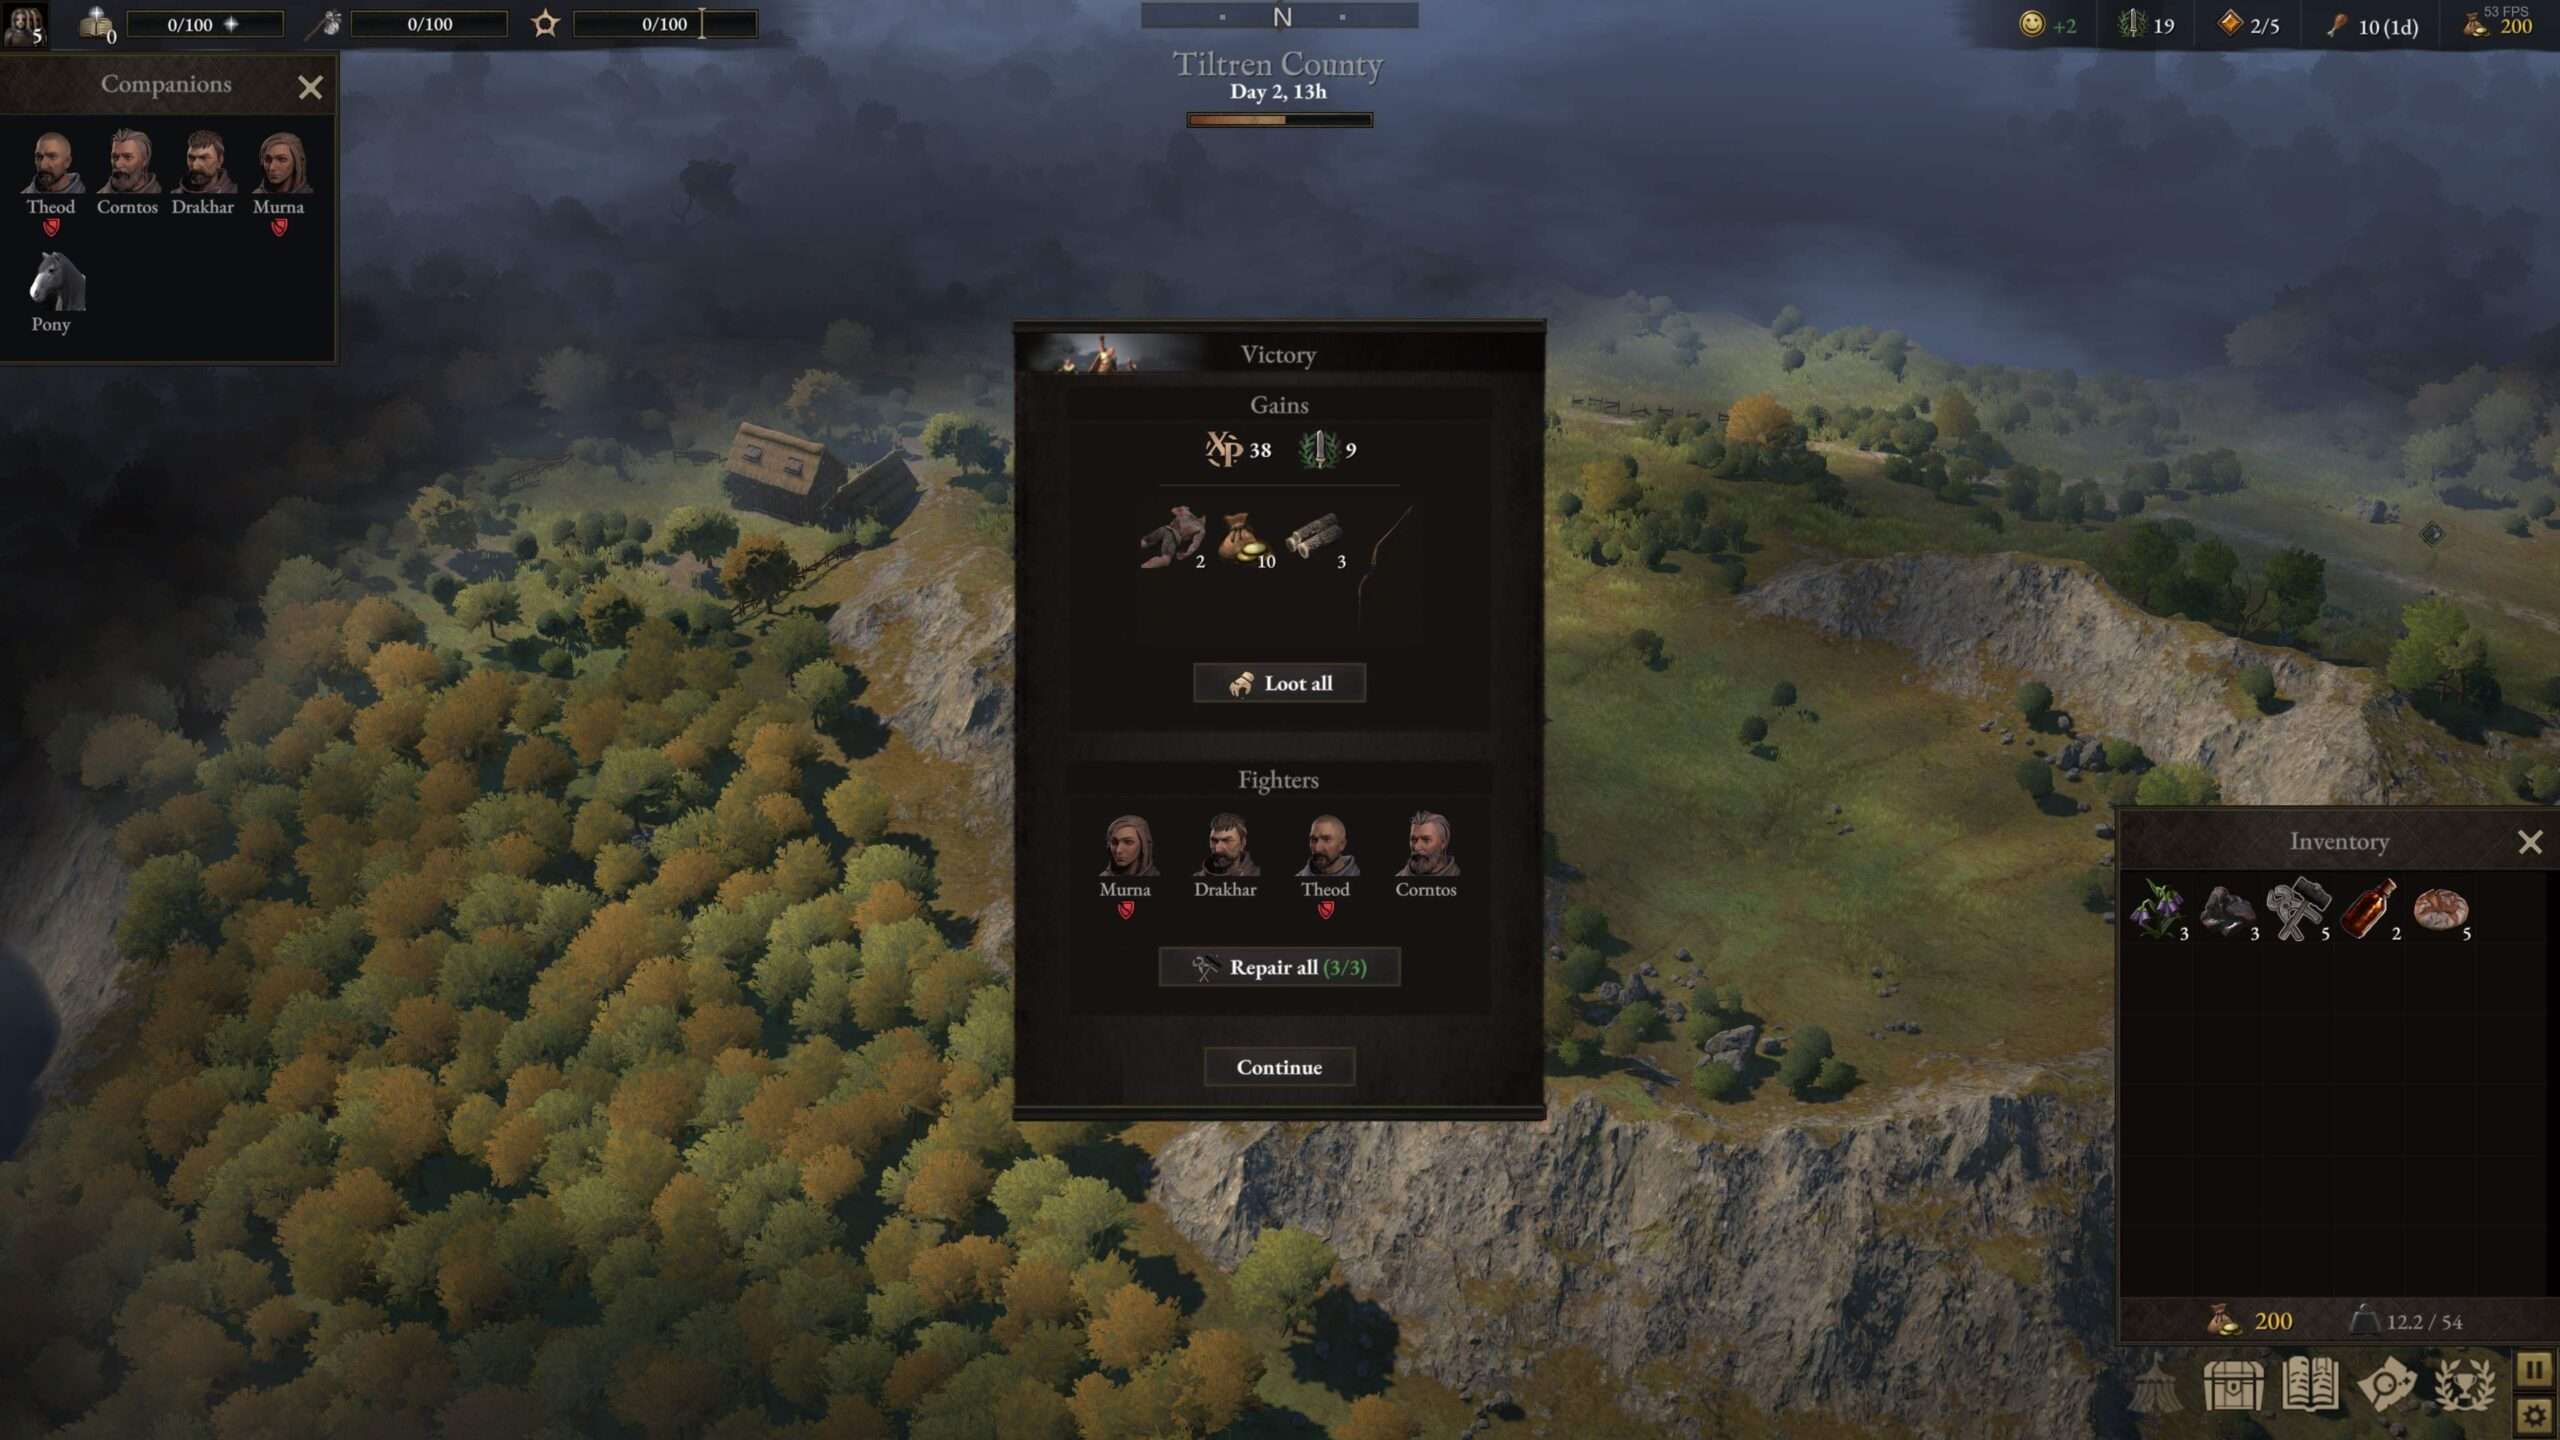
As you can see, we are rewarded with not just loot but also experience, influence and some of our boys armor got smashed which needs repair. You can have them directly repaired by using tools found in our inventory or by visiting a local blacksmith and have your gear repaired by him. Since tools cost 5 crowns each and a smith is actually cheaper, i would suggest to use your tools only if you are far away from town.
If during battle, for some reason you managed to get one of your boys actually getting wounded (a red sign under his or hers portrait) enough to have an injury, you can use medicine potions to cure all of your injuries. So a broken leg can be easily cured by simply drinking a potion (such innovations in that era!).
After looting everything, we move on and hope to find a nearby village to look for some work and refreshing up.
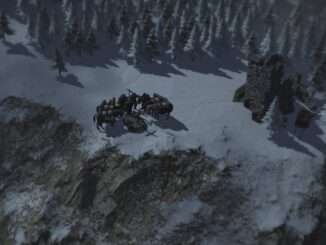
Moving Up North [Location Interactions]
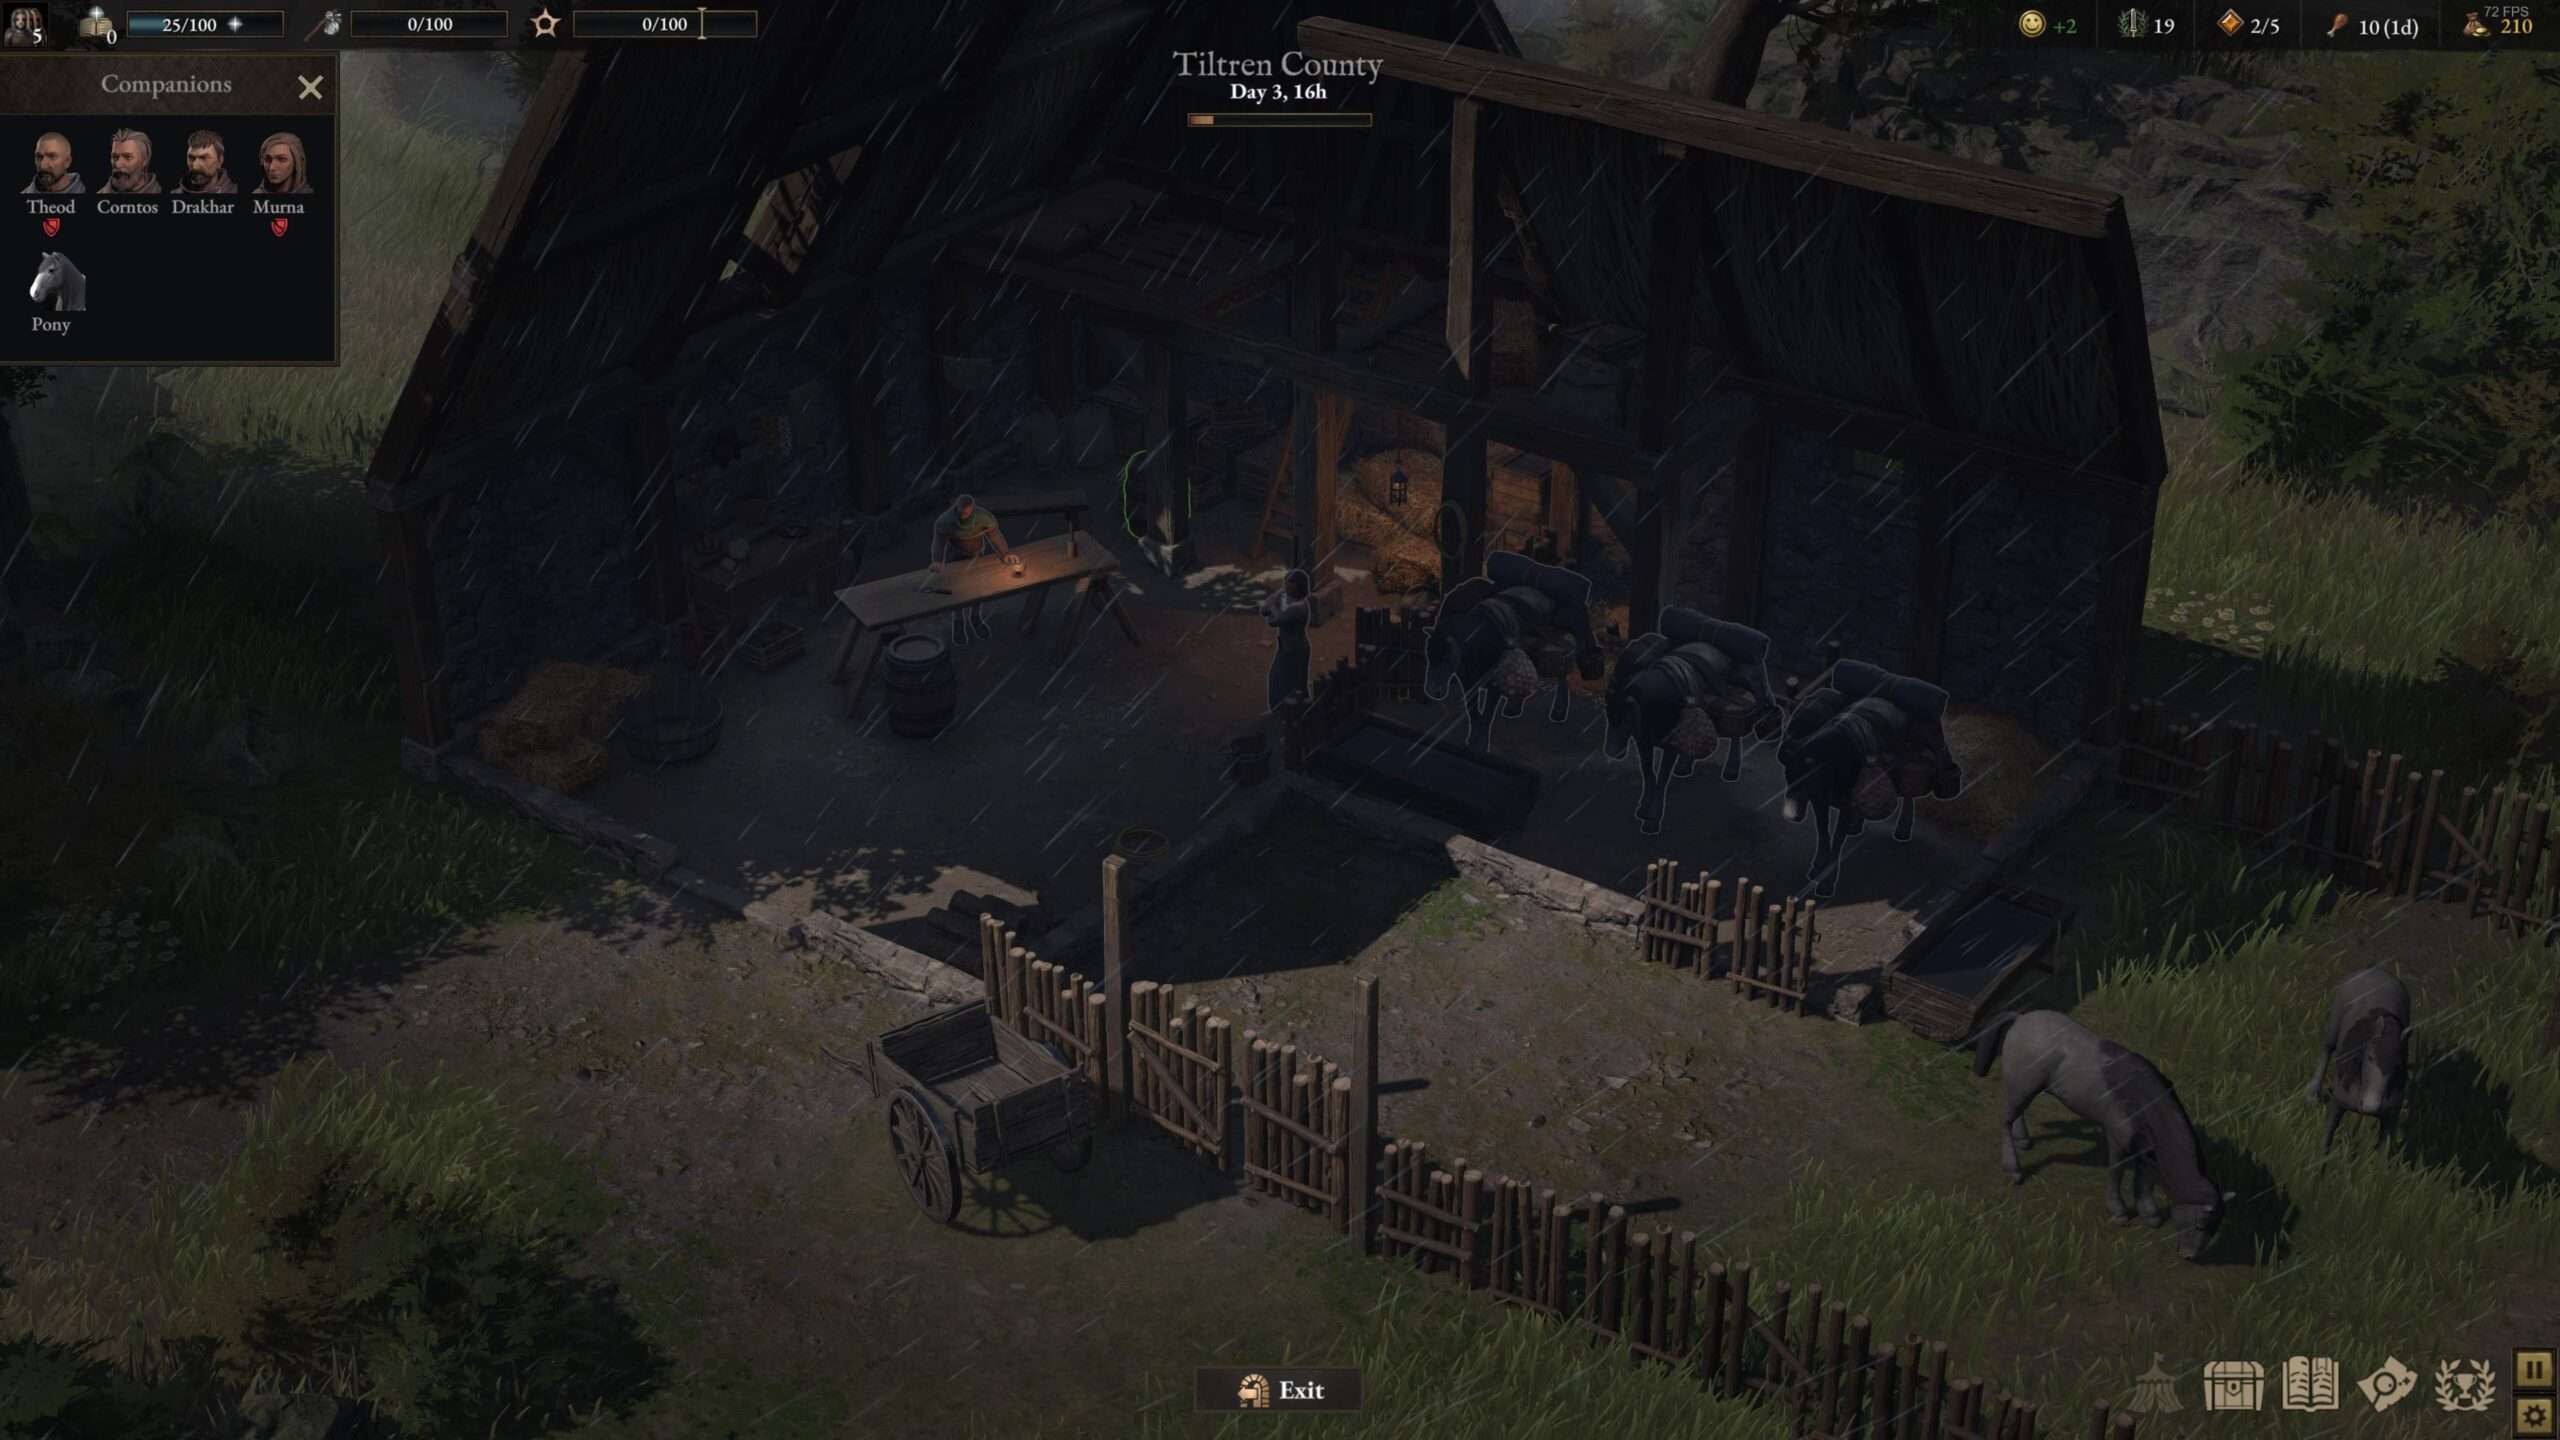
After killing the bandits, we moved up north and we came across a stable! note that we actually acquired some wisdom points by doing so so yay exploring!

You can enter locations like this and take a peek inside and either talk to the inhabitants or see if there is any loot to ‘borrow without asking’:
If we want, we could buy extra horses here and after talking to the stablemaster, he’ll give us free horseshoes if we buy a horse right now (or just rob him blind and kill him if he get’s mad or whatever)!
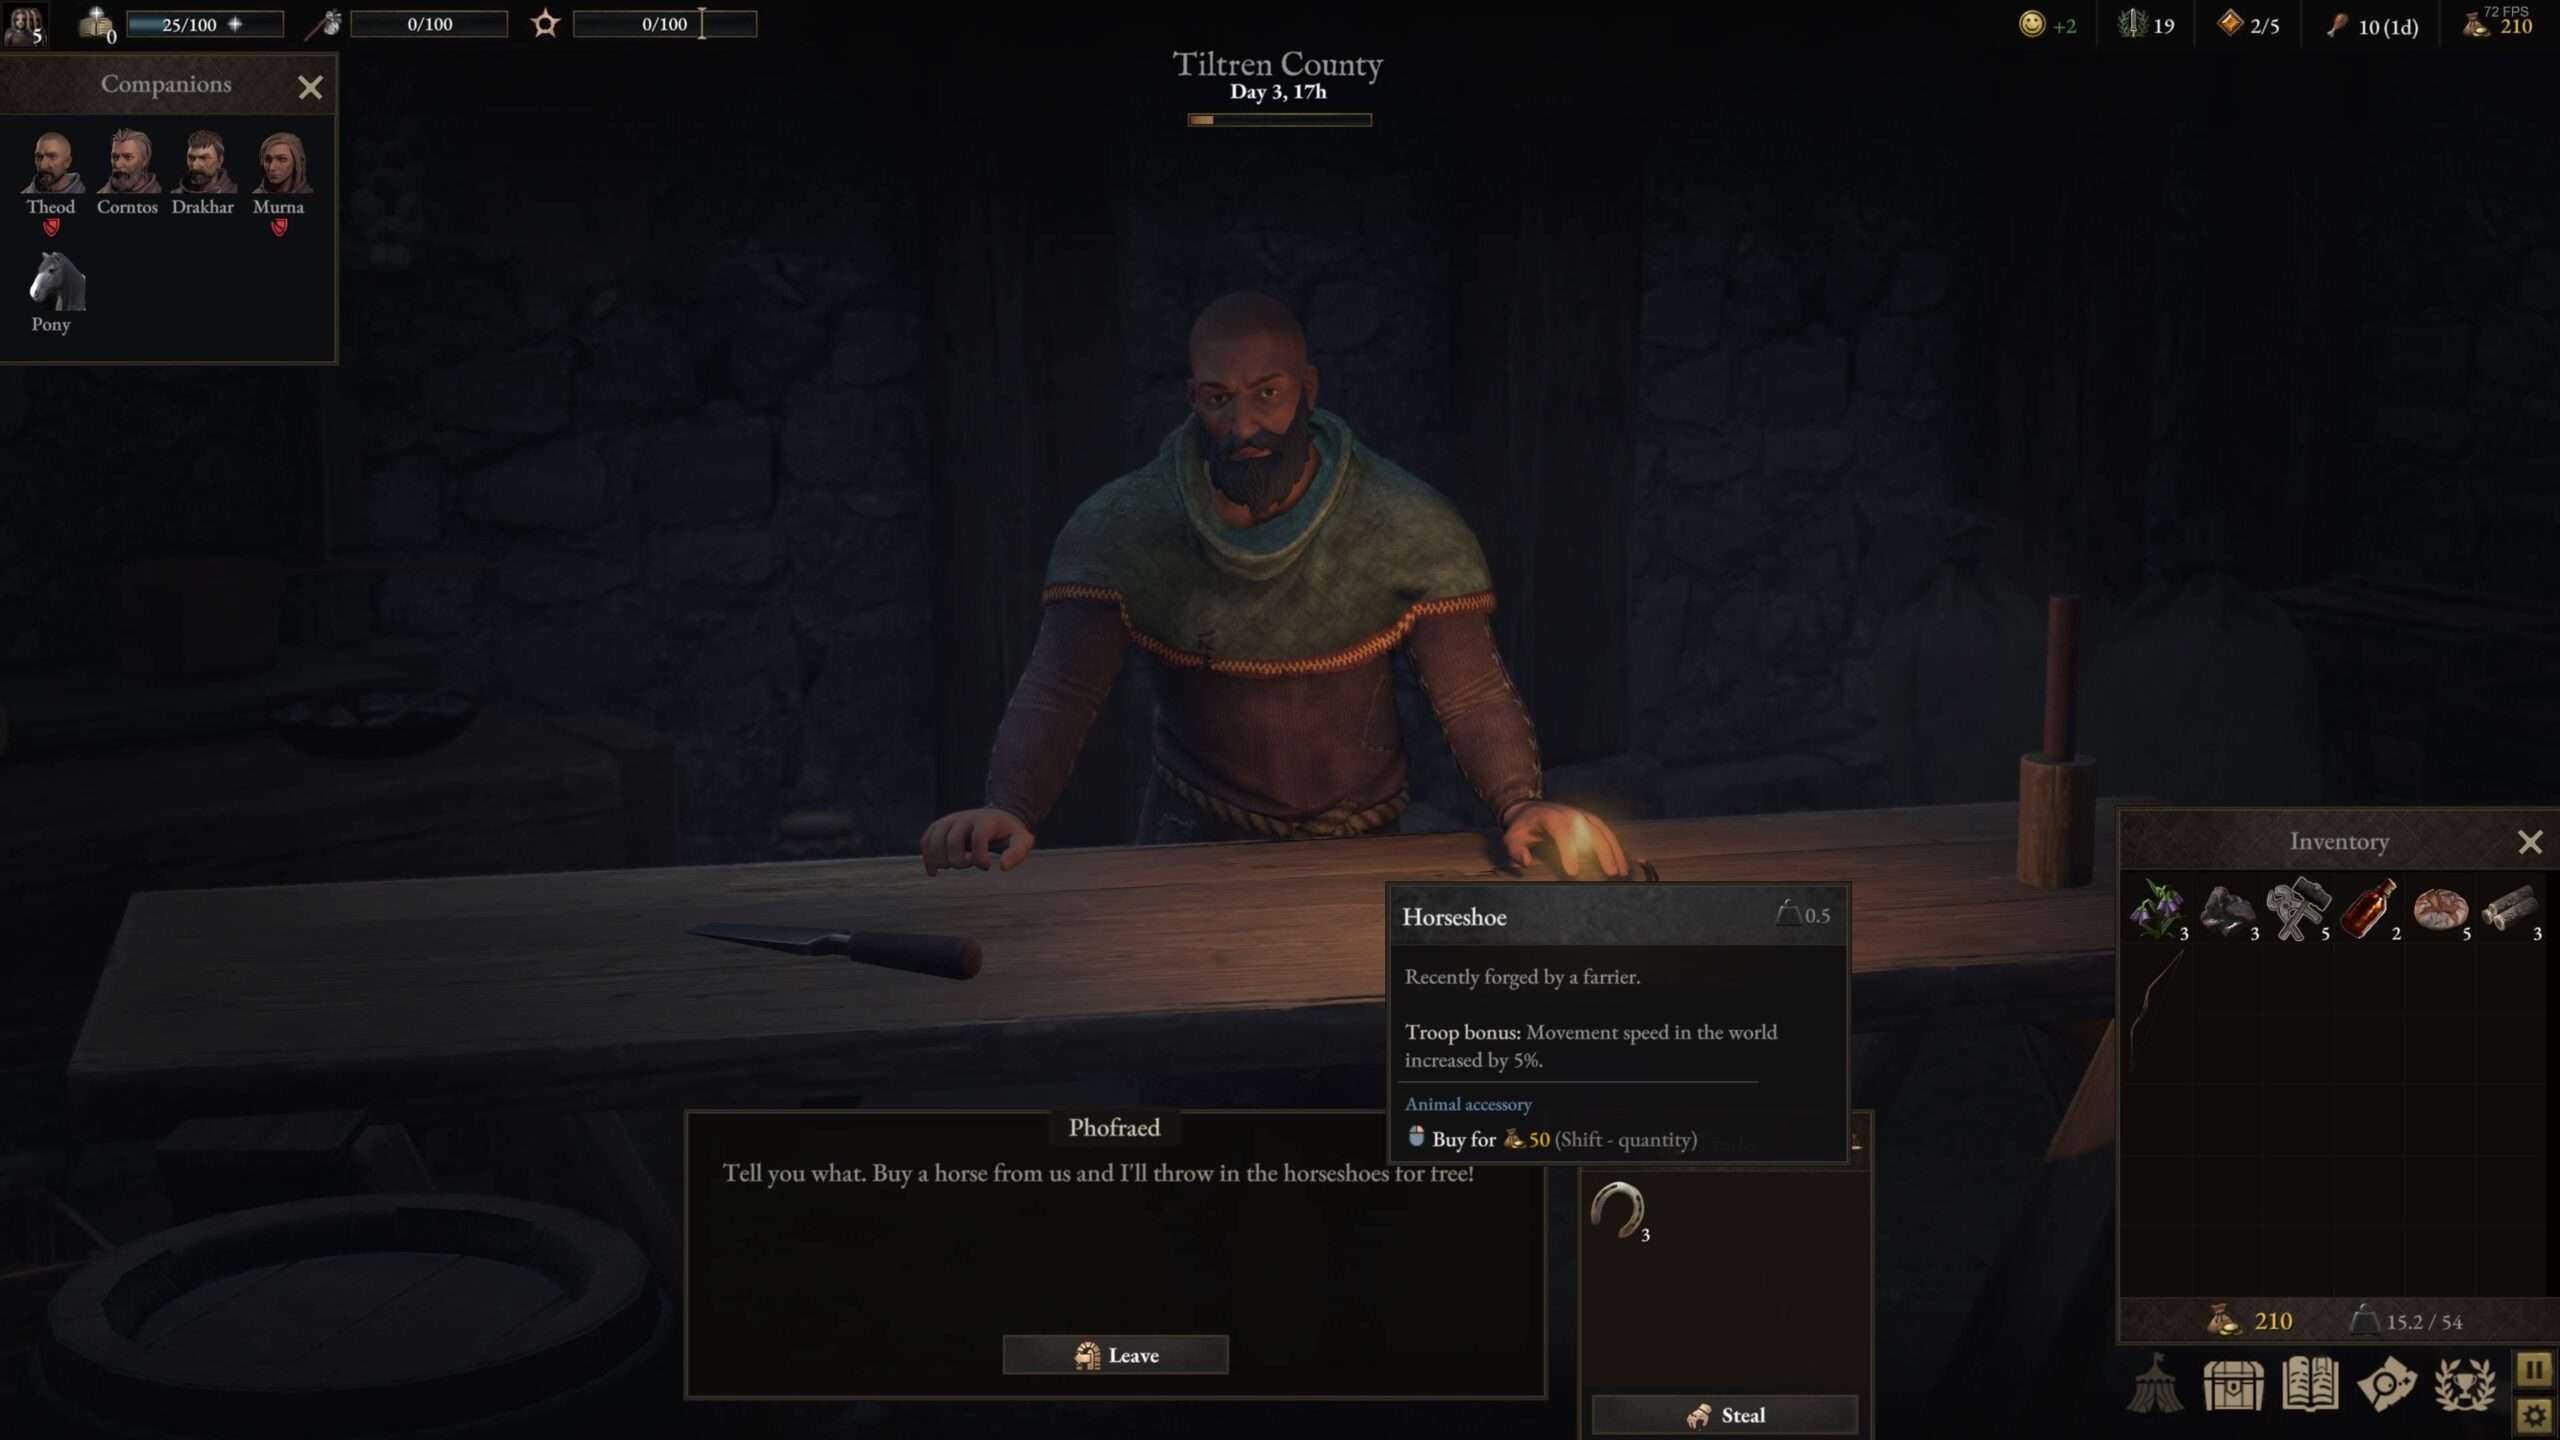
For now we don’t need any extra pack-horses so we just leave and wish them a pleasant non-bandit visiting day.
Visiting Stromkapp [Village Interactions]
We found our first village and by doing so, we should check out each building for discovering new stuff which we can make use of:

- The Blacksmith: Your boy for repairing your broken gear and dealer in tools. You can also use his forge to make your own gear.
- The Townhall: The boss of the village, you can check out with him or her and get to know what’s going on in the local country to get some clues about how to progress the region development.
- The market: Various merchants can be found here and a good place to stock up some food or other crafting supplies.
- The Inn: The best place to hang out! You can find contracts here to make coin, find new recruits or just drink beer to keep your company happy.
- The herbalist: Your local dealer for any kind of medicine. You will probarly come here often if you get your bro’s injured many times.
- Local Town info: Name of the town, it’s population and what kind of special goods they produce. You can make a living by doing contacts but also by trading high quality goods or why not just both?
Visiting Stromkapp [The Blacksmith]
Visiting the blacksmith:
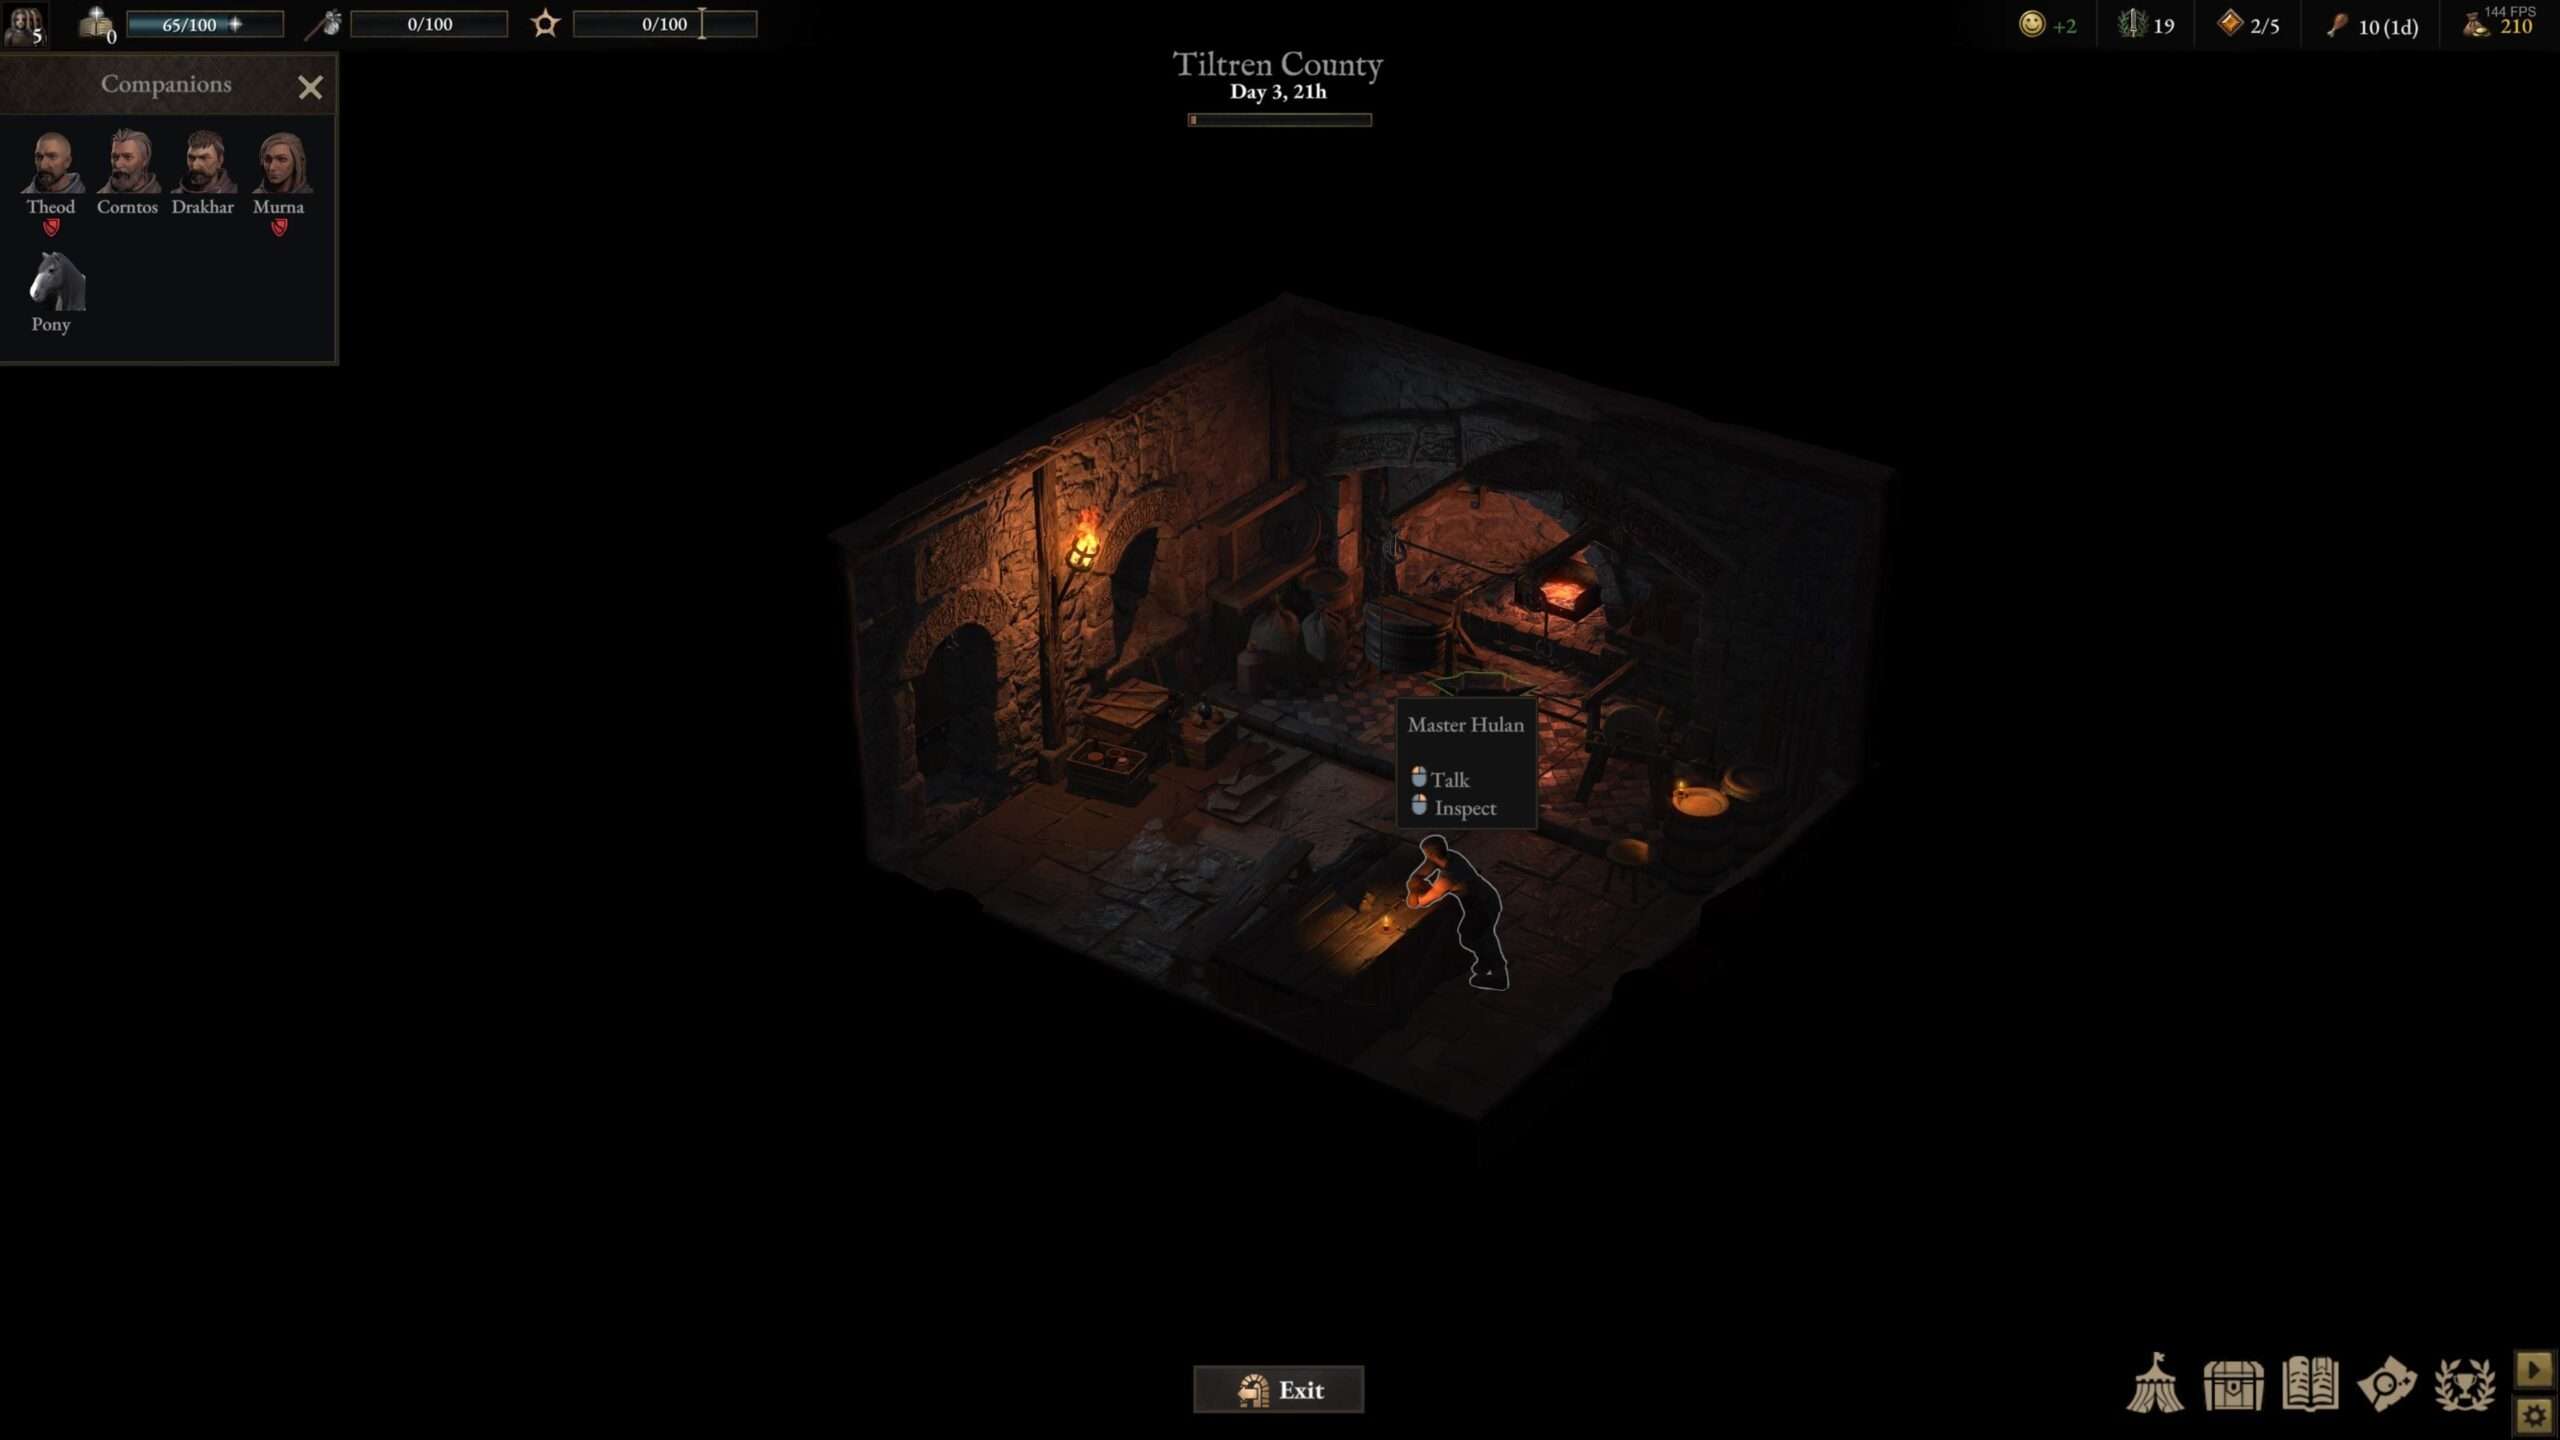
At the blacksmith you can have your broken gear repaired or forge new gear yourself! You can also trade with the blacksmith, he usually have some crafting materials for sale which you can use if you’re gonna make stuff by yourself. (again, you can rob him blind but for now, lets stick to the good side since we are no match for the armed town guards i guess.

As you can see, the tools are highlighted green, this means they have a temporarily price reduction! best time to buy some since they are actually discounted by a whopping 20% (it still just 1 Krown per tool but being a Dutch guy, every discount make me go wauw).
There is also a forge we can use so lets do so and after selecting it, we discovered a new profession: Blacksmith! (who knew?):

Since being a blacksmith gives a +1 strength bonus, lets make our trusty old boy Theod a blacksmith. Actually since all of our boys and girls are melee strength based oriented, we can make them all a blacksmith for now since you can always swap out professions. Note that when choosing a new profession since you already have one, you will lose all progress with your initial profession.
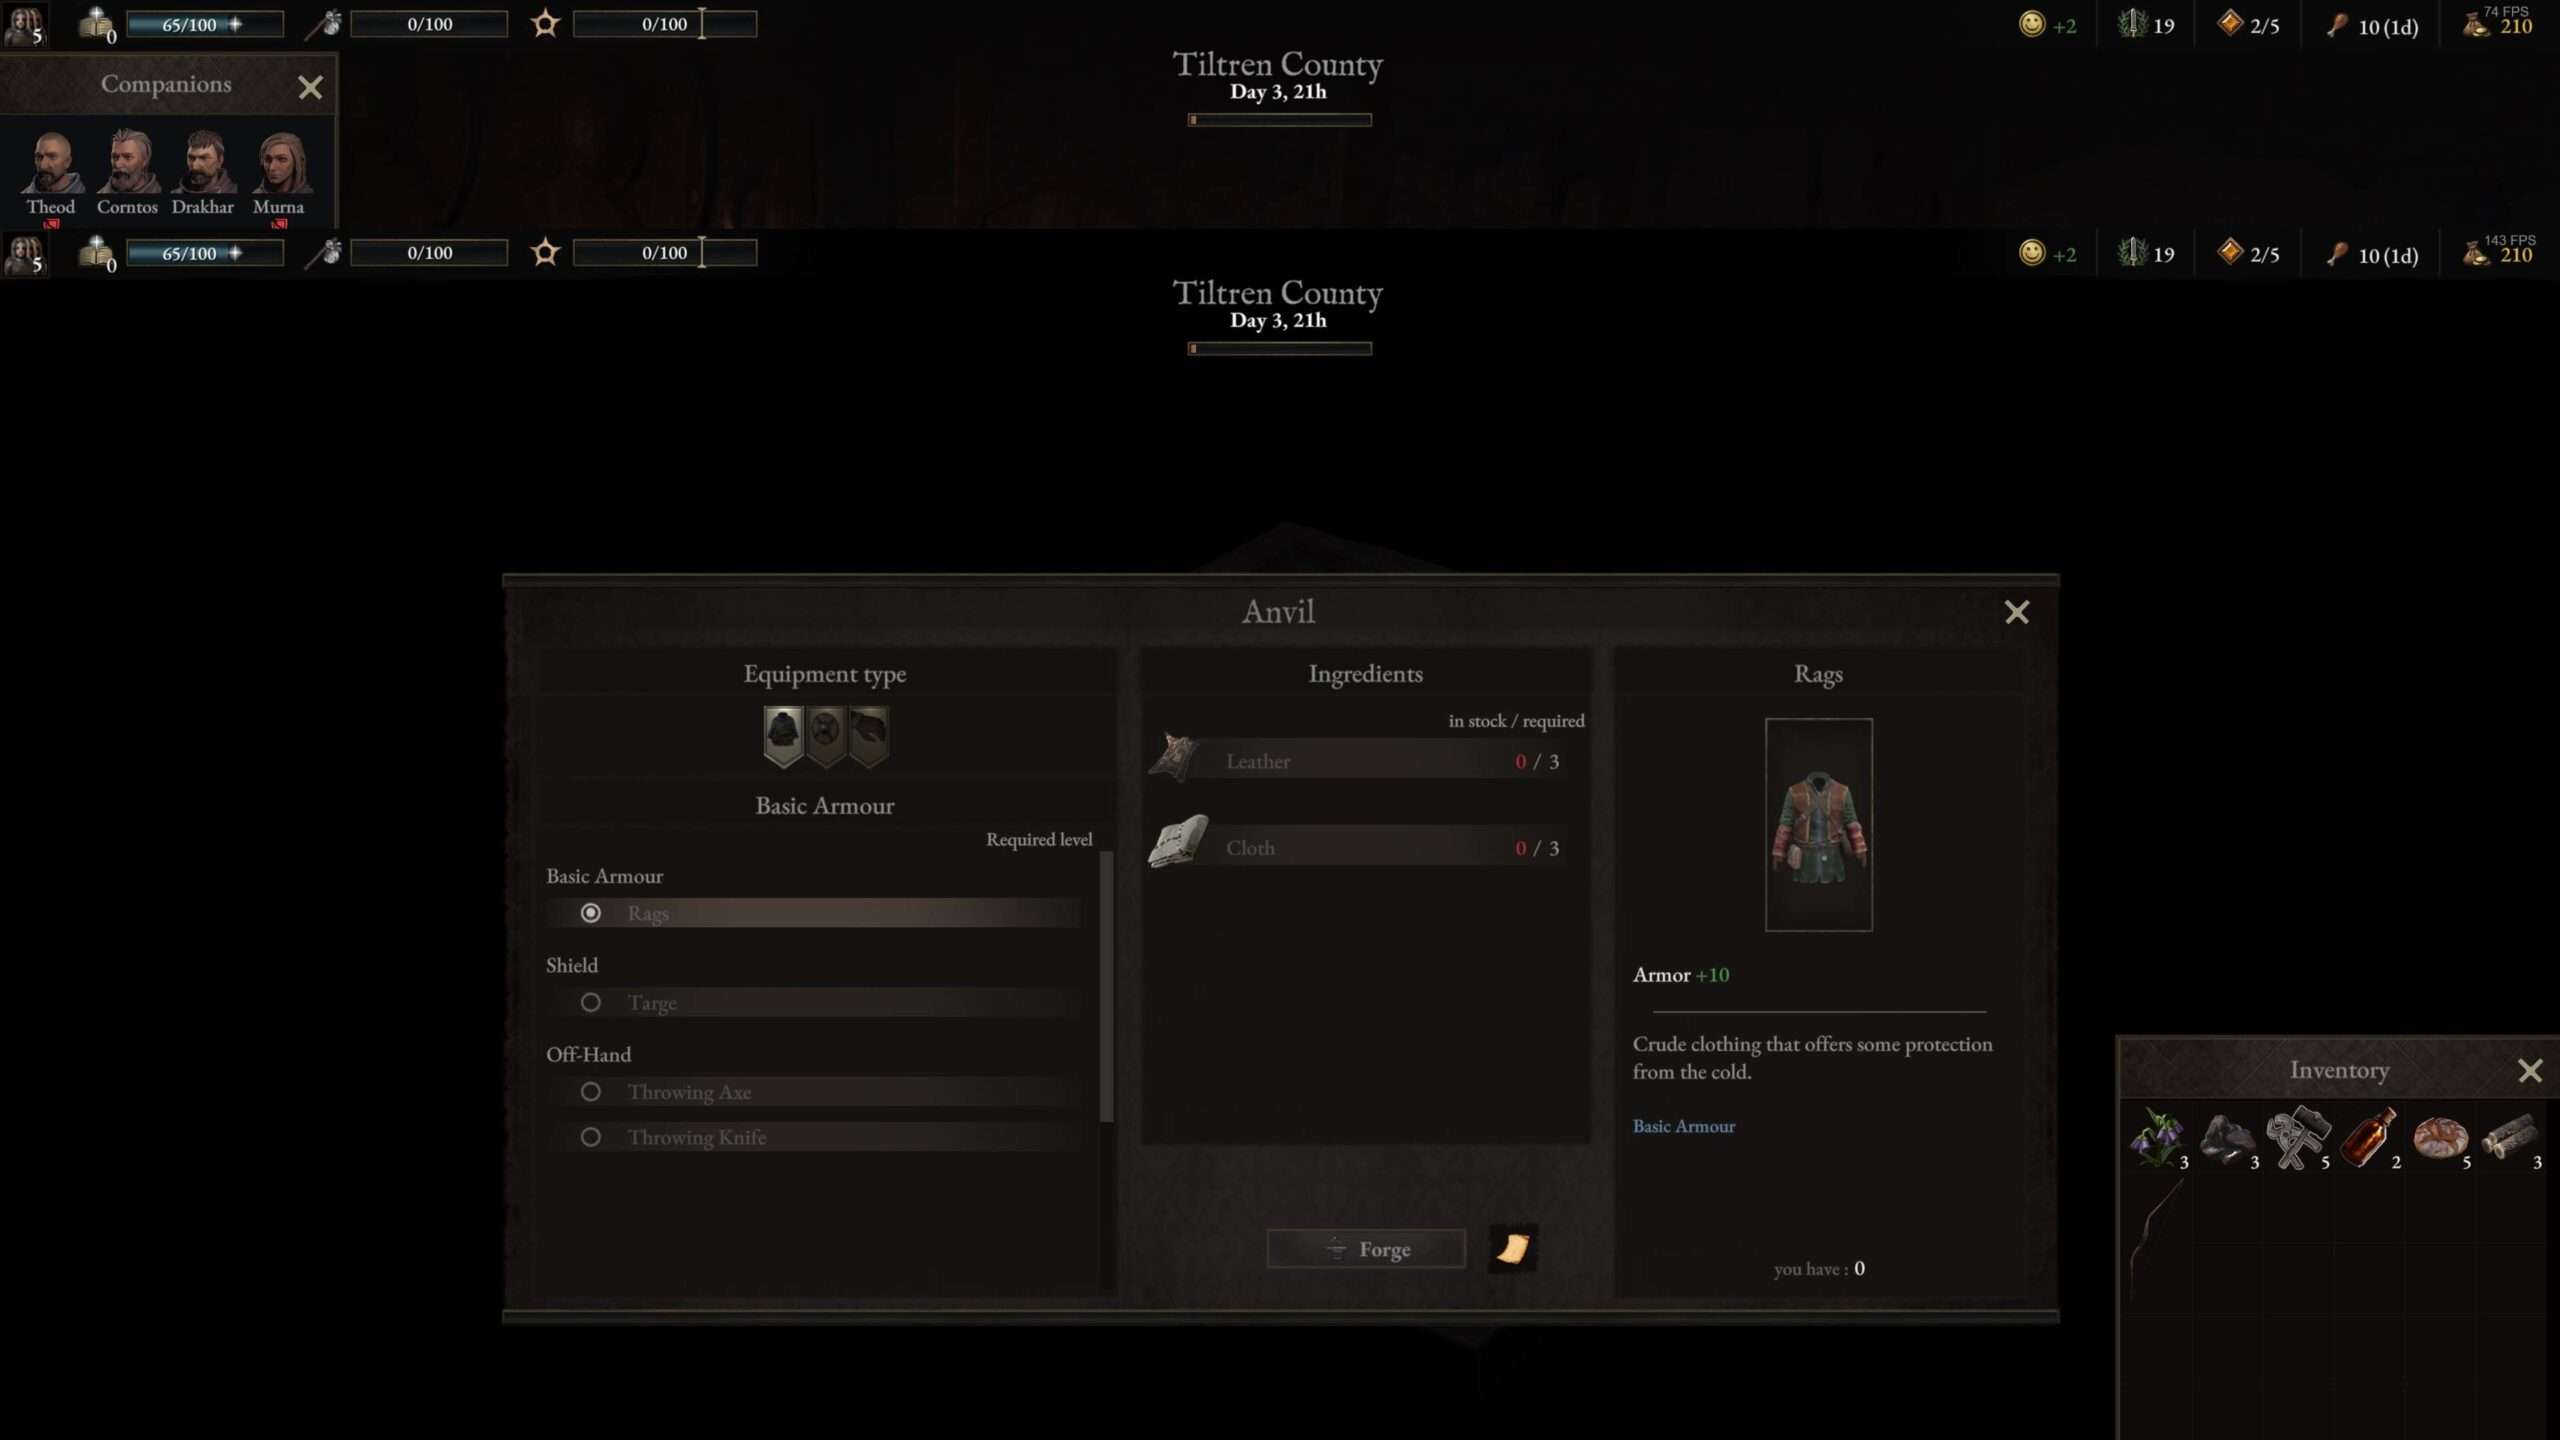
At the crafting menu, you can see all types of gear you can craft if you have all materials needed. You can learn new recipes by spending wisdom points and perhaps by certain events. For now its a joke what we can craft but practice makes perfect and eventually you can make legendary gear to demolish any joker who made fun of the simple rags you made during your first days as a smith.
Visiting Stromkapp [The Townhall]
Let’s check out the biggest building in the village, the Townhall.
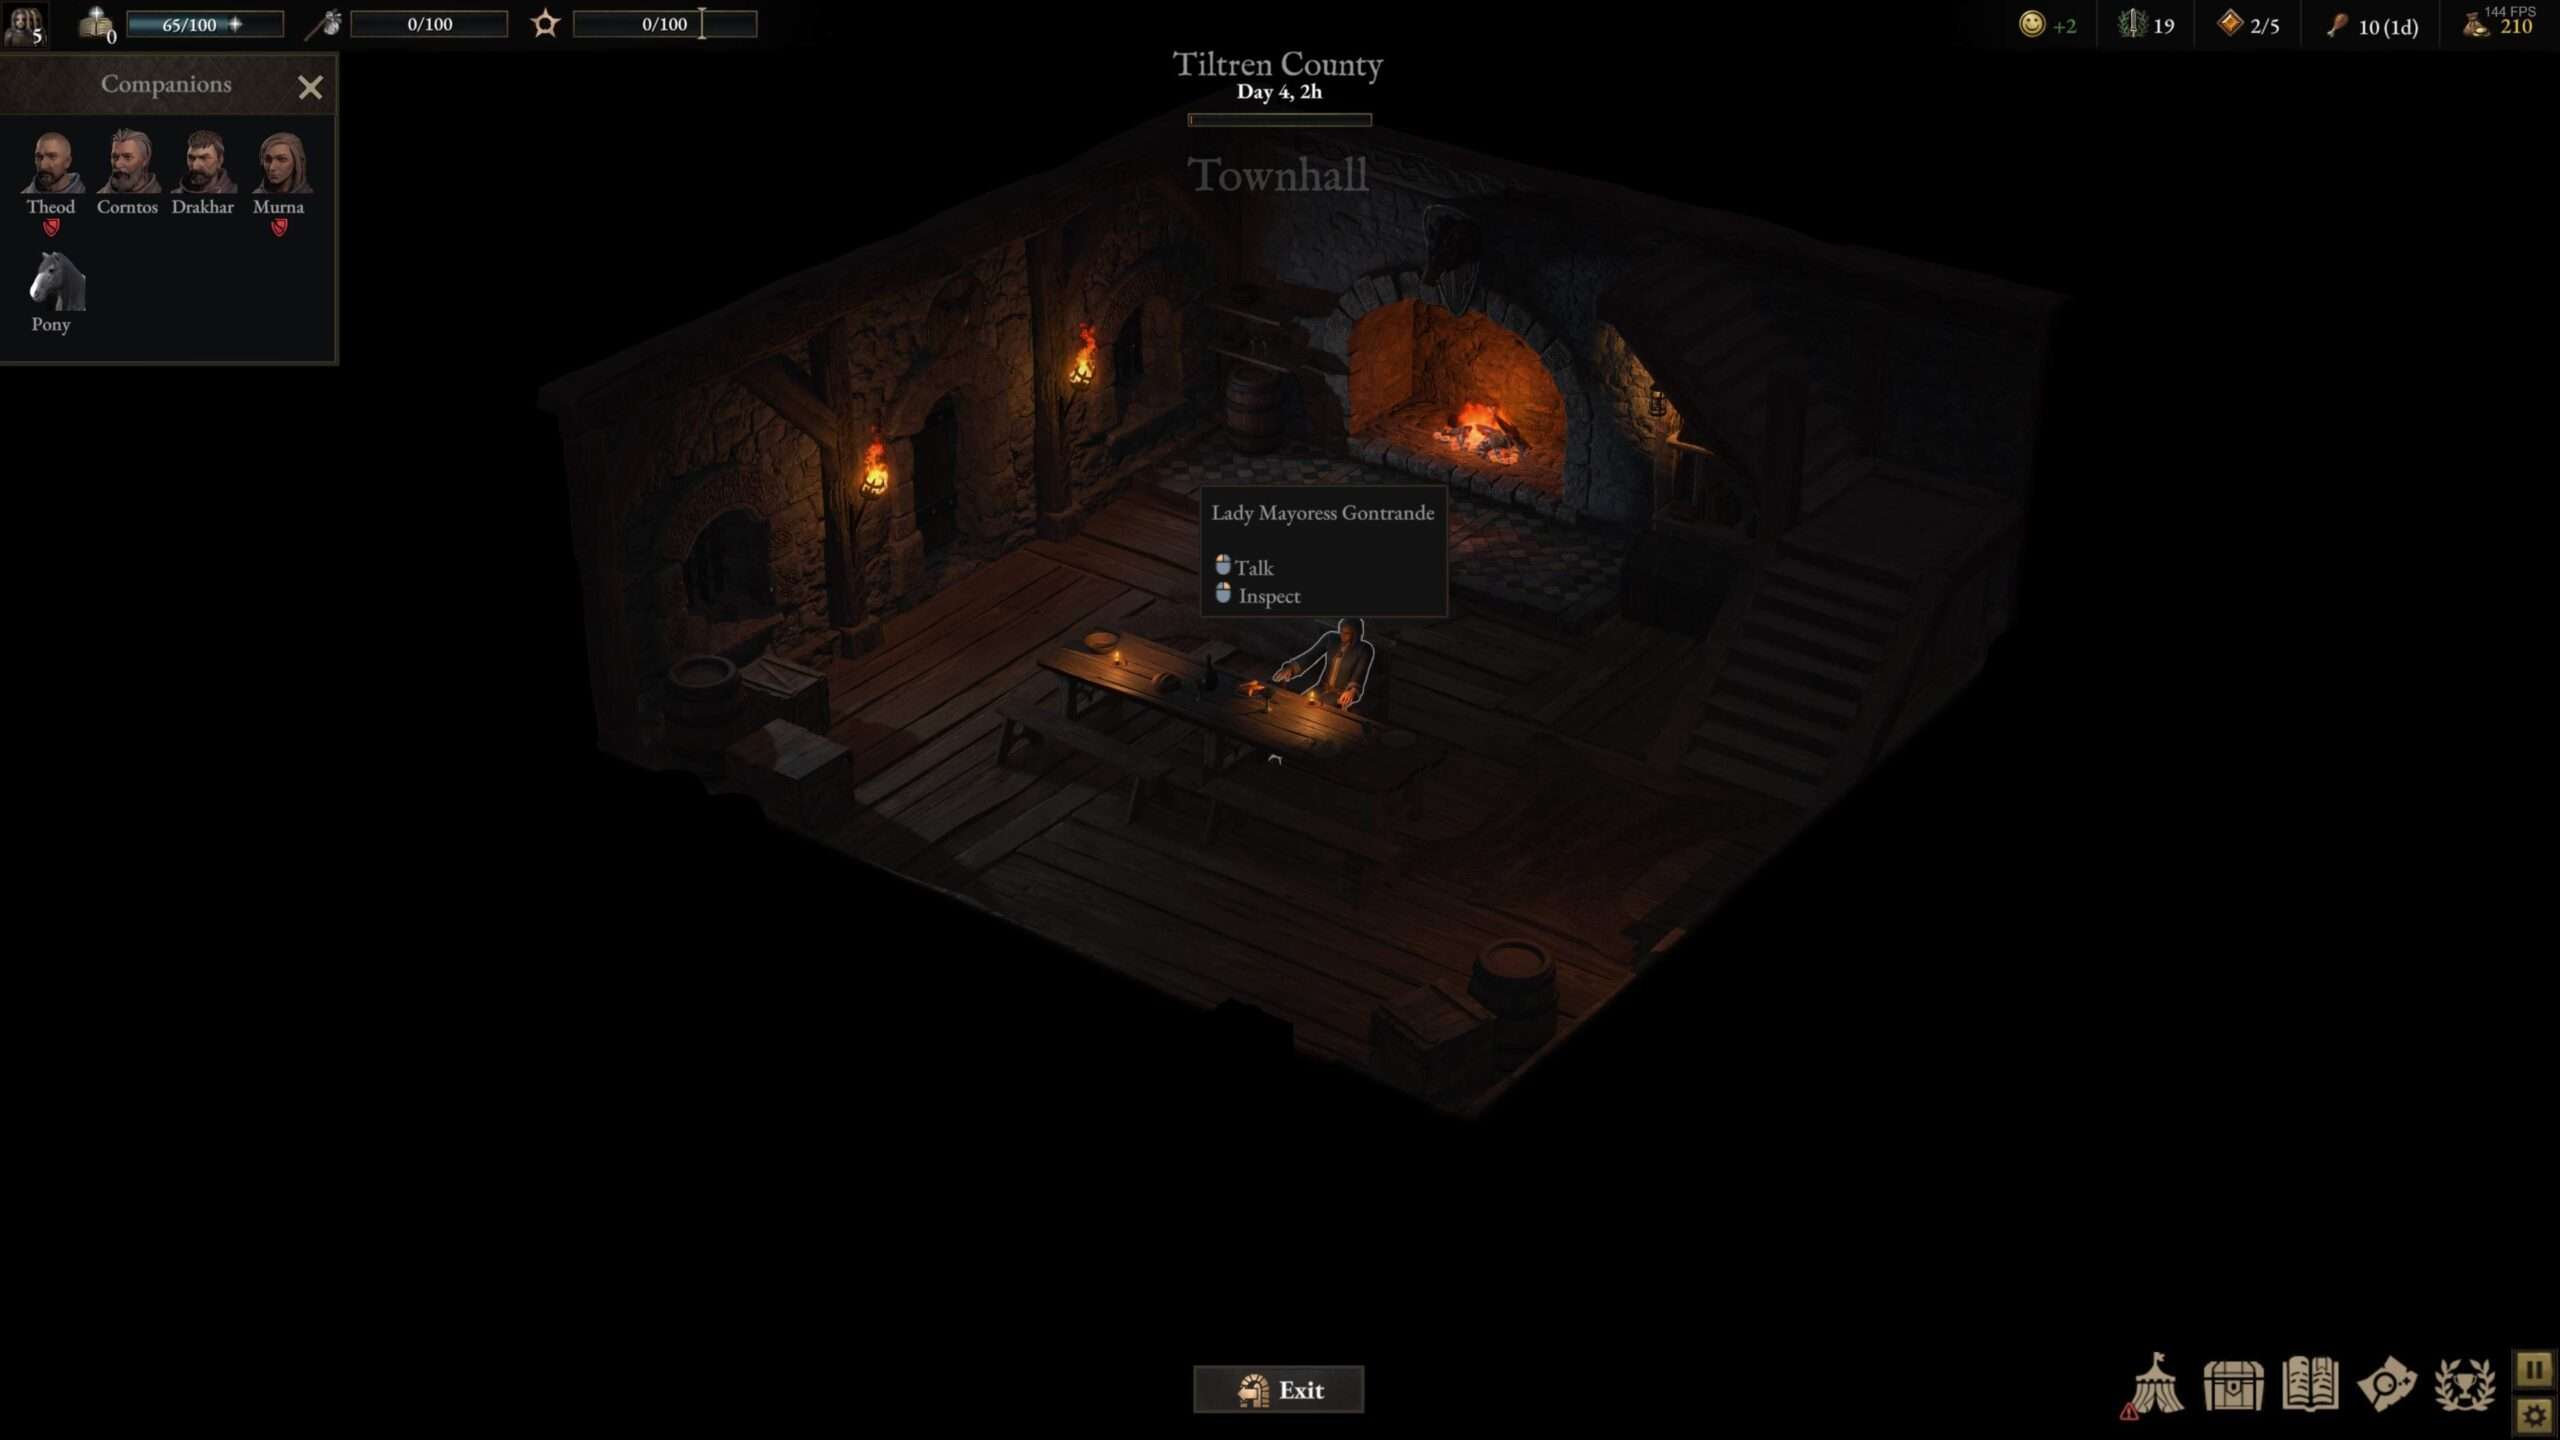
Not much going on here, you can talk to the governess to gain a bit of info on what’s going on in the region and how you can do anything about it… or not. We will probably have to get back here sometime, time will tell!
Visiting Stromkapp [The Market]
The market is exactly as you expect it to be, quite some different merchants hanging around, selling food, crafting materials and trade goods but also some beggars hanging around, hoping some good chap would toss a coin it’s way.
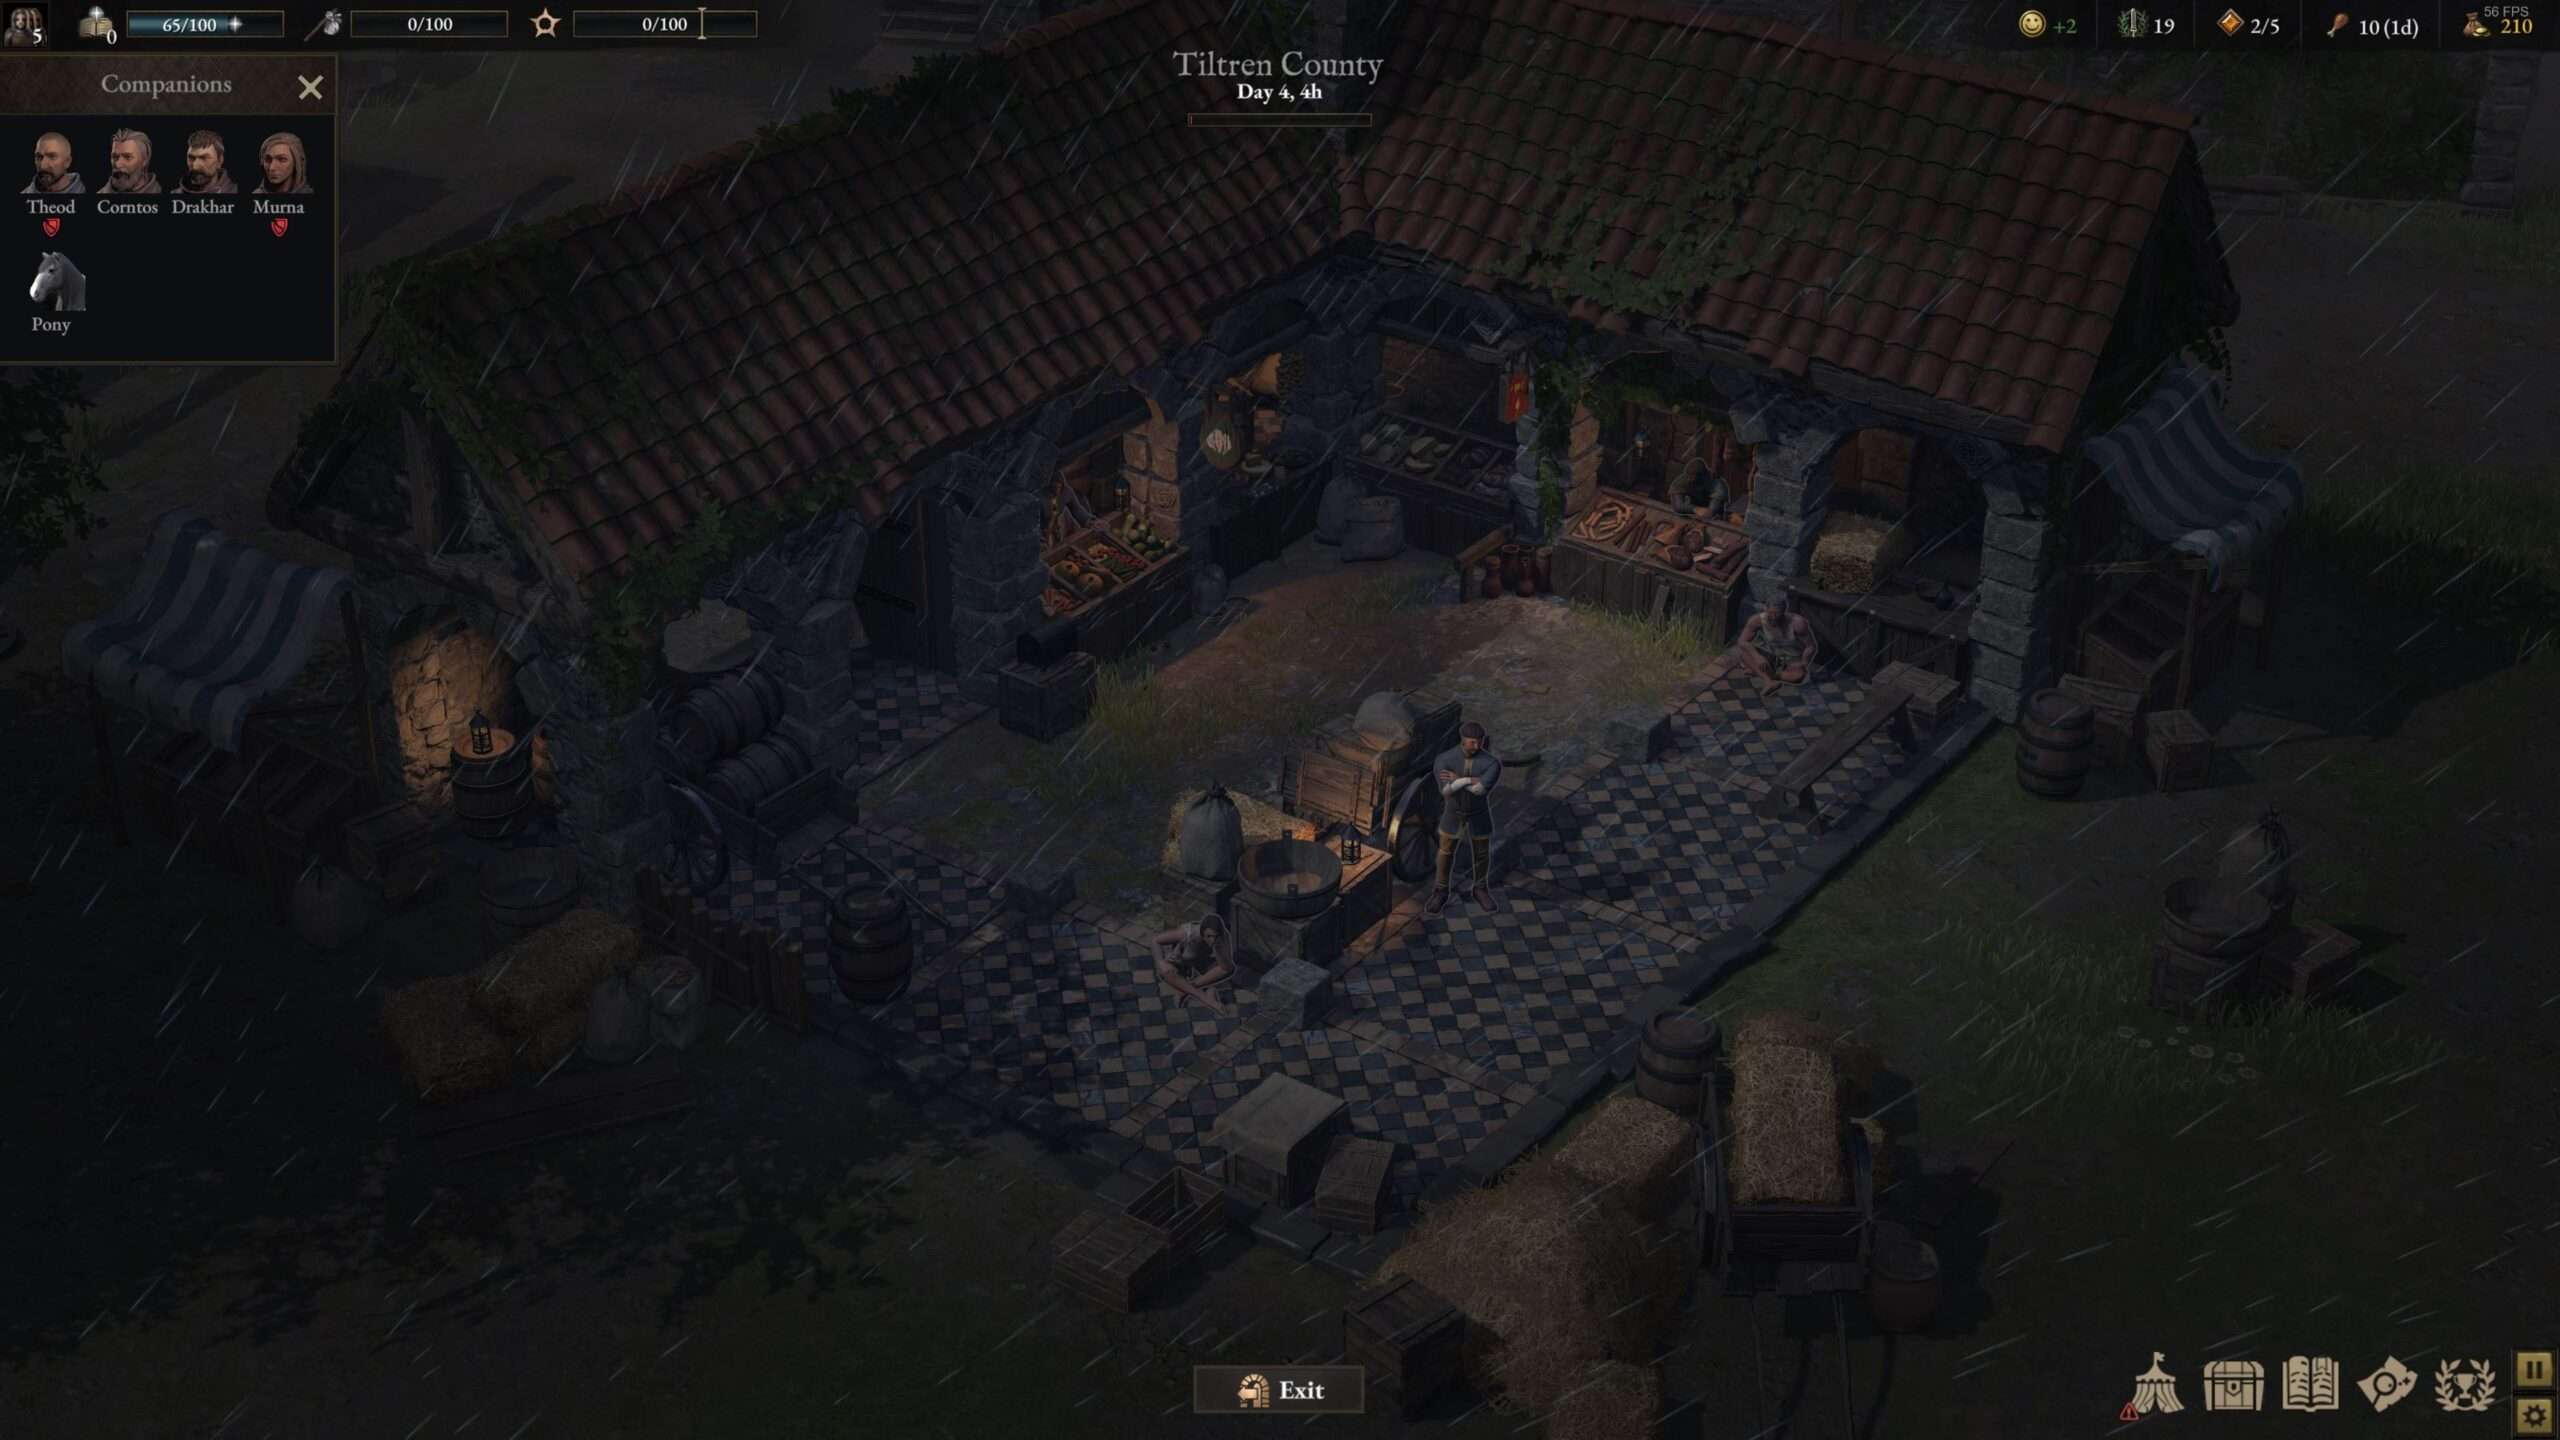
It’s the perfect place to stock up some food since our company marches on it’s stomach and without it, we’ll be eating dust without ever getting up again.
Also, we found this poor beggar Renard and for a little fee he will polish our armor! I felt generous so decided to toss a few coins to him, poor sod could use some to get some cloths he can polish for his own.
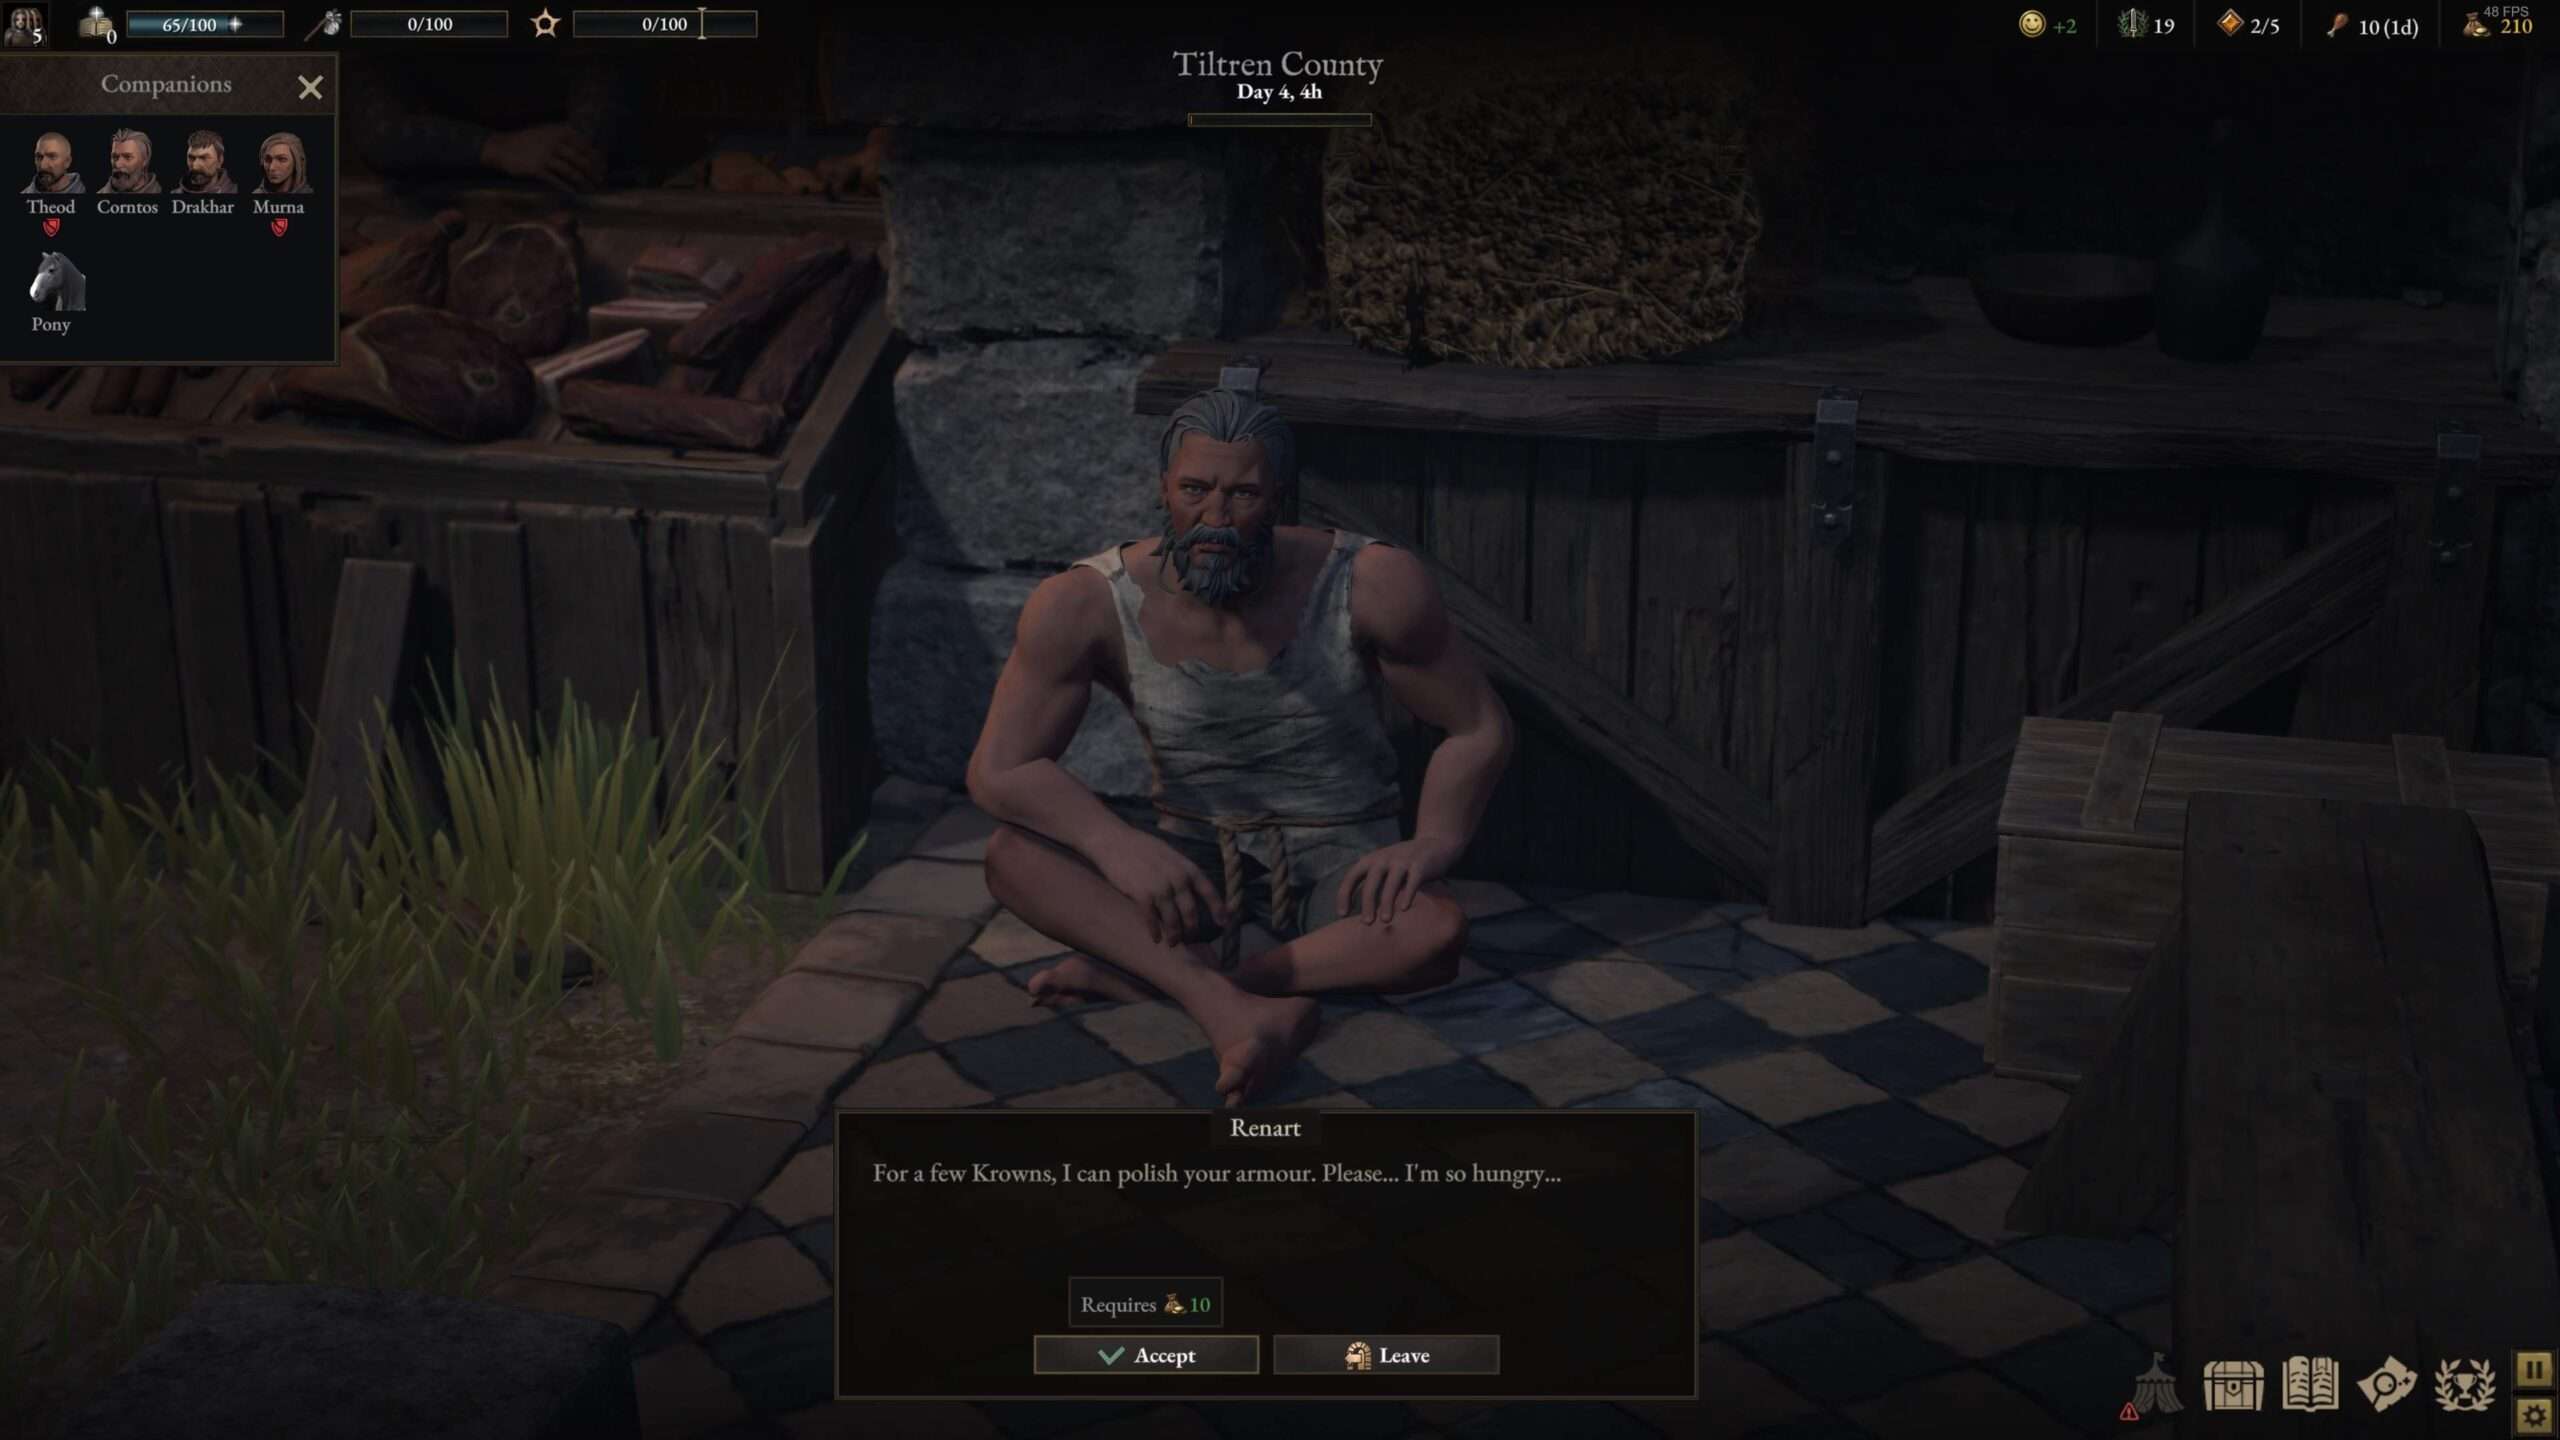
Bastard robbed us! Should we ever find him, he’s gonna be in a world of hurt.
Visiting Stromkapp [The Inn]
Best place to be in town, the Inn!
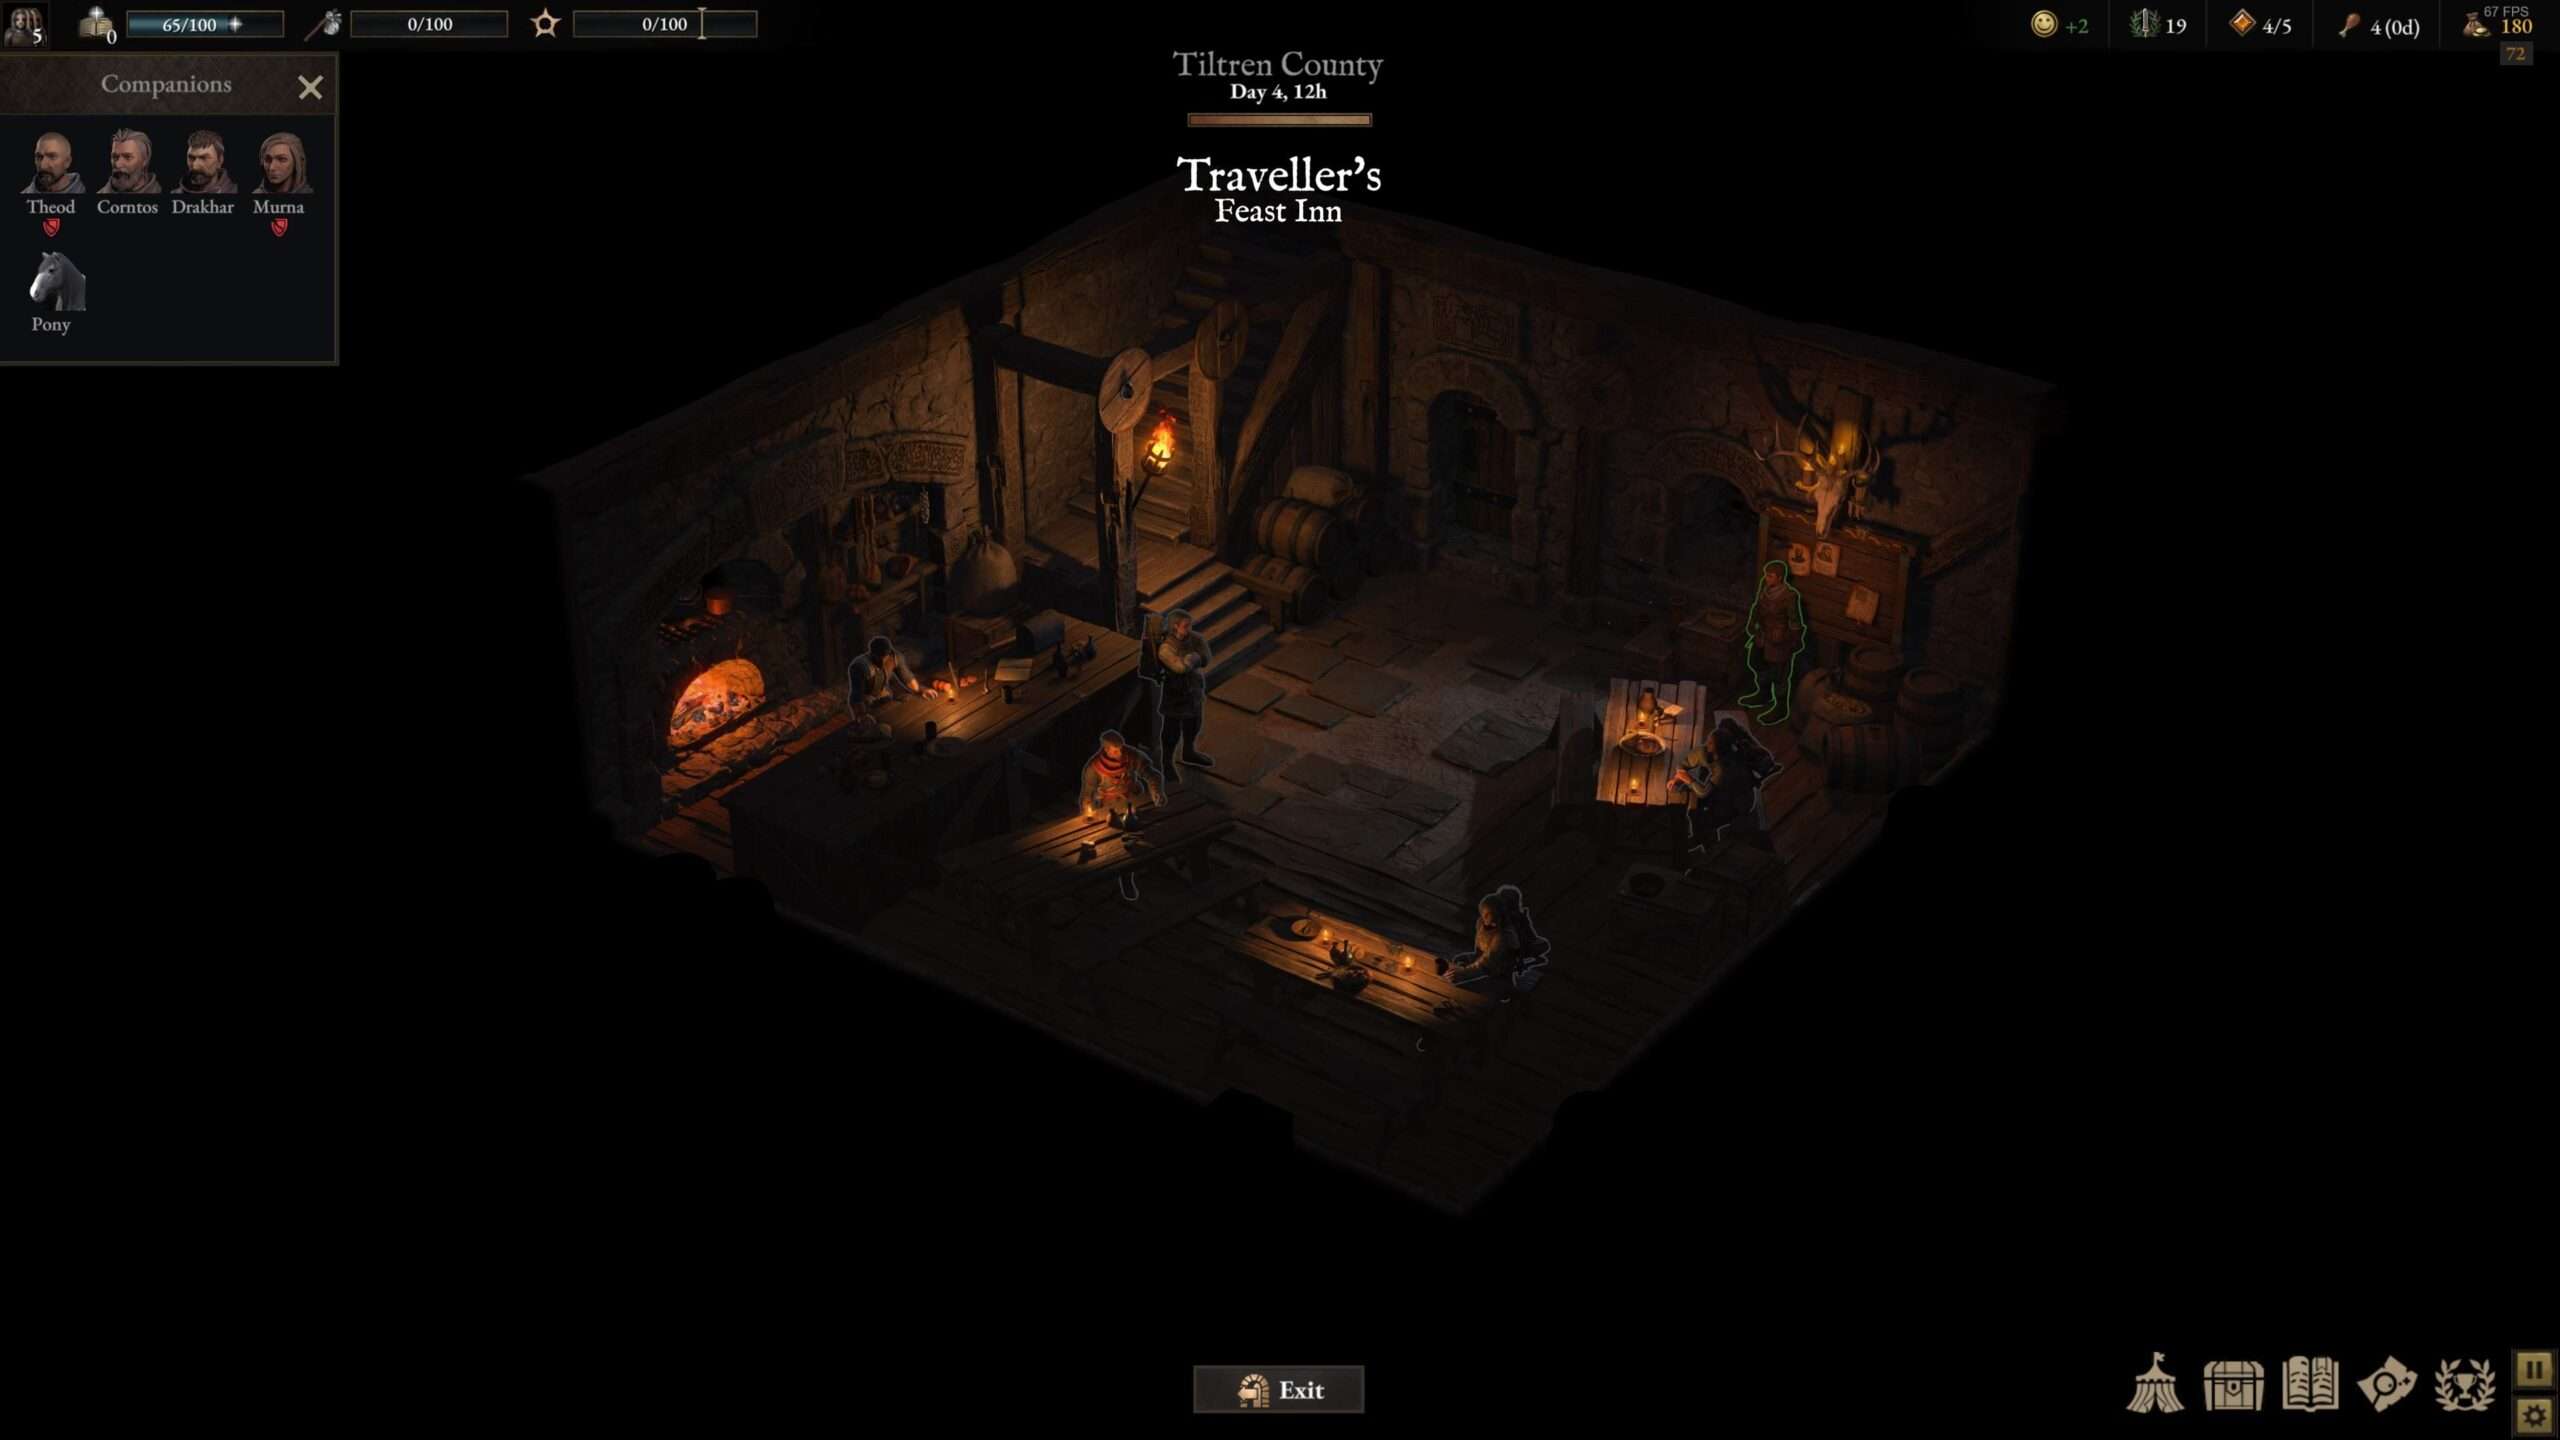
Here you can buy special food like pies and stuff which gives nice bonuses such as reduced fatique build up until the next time you rest! And speaking of resting, you can also rent some beds here for a proper night’s sleep but this will cost you of course but it also replenishes more valour points so it might be worth it sometimes. An inn wouldn’t be a Inn without selling beer so you should buy some since you can use it during camp to improve the happiness of your boys!
Besides the inkeeper, there a lot of other interesting individuals and the one sitting close to the inkeeper on the table is the informant.
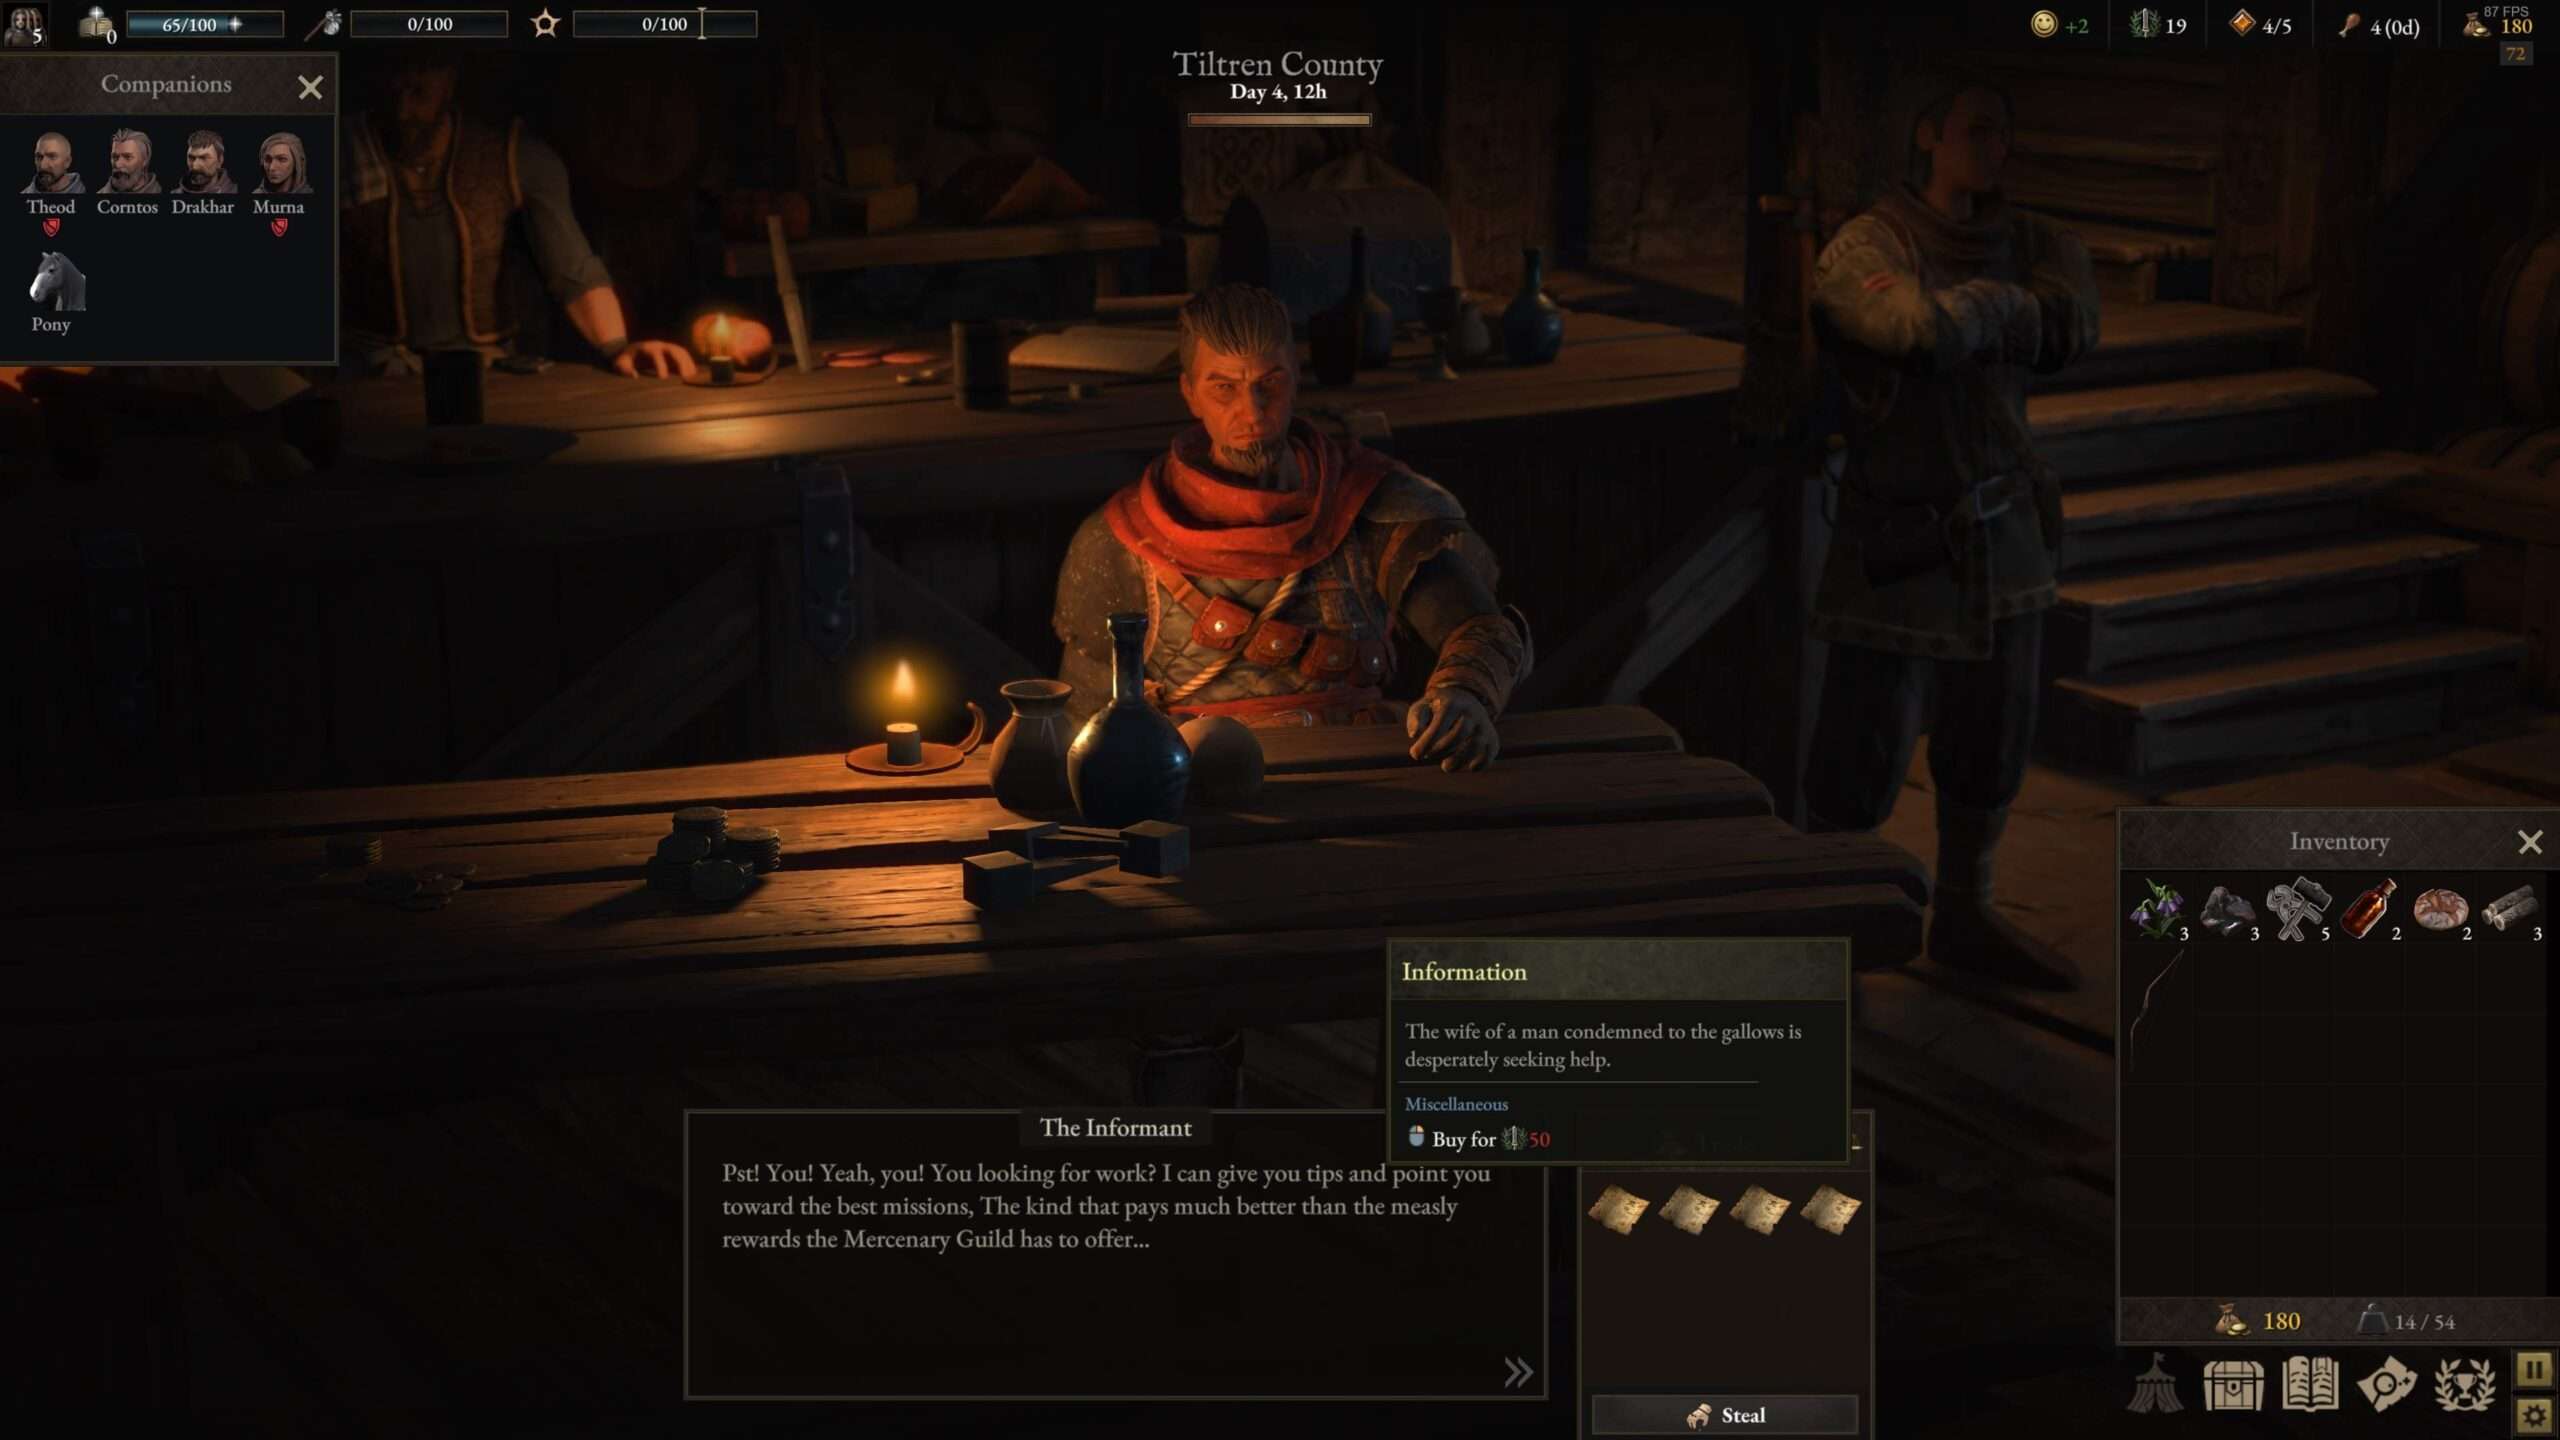
This guy can sell you pieces of information which lead to unique quest in the region which are actually the ones which will progress the region story. You’ll have to spend influence to do so but it’s not mandatory to buy them since you can also just find them on your own.
On the other side of the room, next to the bounty board, there is an Emissary hanging around looking for mercenaries to do some good old fashioned bounty hunting.
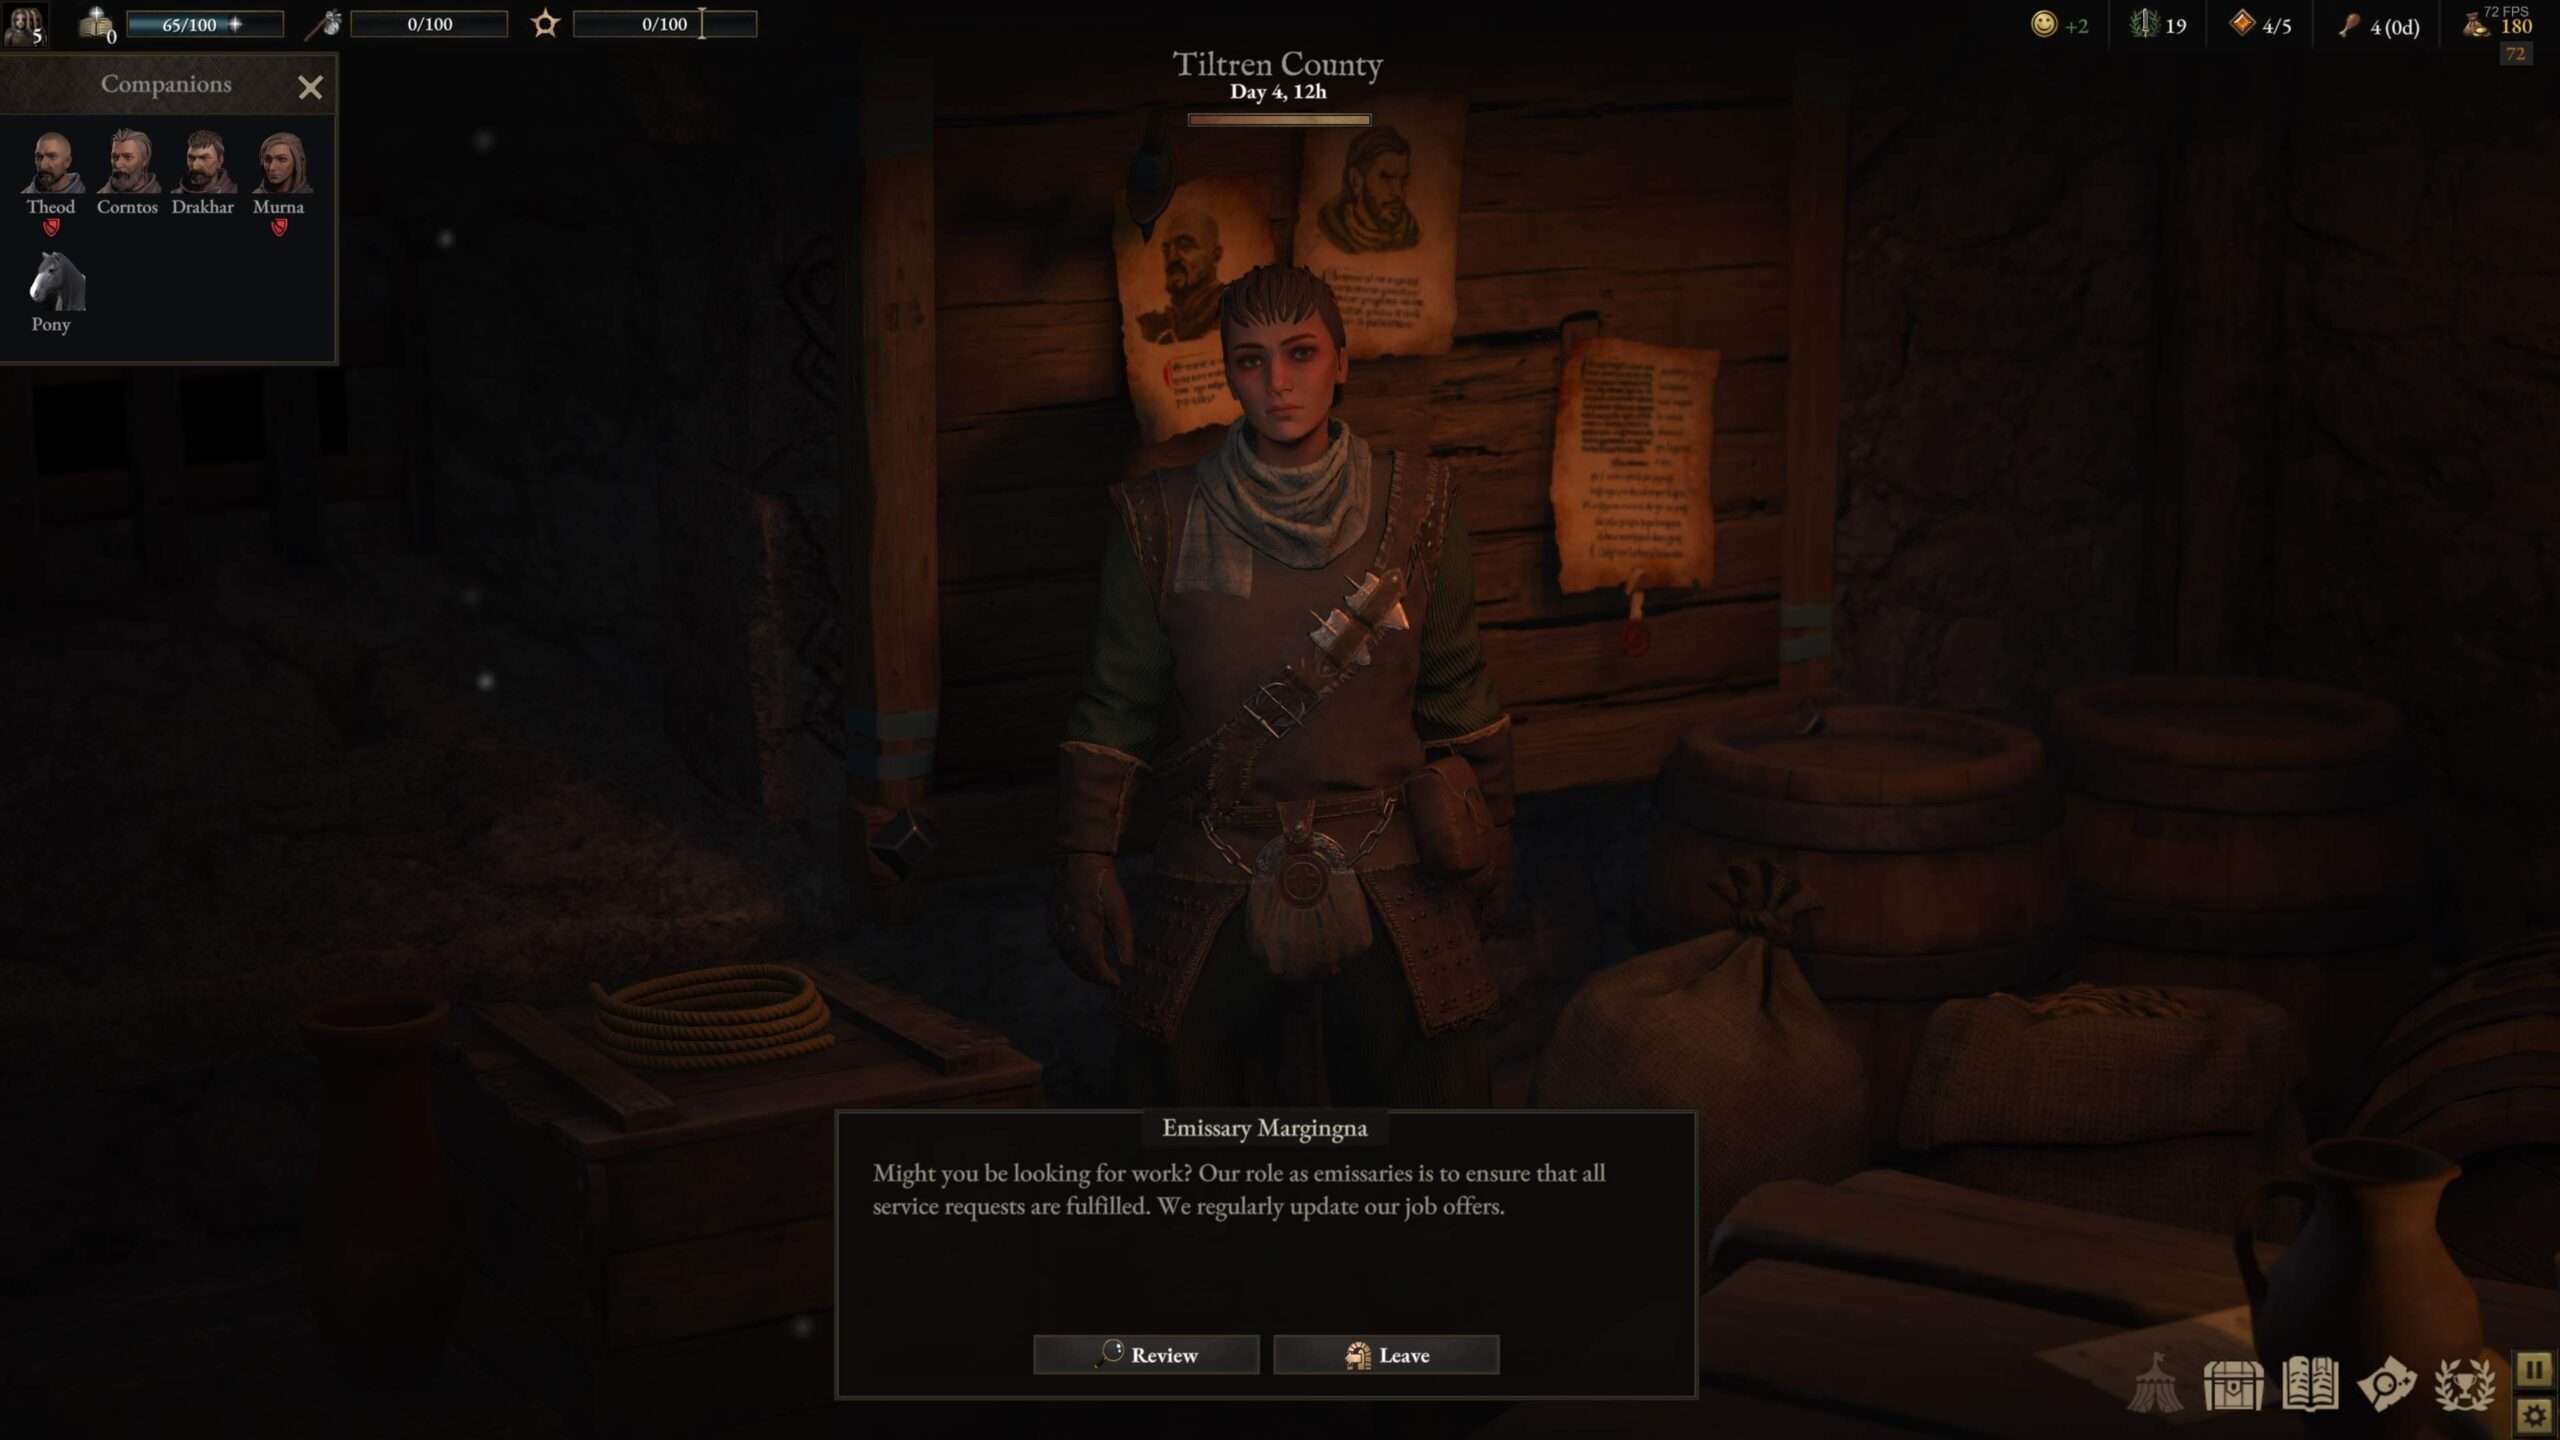
Here you can check out some bounties for you to take on and earn some money by doing ‘honest’ work. Note that each bounty states a difficulty and also shows a small compass showing where you would have to go so try to get multiple who are in the same direction and are not too difficult, unless you are over-confident you can take on the more difficult ones.
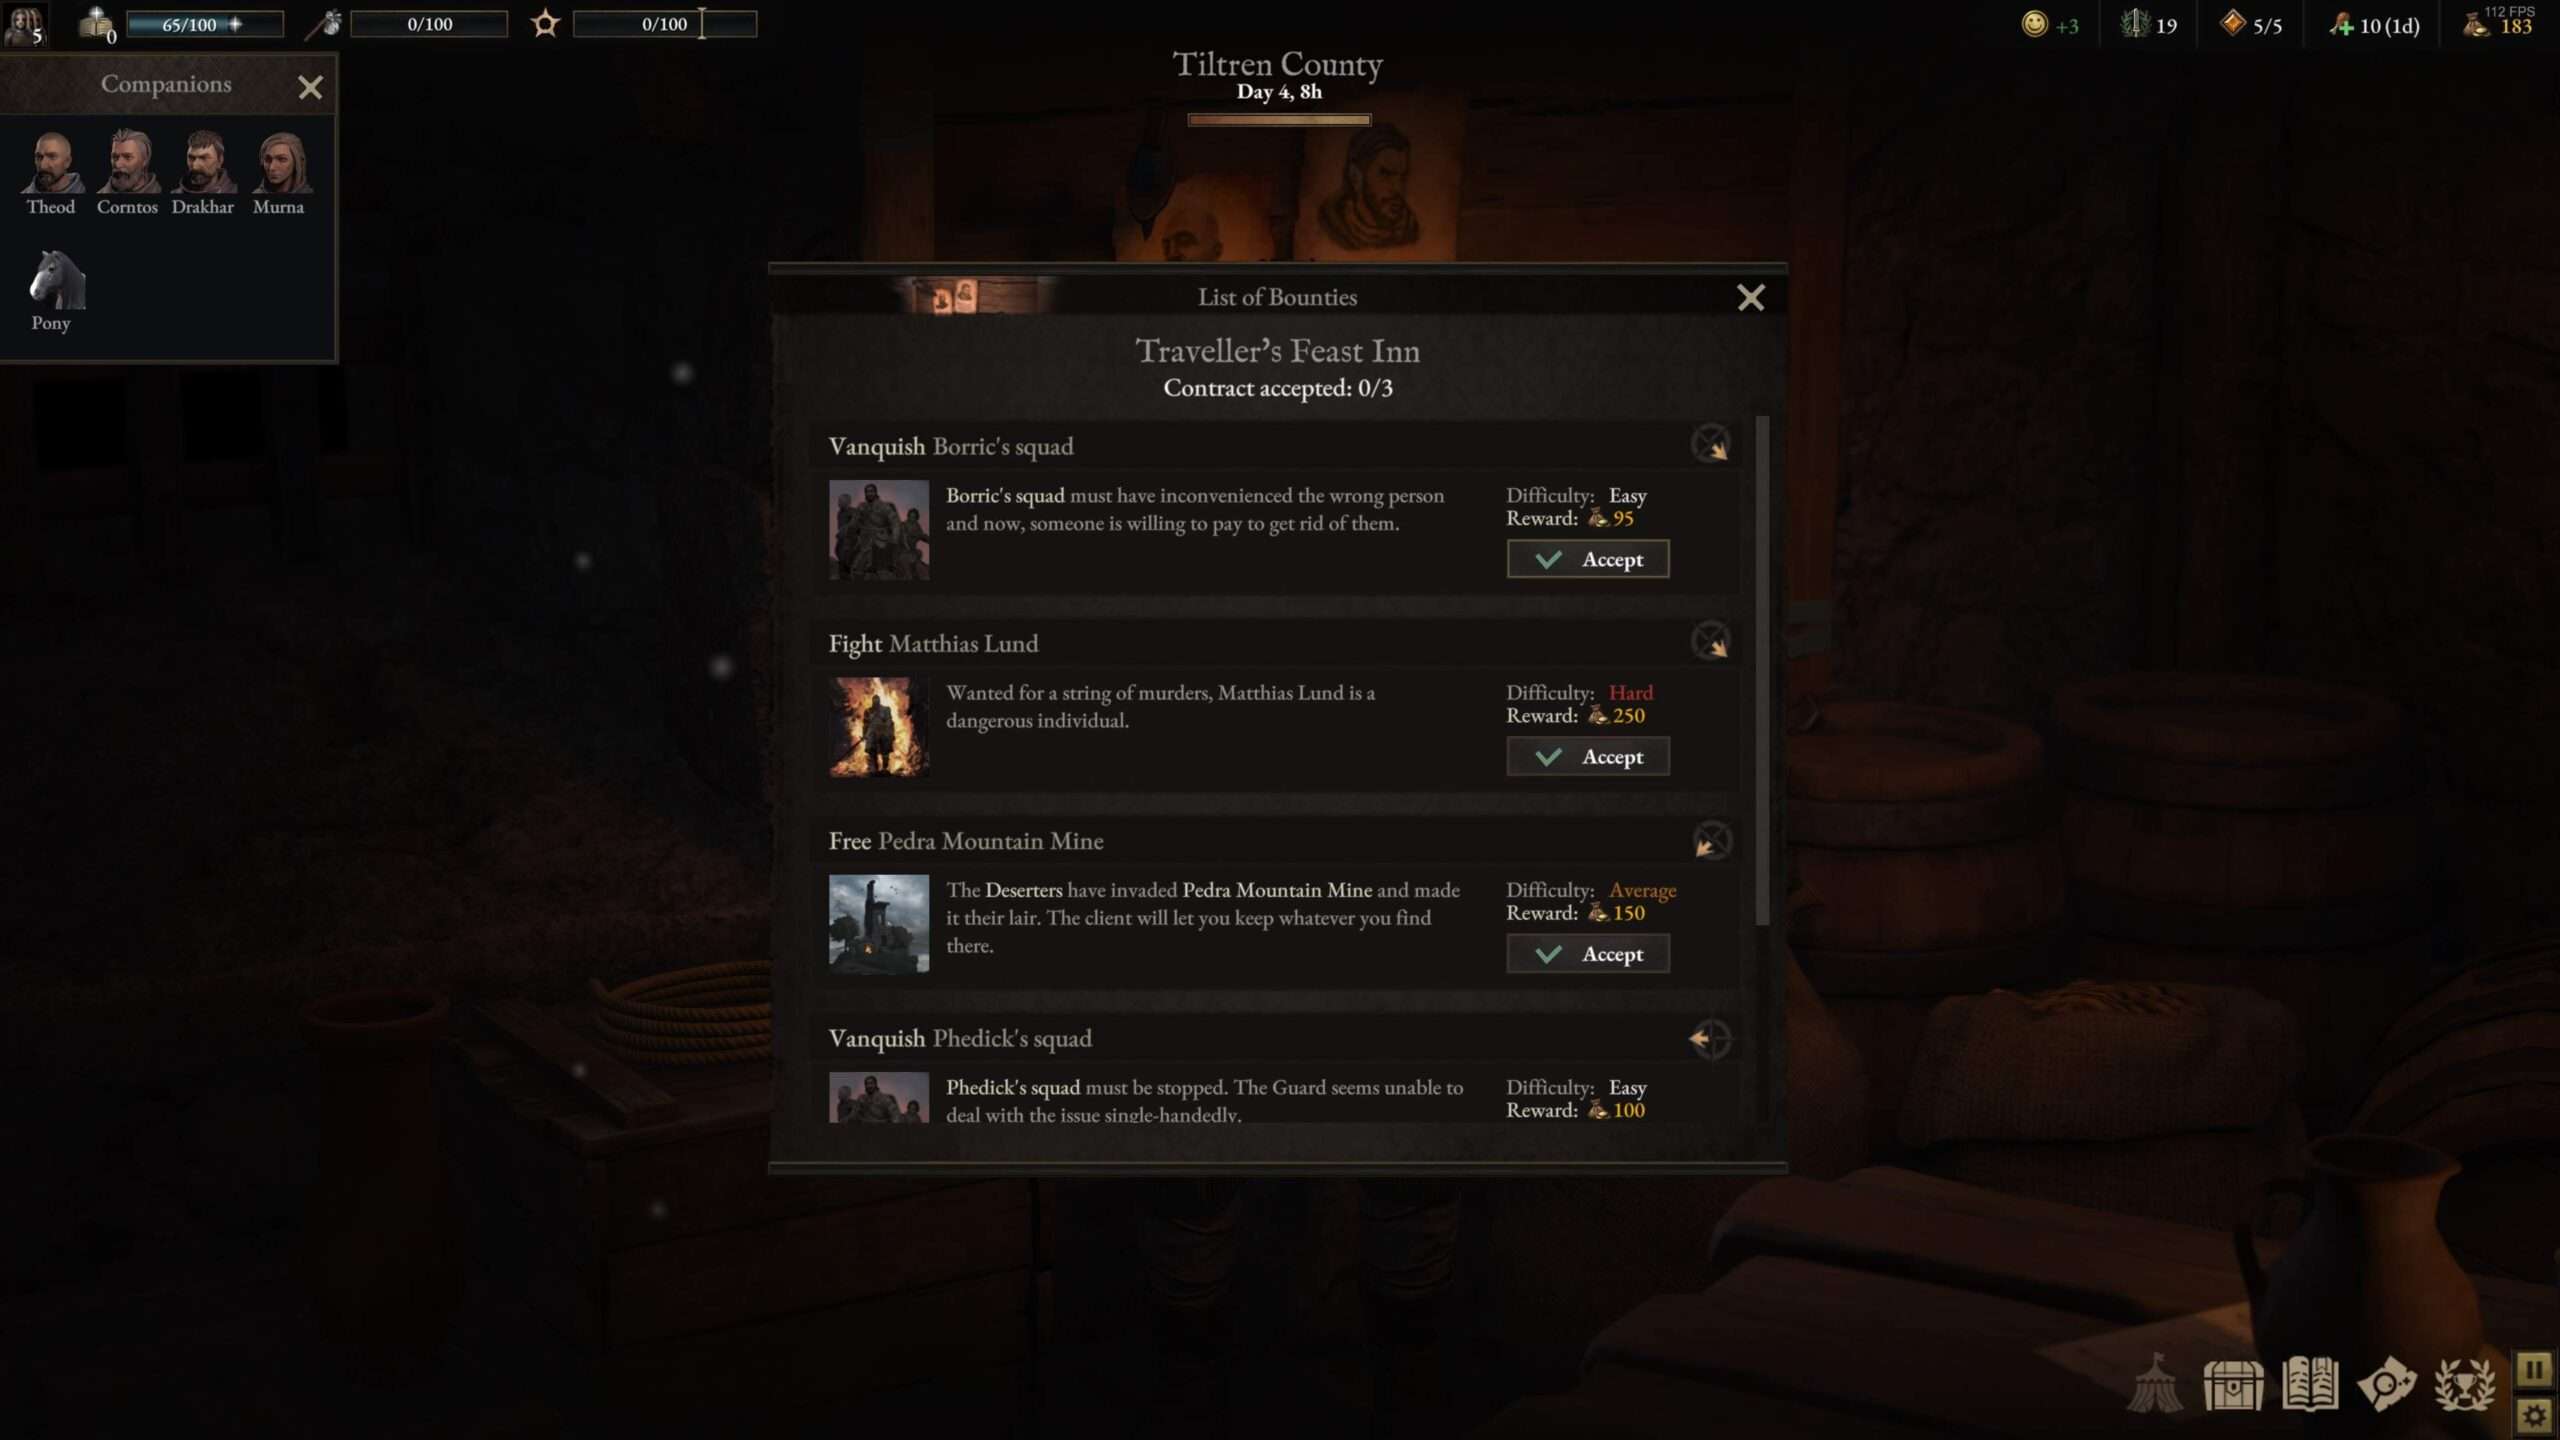
The bounties are randomly generated so you can keep on doing them for a while since every day, new ones are added. For now we pick the easiest one. Apperently some guy named Borric formed up a squad and messed with the wrong guy so they will meet their demise in chapter 7.
All other individuals are actually swords for hire, meaning they are potential new recruits for your company! Not sure yet what the maximum amount of companions is but should you loose some, you can go over here and recruit some new fodder recruits.

Note that you will also have to spent influence in order to recruit new soldiers and the higher level they are, the more they will cost and their wages will be. Be sure to check out their class and see if they have nice traits which could actually boost their potential. We don’t want to spend our money and influence on people who actually should be giving us money for their puniness!
Visiting Stromkapp [The Apothecary Clinic]
Next and final stop in Stromkapp is the Apothecary Clinic!
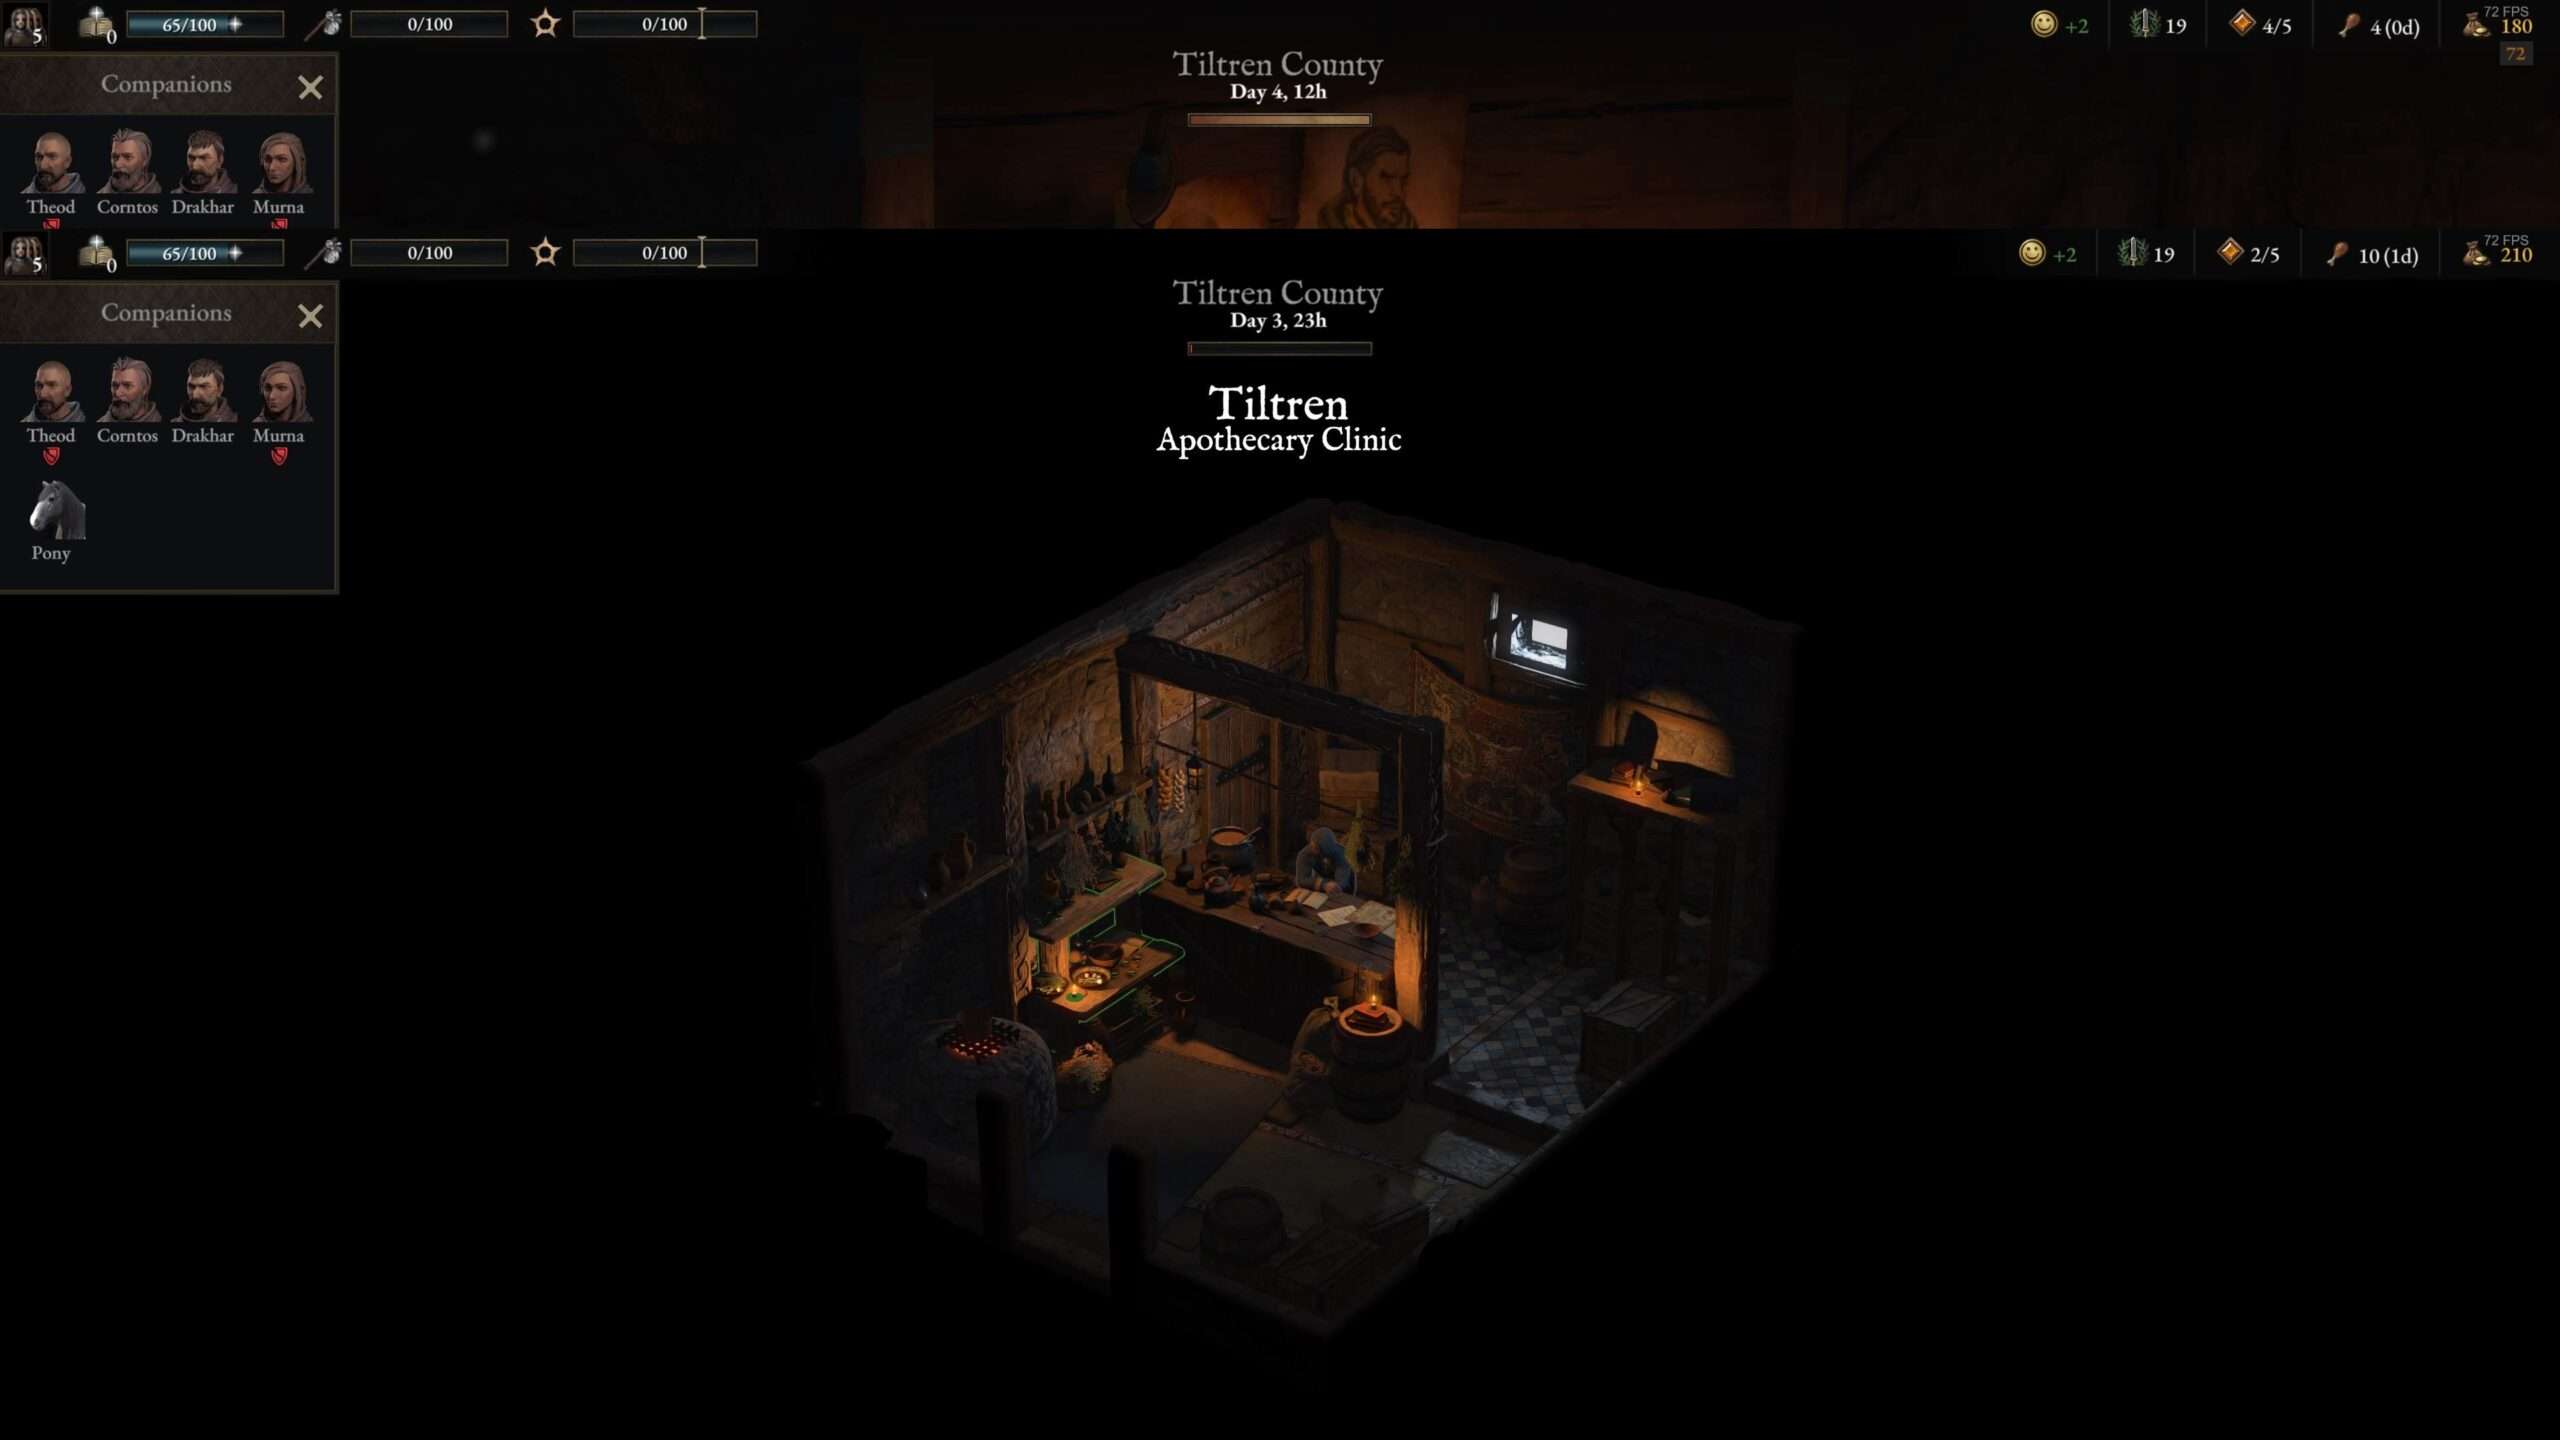
Here is your place to be for all your potions and alchemy stuff. Similar like the Blacksmith, you can also heal any injuries of your companions if you don’t have any medicine potions left or just buy some new ones. Besides the potions you can also buy new recipes to use in Alchemy!
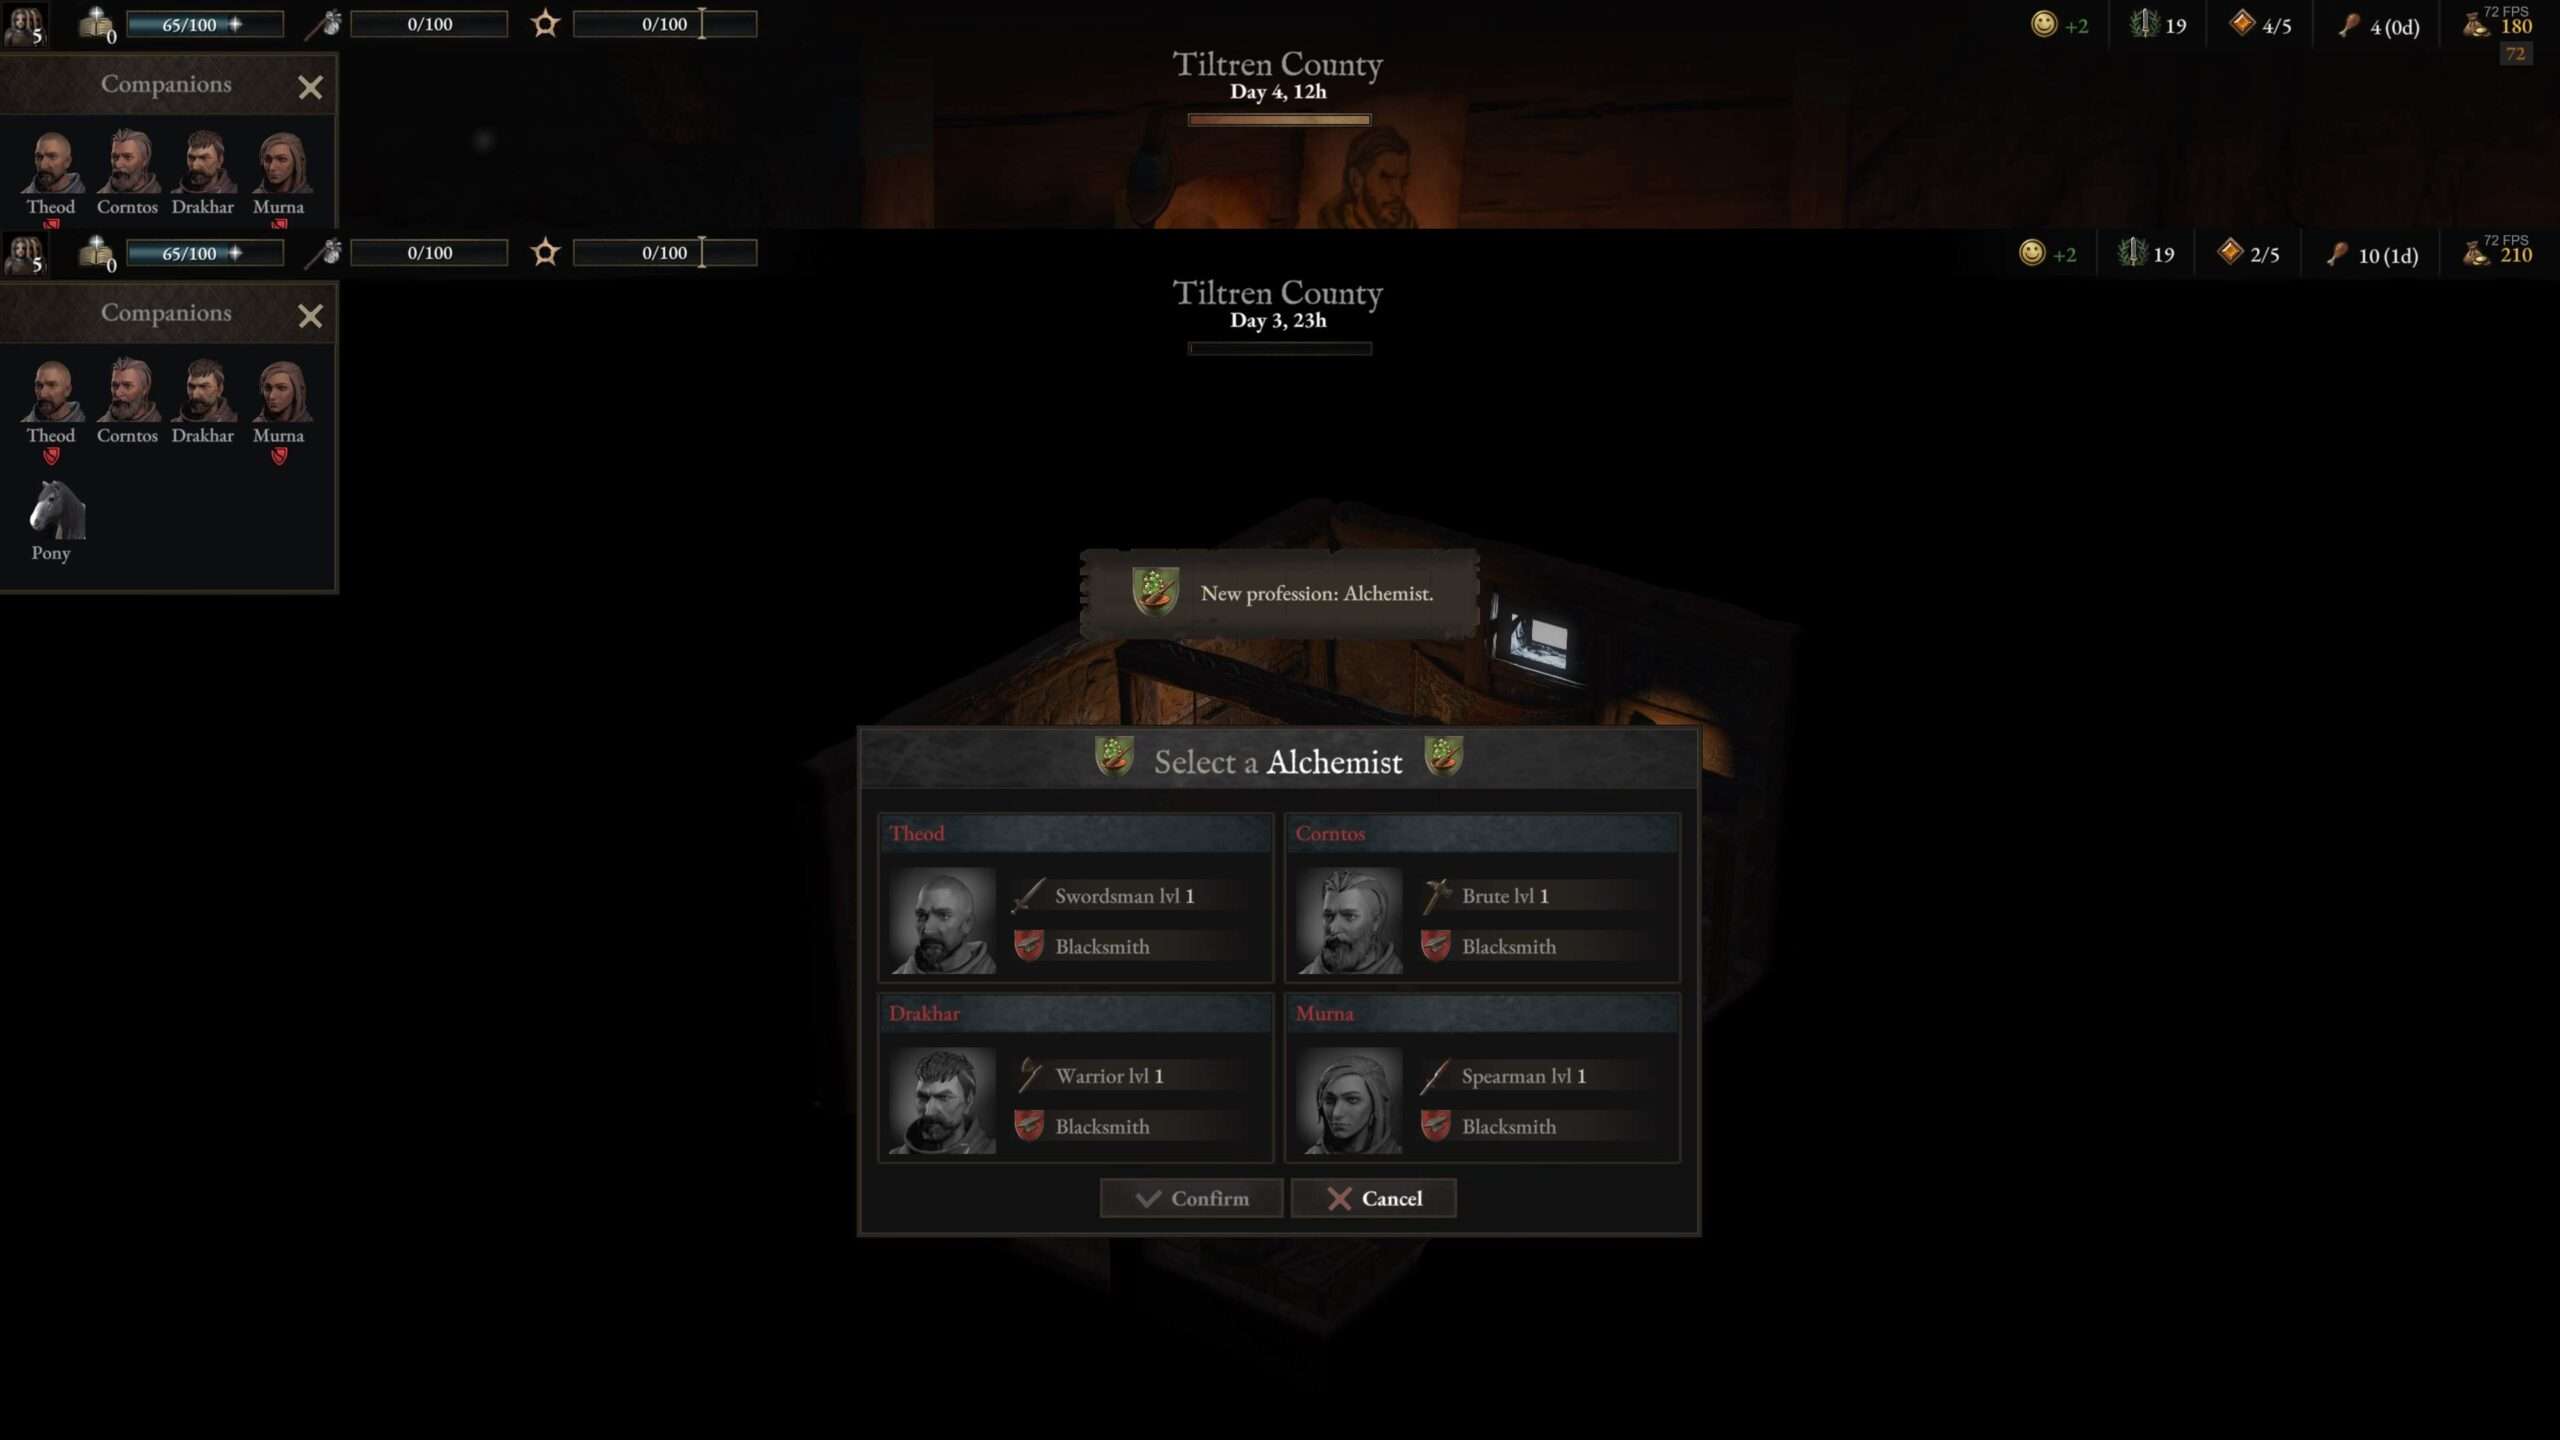
Speaking of alchemy, there is also an alchemy table here on which one of your bro’s can learn the alchemy profession and craft potions themselves! Note that Alchemy gives Dexterity bonuses so it’s best to make a Dexterity based bro your alchemist.
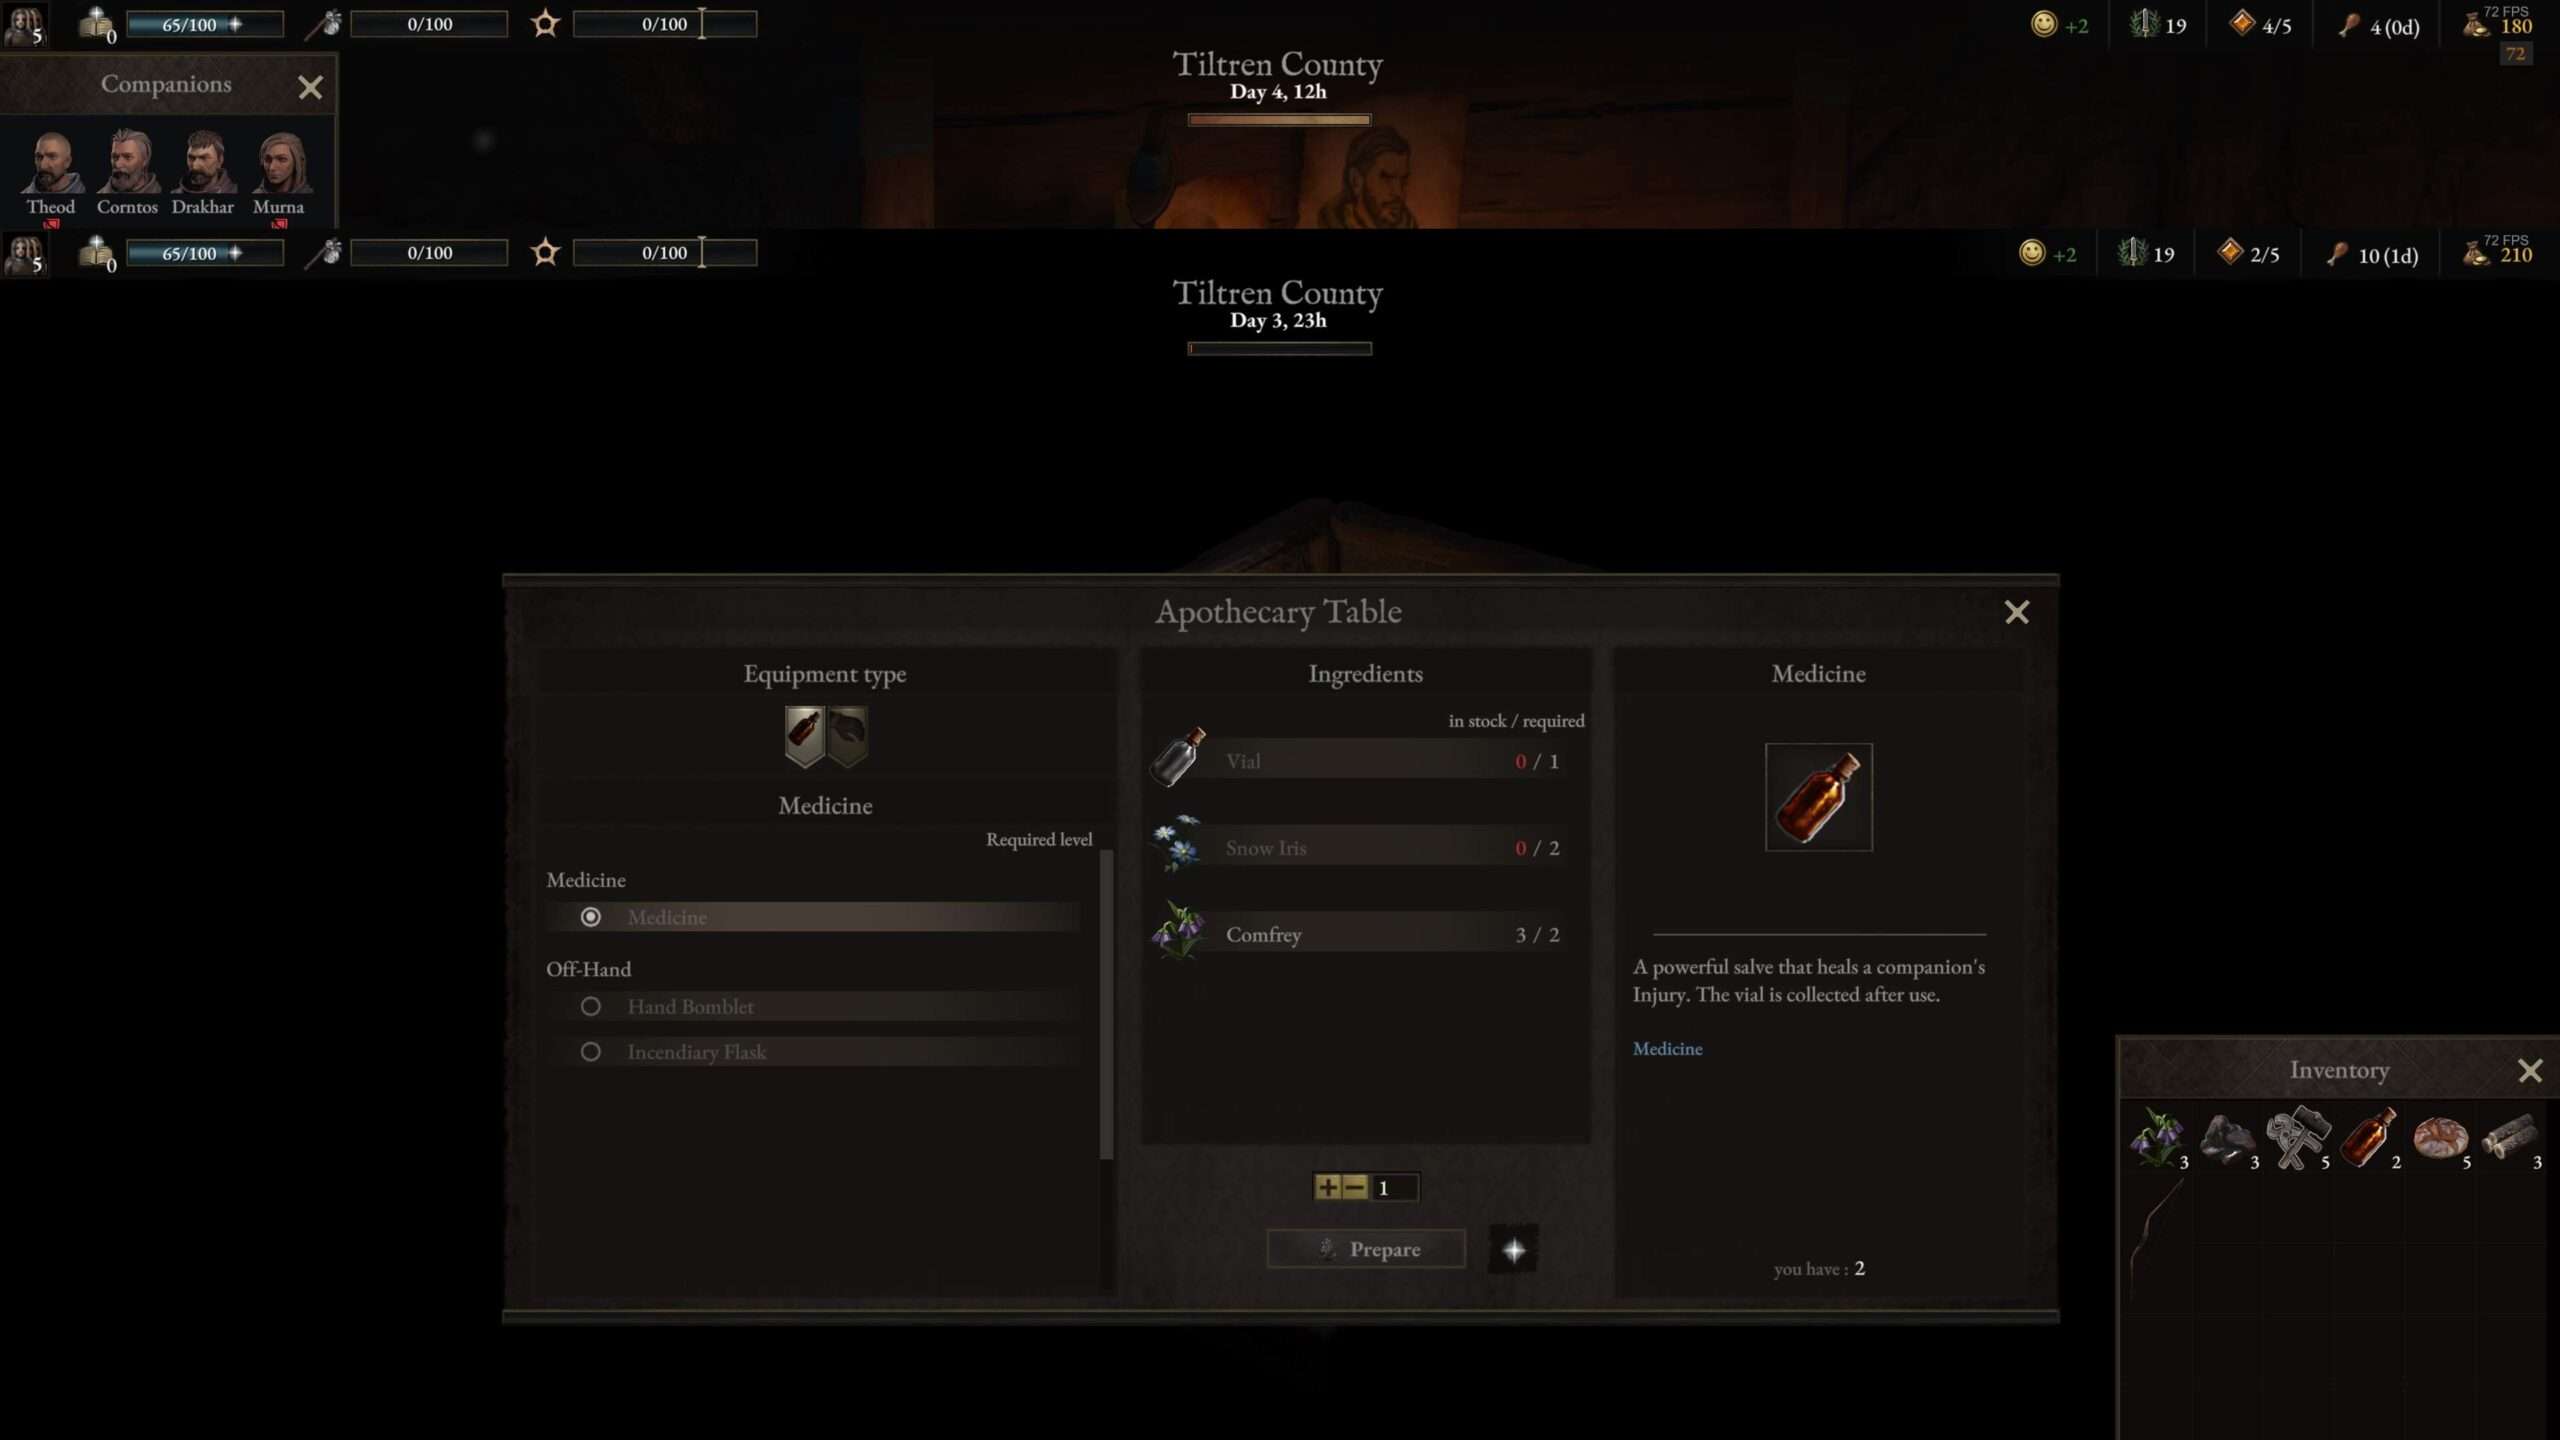
Crafting potions require vials and herbs and the later can be found everywhere in the world, waiting for you to be harvested!
Nice guide ! And without any video (which i prefer).
I’ll just add my 2 cents :
– Valour point may be gain in temporary fashion with early perk for each class. Keeping in mind which character got which valour gain may give you TONS of disposable points to diminish armor loss. Plus the captain may give a single low-to-high valour gain once per battle. Free of charge. These are to be used as much as possible.
– Smithing is key or really strong at worst. Loot is scarce, and not often very balanced (never looted a good dagger so far). It’ll need knowledge point, but as long as you success the minigame, you can craft good quality gears.
Valor points have some nice combo possibilities and should be used always. once you build a tent there are more than enough of them
Professions – would be great to see the bonus as well when profession is maxed out !
If you need the values, let me know
A good tip is, when going to big towns always buy the trade goods from the market and sell them at the first wandering merchant you can so you can make a quick buck, I haven”t tested whether you get more for selling in different provinces though.
there is an error in your list: Miner gets CON 2 and STR 1 as Apprentice
A few other tips:
Should be obvious, but recruits start with farmers rags and rusted junk. Upgrade your gear ASAP
Prisoners, while you do have to feed them, you don’t pay them anything. You can turn these into profession slaves, and as they don’t join combat, you never have to worry about losing a ‘skilled’ worker. In addition, you can use these slaves as ‘entertainers’ to boost the happiness of your group, while your real fighters sleep in the tent or use the training dummy
Attacking the refugee caravans is not a crime and can get you some early experience at low risk.
In battle it is a good idea to know what you are dealing with. Some basic tactics include:
Always engage archers in close combat, and avoid having your archers getting engaged
Do not surround an enemy ranger if it has a ringleaders dagger
Always engage an enemy leader ASAP if it has a leadership skill
I think it would be beneficial to level up first then start quest later, because drops and loots got level as high as our unit. For example I got Ringleader Dagger (Wealthy farmer quest) at lvl 5 with 11+ Dex. Great item, I wonder how strong Lucilla Mace when I knock him down at lvl 5. ( I did before with level 3ish people and he already at lvl 6) nevertheless, it still doable, just need a lot of ANIMAL Sacerfice….
I´ll back that. Valor points have some nice combo possibilities and should be used always. once you build a tent there are more than enough of them
Nice. All these pictures. like what I see. it is very detailed guide, thanks
Nice guide ! And without any video (which i prefer).
I’ll just add my 2 cents :
– Valour point may be gain in temporary fashion with early perk for each class. Keeping in mind which character got which valour gain may give you TONS of disposable points to diminish armor loss. Plus the captain may give a single low-to-high valour gain once per battle. Free of charge. These are to be used as much as possible.
– Smithing is key or really strong at worst. Loot is scarce, and not often very balanced (never looted a good dagger so far). It’ll need knowledge point, but as long as you success the minigame, you can craft good quality gears.