
Contents
Recreation in Dragonspine: Hiking and Climbing
All credit goes to Anima13!
Wouldn’t climbing be faster?
After successfully finishing the quests of Dragonspine, Paimon finally stops panicking and let you climb the mountain directly. Yet at that time many are already traumatised and turn their back on the icy mountain. The intent of this guide is to break this fear and show the true purpose of this area: a place of recreation and active holidays. Dragonspine is a great place to climb and freely roam around while listening to the chilly music. It is also a place to initiate long gliding sessions with a giant reach and explore the beauty of Teyvat from above. But this won’t be our focus in this guide. Instead we explore the thrill and fun the adventurer Leonard might had two thousand years ago when battling the terror of Pilos Peak.
Note! This is not a Dragonspine guide and I assume you are somewhat familiar with the mechanisms present in the area and have finished the quests
1. Of Hiking and Climbing
There are no real hiking tracks in Dragonspine. The mountain is full of little platforms that you can connect to a route in your mind. You are the one, who creates your own path. But until you gain that confidence it is helpful to have landmarks you can orient yourself to and provide example routes you can base your own later on. In contrast to hiking where you are looking for fast, easy and stamina efficient ways to the top, during climbing you purposefully pick steep walls to push the difficulty beyond the limits and annoy other people by declaring it a route later.
Climbing and hiking is a juggle between efficient stamina management, and the time it takes to freeze to death. Once our total stamina increases, many routes difficulty rating will change so enjoying Dragonspine is limited to this period of the game. If you feel the experience is not challenging enough, you can always adjust the difficulty by modifying the team. The most obvious way is by changing your main climber to a short model like Qiqi, Klee or Diona but also taking out supporting passives is an option.
2. Preparations
2.1 Creating a Hiking / Climbing Team
Teambuilding is the most important aspect for a safe recreation in Dragonspine. Here are some of the elements you might want to include.
Main climber: There is no need to have a single character for climbing as you can cycle through your complete team. The reason you want to pick a main climber though is to adjust difficulty to your liking. The different models have different climbing/running performance, with high characters having an advantage. Using characters with skill based movement advantages like Venti, Xiao, Albedo or Keqing or characters creating climbable structures like the Geo Traveller or Zhongli might destroy the feeling of challenge. For this guides duration the terms “climbing” and “hiking” exclude such skill based movements and only refer to simple classic old-fashioned methods the adventurer Leonard might have used.
Healer: The backbone of your hiking team and the only really mandatory element. In contrast to your normal exploration we rarely/never fight and the main purpose of our healer is to heal the damage from Sheer Cold. Battle healers who require an enemy or use only their elemental Burst to heal are not suited for this role. This leaves us with two options:
Barbara: while prone to freezing during fights, she is still the queen of Dragonspine when it comes to hiking. Her enemy independent elemental skill, her HP scaling and her first constellation make her unrivalled for fighting environmental hazards.
Qiqi: a possible, weaker alternative if properly built, as her elemental skill triggers a continuous regeneration (Note! You won’t be able to trigger sacrificial swords effect without an enemy!)
Of course It is possible to omit the healer completely If you use items to battle the cold. But that will make hiking less challenging. Make sure to always bring lvled characters, as you use your hp pool gainst the cold.
Firelighter: While Dragonspine is full of heat sources like Ruin Braziers, Warming Seelies and you can also use Squarlet Quartz to light fires it is still recommended to have at least one pyro character that is capable to light fireplaces.
Cryo character: Optional. As the anemograna in dragonspine are triggered with cryo elemental skills you might want to bring one with you.
Hiking teams benefit from increased movement speed and lowered stamina consumption. Thus anemo resonance is really helpful just as using characters with exploration passives like Rosaria, Kaeya, Razor or Xiao. Using skill based boosts is possible but impractical.
2.2 Consumables for Hiking
The game is swimming in food supporting our stamina. They can be helpful but they are not really needed and they make things too easy especially with a well designed team. If you lack a suitable healer for Dragonspine you can use a Goulash together with Warming Bottles, but be warned it will be a less challenging experience.
3. Common Mistakes Made During Hiking and Climbing
3.1 Not Taming Your Guoba
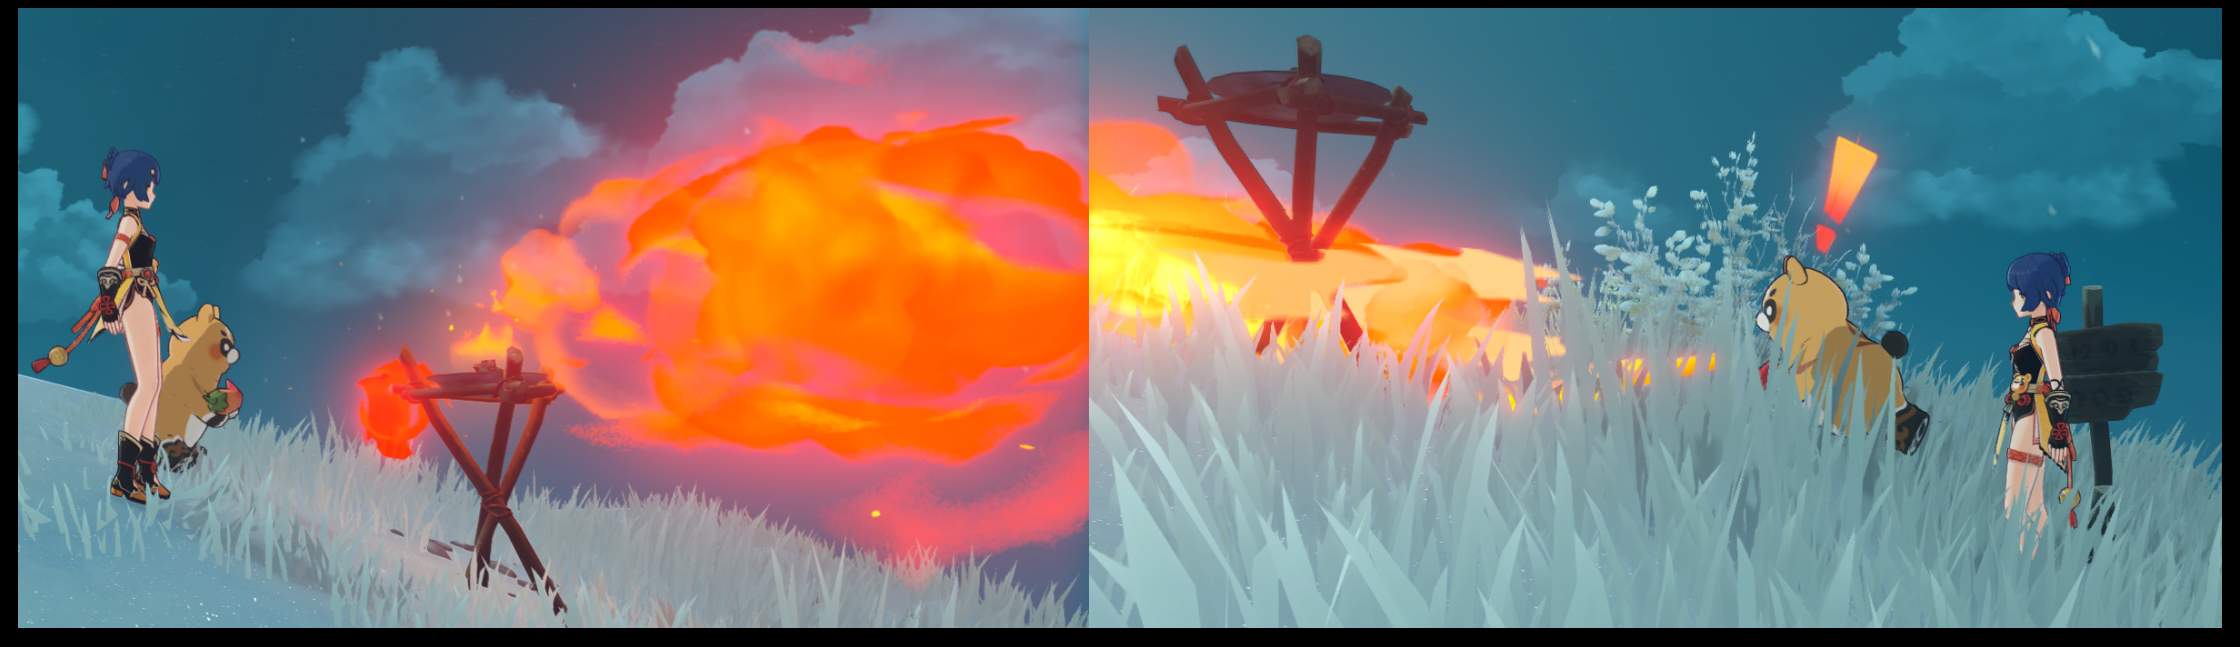
Guoba is incapable to breathe fire upwards. Many fireplaces are elevated in Dragonspine and situated on uneven ground which can create the illusion of Guoba not working when you place him wrong. Always make sure to place Guoba on the elevated side of the ground. In the rare case there are two targets close to each other make sure not to put him between, as Guoba lacks telepathic abilities to pick “the right target”.
3.2 Not Looking Around
While on a flat trail it feels intuitive to focus ahead, on a mountain suddenly all 3 dimensions matter. Tunnel vision can be a serious issue during hiking. Not only can you skip beautiful sceneries but also miss out on obvious climbing opportunities just because they face towards the mountain.
3.3 Misjudging the Inclination of a Slope
Slopes that have to be climbed directly can often be walked on if taken diagonally. You can lose a lot time and stamina by unnecessary climbing. Bunny hopping and regularly cancelling climbing animation (X on PC) can help you to avoid this mistake. Ironically when climbing steep walls you face the opposite issue.
3.4 Hectic Climbing
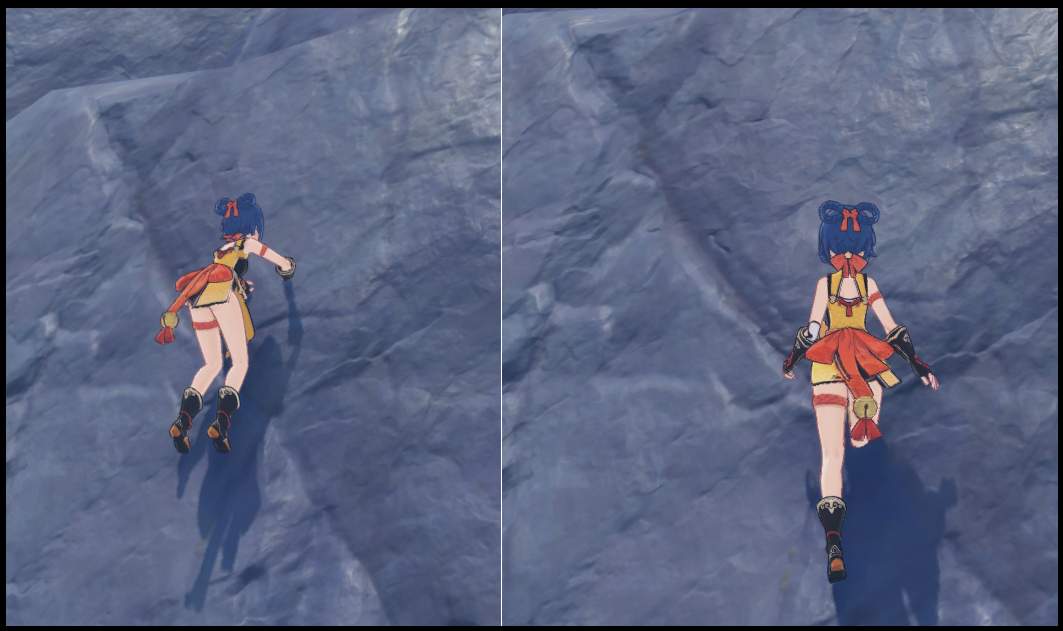
While hiking rewards aggressive stamina usage, running out of it is the classic issue when tackling long vertical walls. Don’t be afraid to take things slower and accept the sheer colds damage instead. Look out for small platforms or gentle slopes that might let you stand there normally so you can replenish your stamina and activate your heal. You often have to cancel climbing animation to rest there. Mistaking an altered texture of the rock for a resting platform is a fancy way to fall down.
3.5 Advanced Climbing Mistakes
While you can cover huge distances vertically if you take it slow, climbing sidewards is very inefficient so you want to avoid it as much as possible. Some of the most challenging climbing routes include sidewards climbing.
From certain angles on your character can’t climb walls. Thus overhanging rocks/structures will halt your advance. If you bump into such a structure you won’t be able to climb further in any direction and can only fall down. Therefore you have to look out for such structures and plan ahead so you can avoid them.
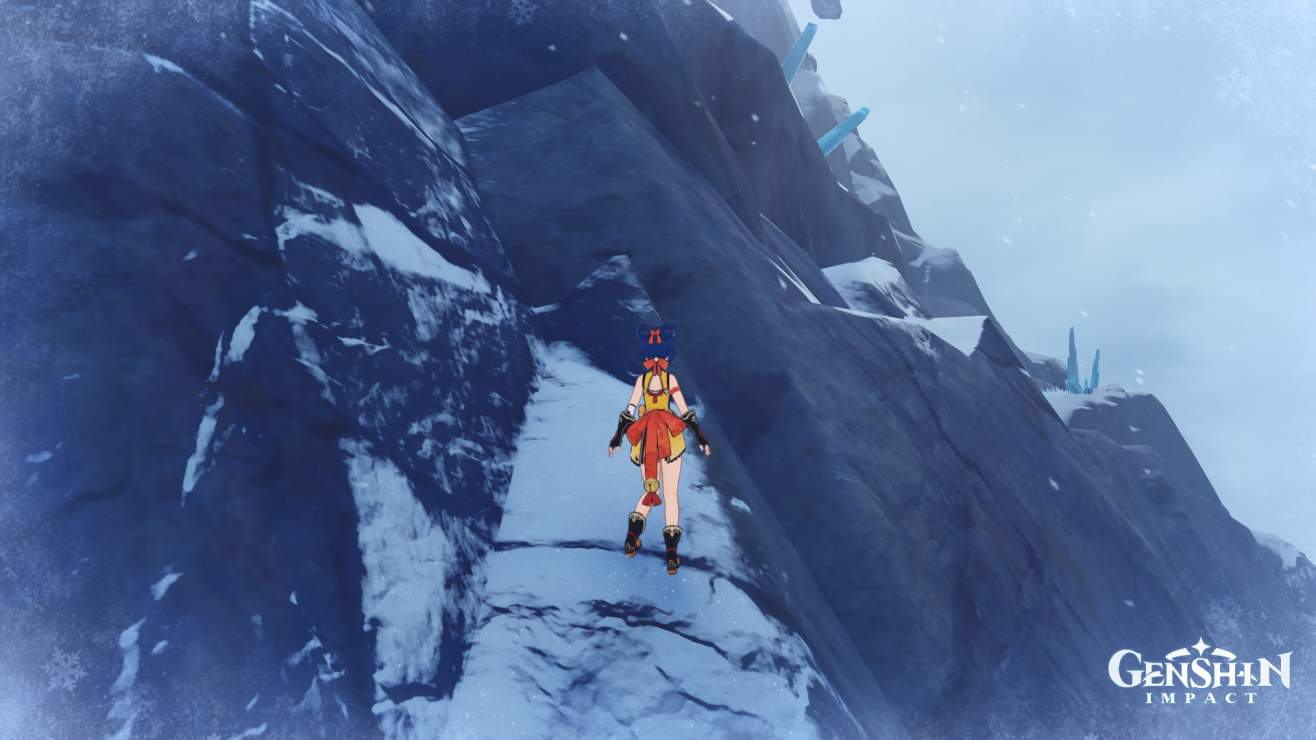
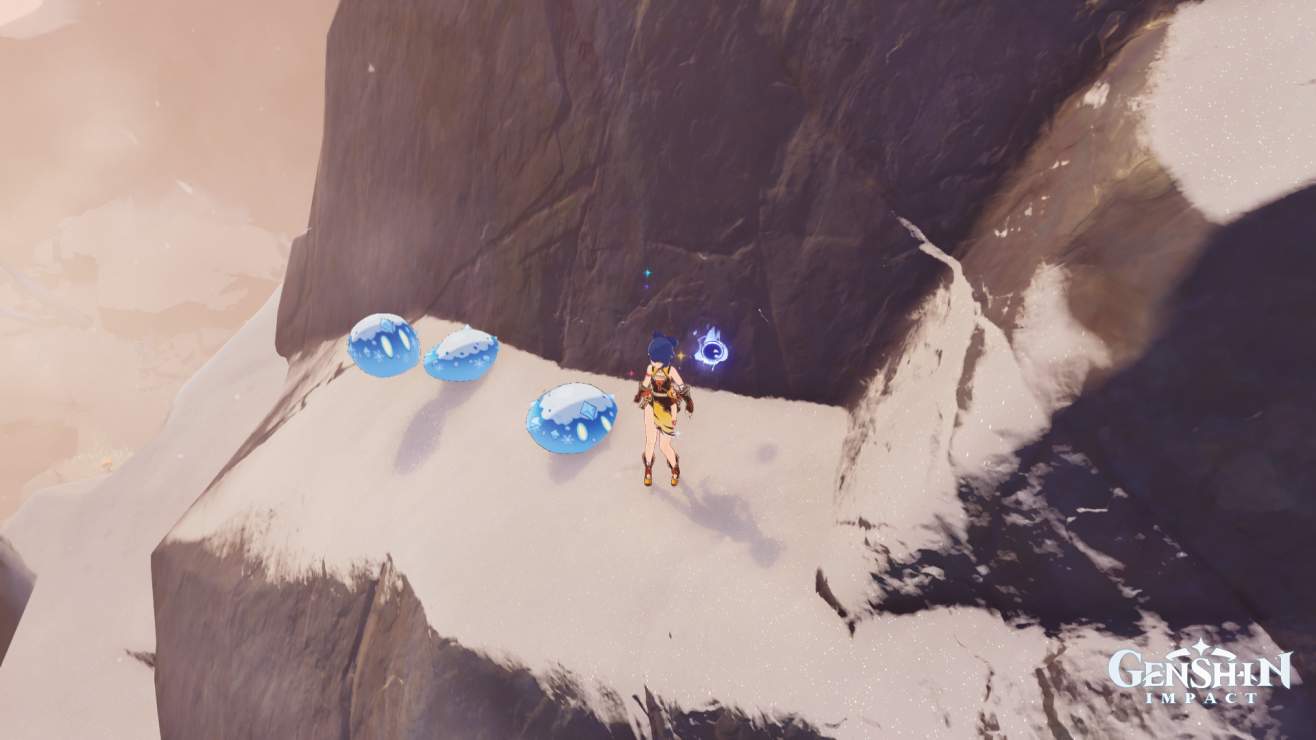
The following little climbing riddle at the lower section of the canonical route just below the fire place A should demonstrate you this issue.

Try to find a way to the top starting from the rock in the middle (at least 2 solutions). By the way: Don’t you think that the place is a bit suspicious?
3.6 Passive Crisis Management
Mistakes happen. One wrong step and you quickly start to slide down losing your precious progression. This is the time for quick reactions. Either push your directional keys towards the slope to start to climb it or try to jump away from the wall and use your gliders to stop your descent or look out for a resting place at a lower altitude. Not doing anything is your worst option.
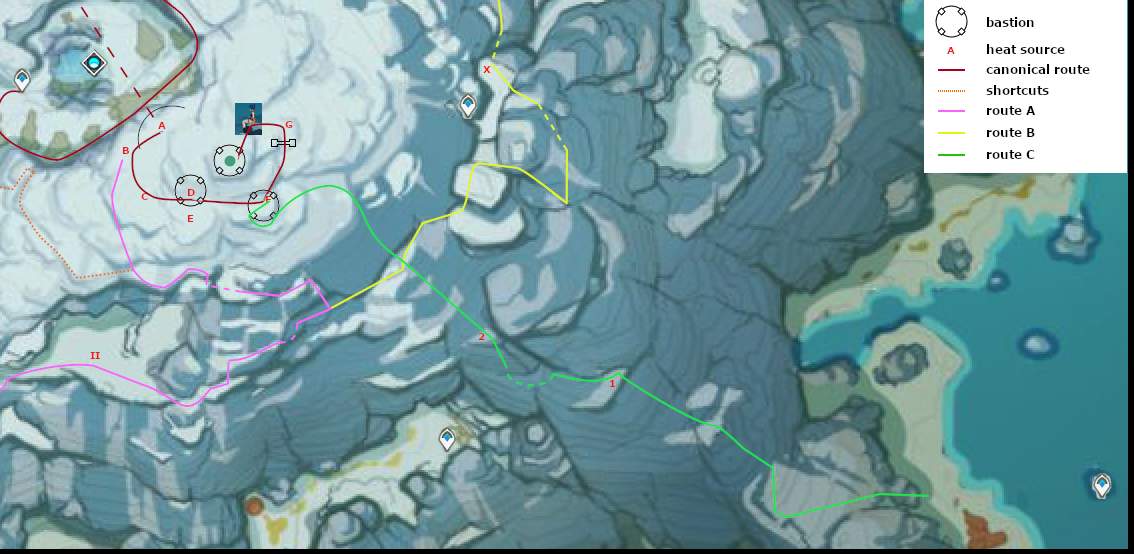
4. Hiking and Climbing Routes
Once we have our hiking team and are mentally prepared, it is time to head out and conquer the mountain. For this purpose I have prepared 3 routes for you. But before that it is worth to take a look on the canonical route to Skyfrost Nail most of us have probably used during the quest. Due to the nature of the game only routes upwards make any sense. Therefore, most hiking and climbing routes will likely end at one of the fireplaces along the upper section of the canonical route. All routes have been roughly tested by Xiangling and Qiqi and sponsored by Barbara.

4.1 Route A (Easy)
We begin our first tour at the ruin on the south-western side of Dragonspine. The place was previously filled with water and the outdated map will still present us in its former state. The area is easily accessible from two Waypoints nearby. We walk over the fallen wall and head northeast along the edge.

The nature of trails is surprising. Intuitively you would assume there is only one path here but this is actually a branching point. If you walk along the edge of the slope you find a trail down to another cave. But we will ignore it and take the one on the left and make soon our first gliding jump.

This is a great place to mess it up and slide down. Will you manage it too? We follow the path up to Starglow Cavern entrance where we light a fire and get rid of the cold.
Then we go to the eastern edge of the cave following the anemograna. If you have a cryo character, make sure to skip the first one so you can trigger the wind current yourself with a skill.
On the way to the top we will meet a few slimes. The poor things barely manage to remain on the path. Ignore them, time is precious.
After the second gliding jump you will soon find a pretty example of tunnel vision. Intuitively you would continue ahead to the mess I declared Route B but we look for a fancy way to the top so you got to climb to the left, up the mountain and look for this characteristic incision. Walk in, climb up to the left again and up we go.

The way from there is pretty intuitive: always ahead and always up and after another jump we finally reach this point:
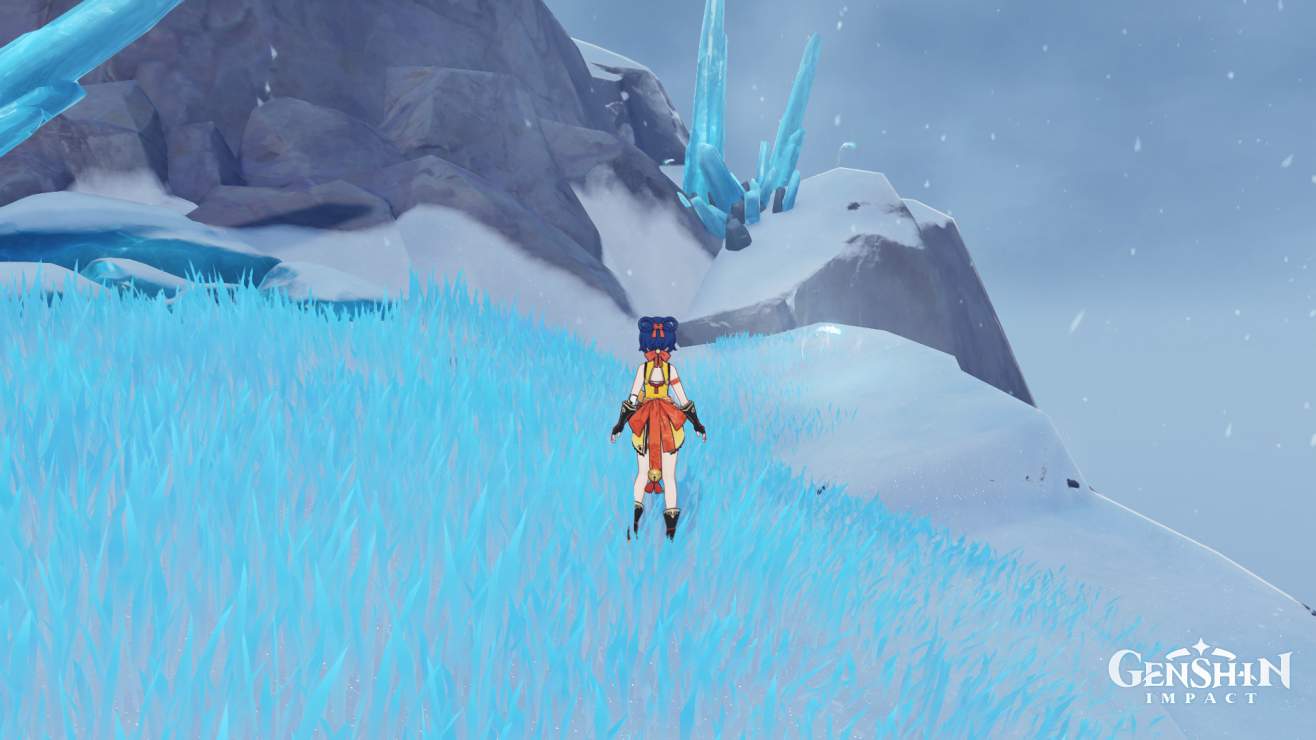
Here the rocky path ends and a snowy path begins which leads down to the highest Waypoint of Dragonspine and begs for the question why did we need the first anemo monument at all? Anyway we ignore the snowy path and climb up the rock with a characteristic white dot on it. We follow the grassy area always keeping to the edge and finally end (in best case) at the prettiest viewpoint of the mountain (subjective) I marked as red B on the map.
4.2 Route B (Easy)
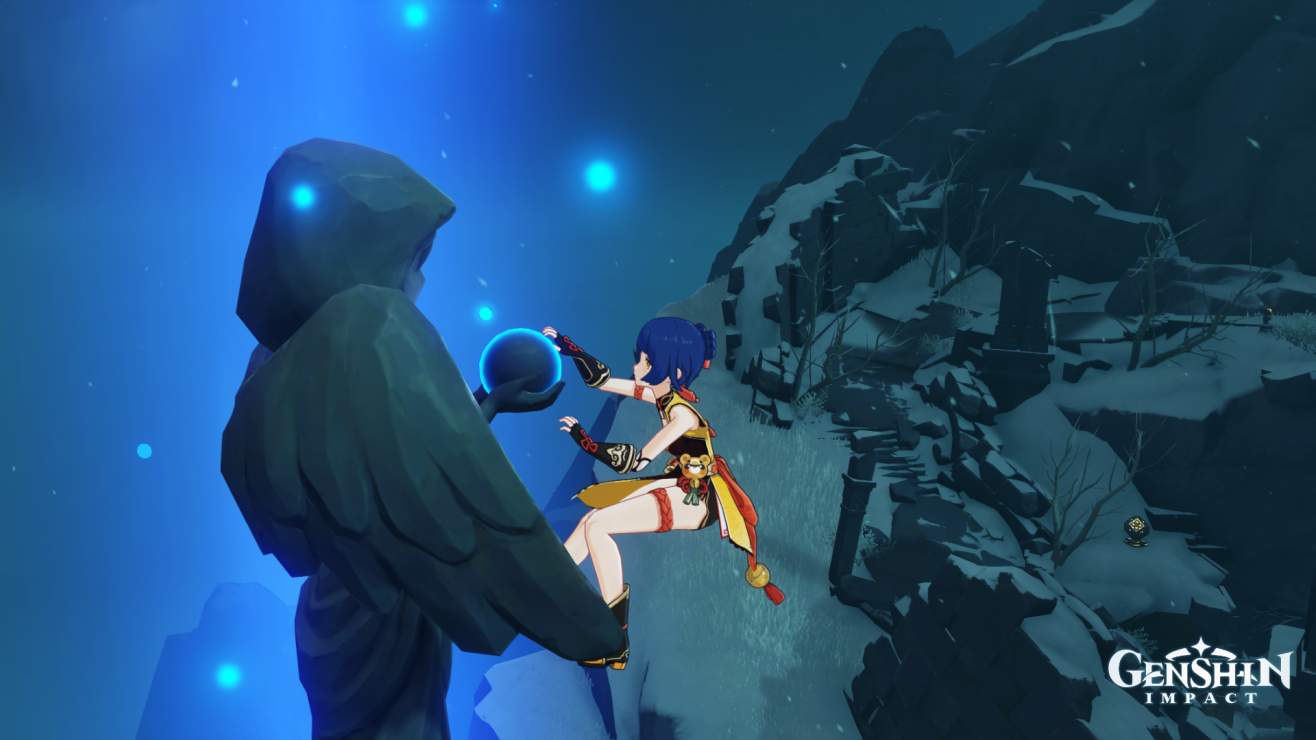
Route B starts at the Statue of the seven in Entombed City -Ancient palace which you leave towards the walls on the east (entry where Xianglings head on the picture is).
The route is full of old challenges and shows what happens when you have too many options. It is still convenient to know it for future expeditions. Make sure to stay close to the mountain if you do gliding jumps so you don’t loose too much altitude. If you are unsure, check out the map. The biggest challenge of Route B is whether you manage to miss the entry for upper Route A from this side. You might easily find yourself turning back when you face the familiar path down to Starglow Cavern.
4.3 Route C (Medium)
From the Waypoint on the east side of Dragonspine we head to the west to a place with a white tree and a frozen boar which we use as starting point to tackle the mountain.
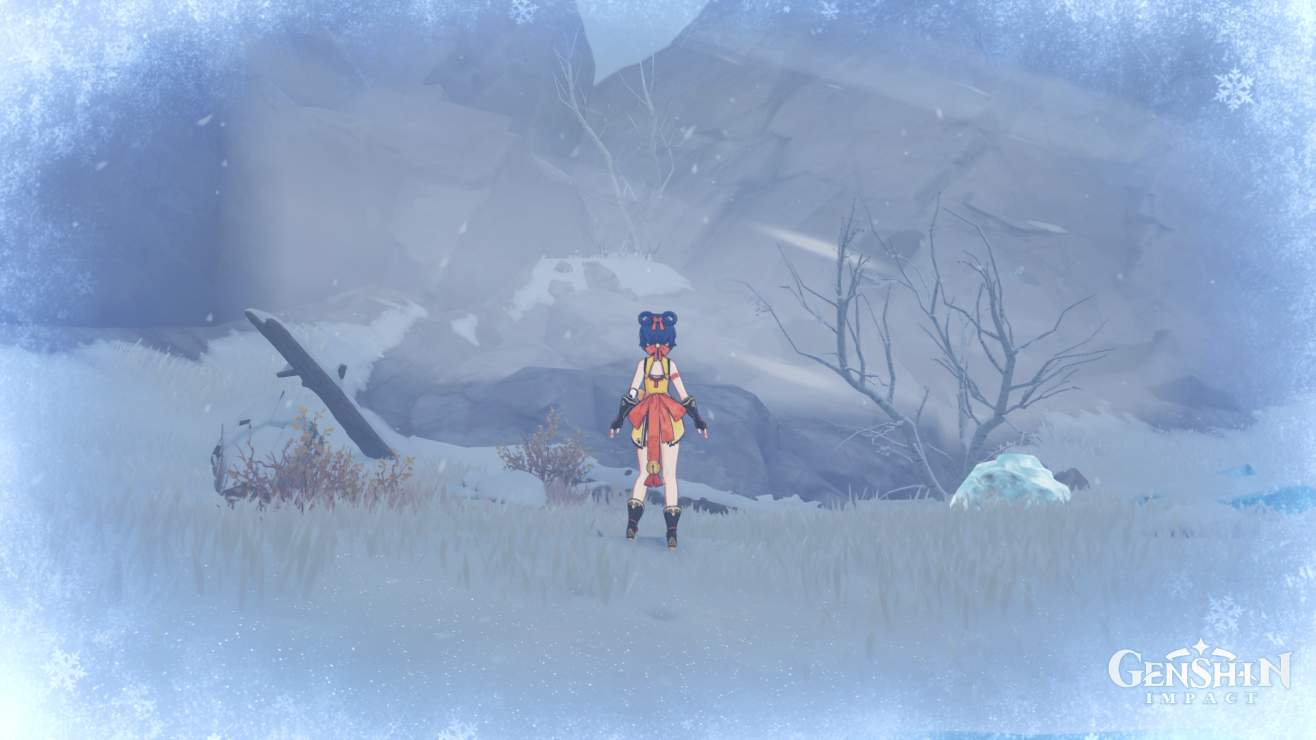
Remember not to waste precious time and stamina on the slopes and use walking where you can. When you have climbed the first peak you will be able to see a warming seelie in the distance (in case you have previously guided it home). You will very likely use your healer this time.

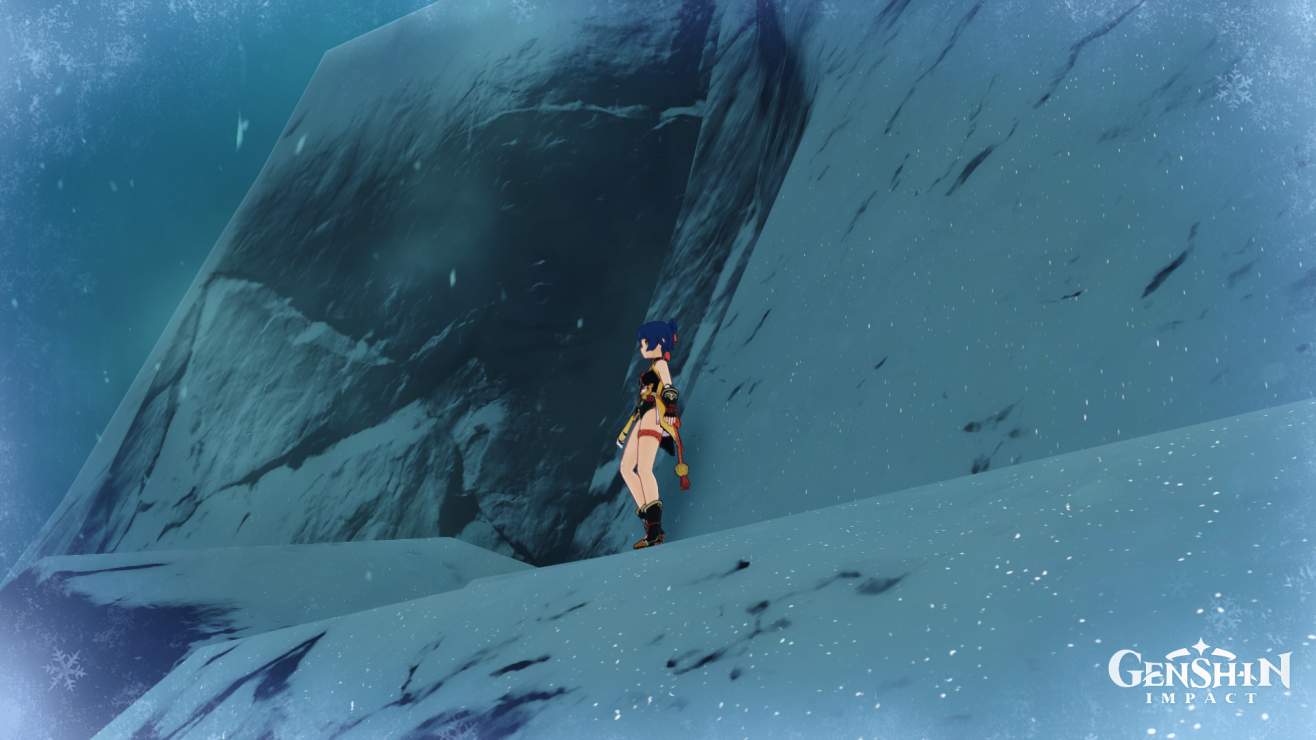
After recovering at the Seelie we head along the snowy rock northwestwards till we face a steep wall facing north.
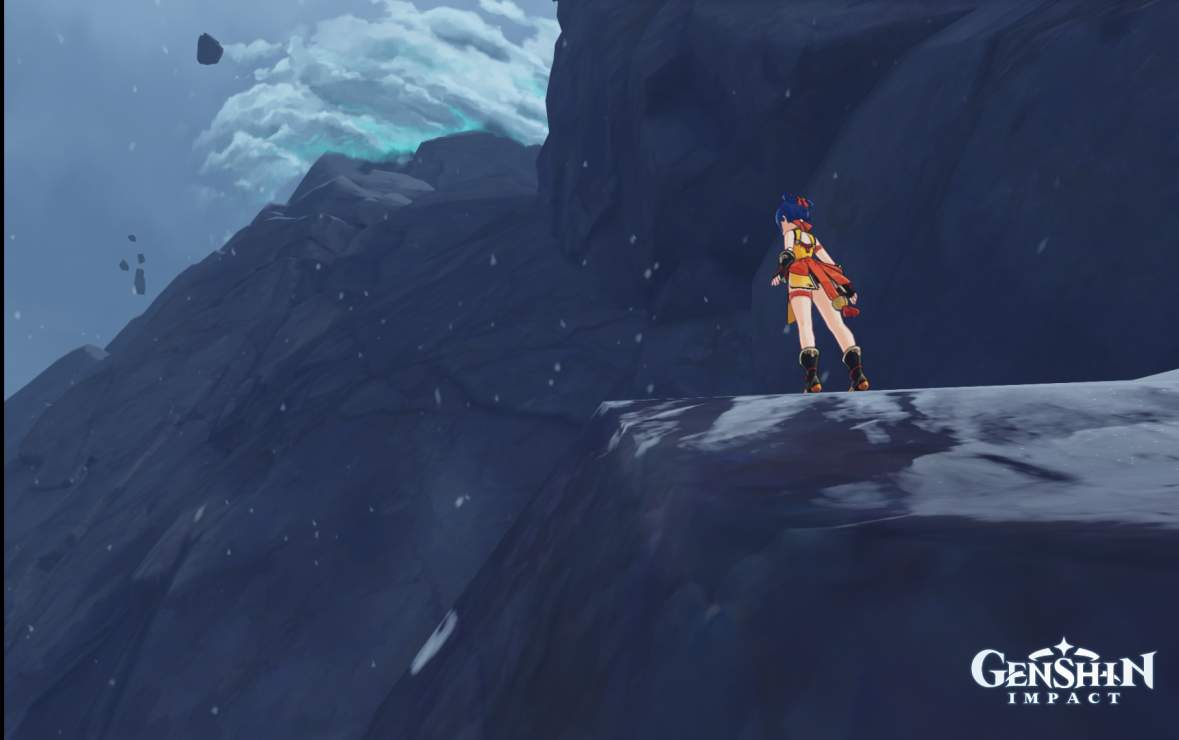
And then we jump on it and climb it up. Try to jump a bit further in so you won’t have to waste too much time with sidewards climbing. Don’t worry about the cold. Your stamina is a bigger issue. Climb slowly up until you arrive at a hidden campfire. Recover.
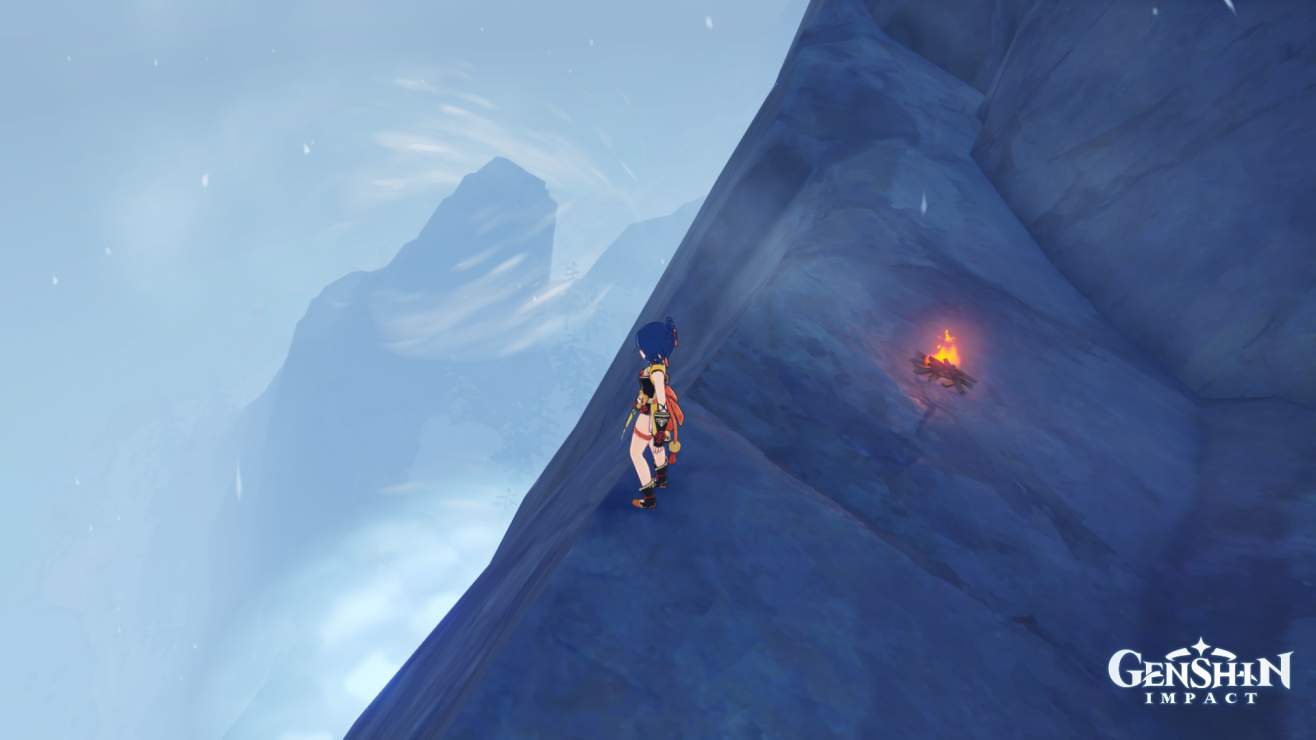
In the following I recommend you to use this part of the route for training. We climb the wall facing northwest above us. First try to hectically climb up as fast you can. You will run out of stamina midway but don’t worry, you can fall back to the camp (that is the reason why we train here). Now try again this time not using any jumps. You get up to the area of Route B where you can recover your stamina fast but you will waste a lot time and have still half of your stamina bar. As we plan to immediately continue to climb up form Route B up to the top we will need as much heat as possible. Go back and try a mixture of slow climbing with a few jumps so you can almost use up your stamina. Take as much heat with you as possible and after replenishing your stamina immediately tackle the wall ahead of you. If everything goes well you end up at the fireplace on a bastion marked as a red F on the map.
5. Final Thoughts
I am aware that many player consider fights as the main content of this game and using Genshin Impact as Hiking/Climbing Simulator might leave you puzzled. But struggling on the way to the top on a difficult terrain while batteling the cold can be just as exciting as a fight especially on higher difficulties. If I could inspire some of you to try to play the game with a complete different objective, my guide was a success.
For time and space reasons I have omitted higher difficulty routes but if there is a demand I can create a few. But I don’t want to impose too much and take away the fun of creating your own routes. And maybe you want to share them with us in the future.


Be the first to comment