

Support Build Guide
This level 25 full-support build is designed to get the most use out of the support tools available in the current version of the game.
The build provides:
- AoE healing for 300 HP over 4 seconds using a resource
- AoE restoration of 300 Concentration over 4 seconds using a resource
- AoE restoration of 300 Stamina over 4 seconds using a resource
- Oil pool generation using a resource
- An AoE buff providing +15% All Damage for 9.5 seconds
- An AoE buff providing +20% Physical and Magical Damage and +15% Stamina Regeneration
- An AoE buff providing +25% Armor and Resistance for 10 seconds
- 112 Ally Barrier generation that decays over 3.5 seconds
- A single-target cleanse that removes Burning, Chill, Poison, Shock, and Bleeding stacks
- Light Bleed and Poison application
Strengths
- Improves allies’ offensive and defensive capabilities through buffs, cleansing, and Barrier generation.
- Provides high and ranged Concentration regeneration.
- Helps allies using Bleed or Poison builds by applying additional stacks.
- Creates Oil Puddles that help allies using fire-based builds deal damage.
- Human is preferred, but the build works with any race and class.
Weaknesses
- Extremely low damage, making combat quests and farming by yourself nearly impossible.
- Sustain is resource-based, so resources will run out if you do not rest after a party wipe or during multiplayer overworld gameplay.
Recommended Class and Race
The build works with any class and race. The recommended setup uses an Elemental Ranger with Human and Magician.
Human
Human provides access to the crossbow, which allows ranged Concentration gain and provides access to a useful support boost at little cost.
Magician
Magician provides easy access to nodes that increase Concentration gain on hit. However, the class is not particularly important for this build.
Attribute Distribution
| Attribute | Points | Reason |
|---|---|---|
| Memory | 11 | Minimum required to use Barrier |
| Intelligence | 8 | Not required for this build |
| Physique | 12 | Minimum required to use War Banner and provides around 300 HP without equipment rolls |
| Strength | 4 | Not required for this build |
| Adventure | 6 | Not required for this build |
| Energy | 12 | Minimum required to use War Banner and provides additional Stamina for blocking |
| Charisma | 41 | Increases the amount of shielding generated by Barrier |
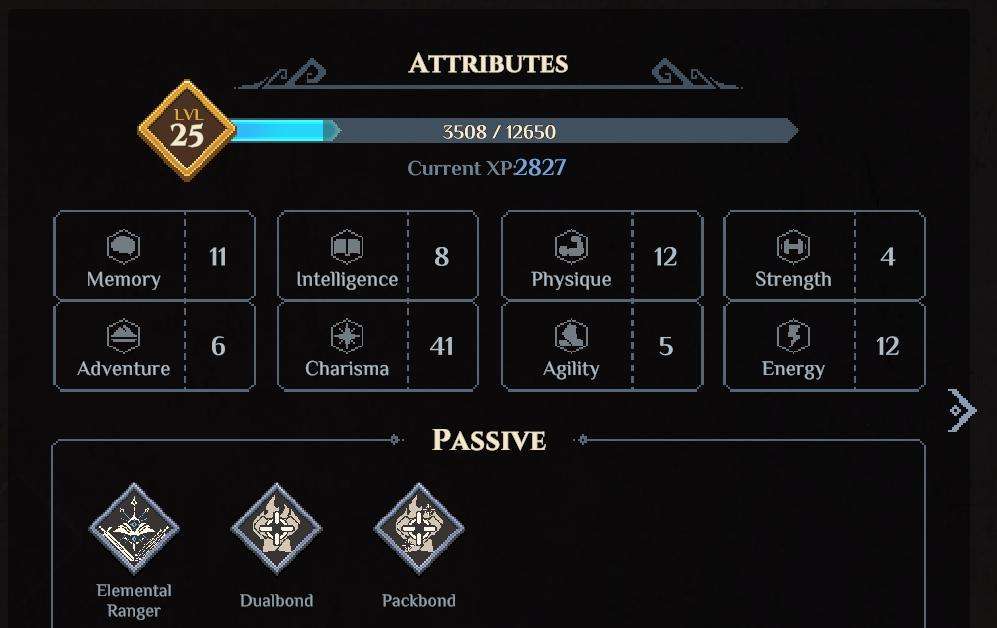
You need at least 11 Memory to use Barrier.
Intelligence is not required for this build. If you decide to use a damaging spell, Charisma also increases your Magical Power, so there is still no need to invest heavily in Intelligence.
You need at least 12 Physique to use War Banner. This also provides around 300 HP without equipment rolls.
You need at least 12 Energy to use War Banner. It also provides a reasonable amount of Stamina for blocking if you mistime a parry, although relying on this should not be attempted on hard mode.
The high Charisma investment is primarily for Barrier. Testing showed that the amount of shielding generated by Barrier scales with Charisma rather than Magical Power. Higher Charisma therefore improves the Barrier. This may change if a better support spell is added in a future update.
Spell List
The recommended spell setup is:
- Weapon Swap
- Power of the Wild
- Barrier
- War Banner
- Combat Medic
Weapon Swap
Use the following upgrades:
- Versatile Warrior
- Support Versatility
- Envenoming Swap or Rending Swap
Versatile Warrior increases all types of damage you deal by 15% and has a very short cooldown. Support Versatility allows this boost to affect nearby allies.
If you know what builds your teammates are using, Weapon Swap can also help their damage by applying Poison or Bleeding stacks through Envenoming Swap or Rending Swap.
- Use Rending Swap if your teammate has a Bleed build.
- Use Envenoming Swap if your teammate has a Poison build.
Power of the Wild
Power of the Wild gives one ally target +25% Armor and Resistance, providing damage reduction against physical and magical damage.
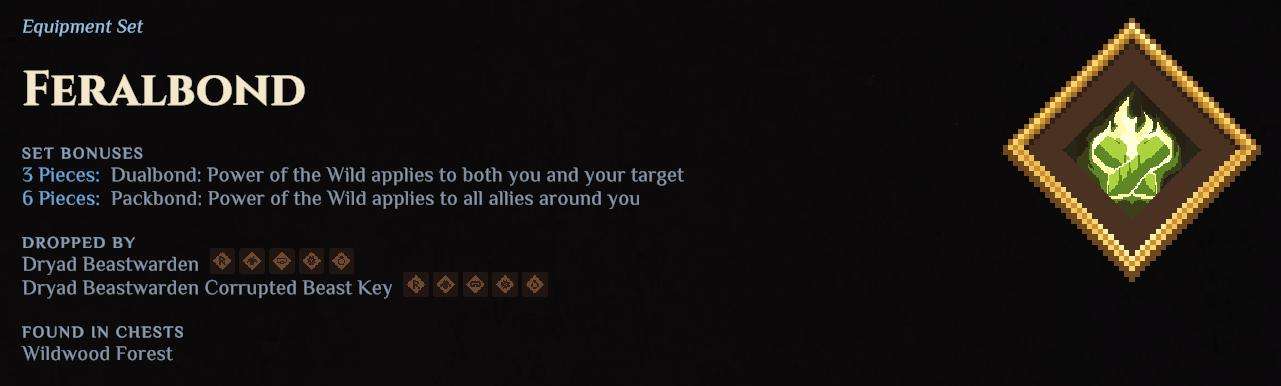
The Feralbond set causes this boost to affect all allies around you, including yourself.
Barrier
Barrier generates shields for an ally target, with the amount of shielding scaling with Charisma.
In this build, it is used to help allies mitigate chip damage in the overworld or to try to prevent an ally from being defeated by a boss attack when they are poorly positioned.
The build provides 112 Ally Barrier generation, and the Barrier decays over 3.5 seconds.
War Banner
War Banner creates a field that increases Physical and Magical Damage by 20% and Stamina Regeneration by 15%.
It is preferred over Circle of Magic because:
- Its cast time is nearly instant, compared with almost 3 seconds for Circle of Magic.
- It increases Stamina Regeneration.
- It increases Physical Damage as well as Magical Damage instead of only Magical Damage, even though the Magical Damage bonus is 5% lower.
Combat Medic
Combat Medic removes all stacks of:
- Bleeding
- Burning
- Chill
- Shock
- Poison
It is not a full cleanse and does not remove effects such as stuns.
Use it when an ally is taking damage over time to help prevent chip damage. Healing is currently expensive, so preserving health is important.

Armor Sets
The recommended armor setup is:
- 6 pieces of Feralbond
- If you are confident in your survivability: 3 pieces of Dazzler and Convergence
- If you are not confident in your survivability: 3 pieces of Pitfighter or Stonehoove
Feralbond
The full Feralbond set allows Power of the Wild to affect all allies, including yourself. This is the core of the build and should not be changed.
Pitfighter and Stonehoove
These are viable secondary set options if you are failing to perform perfect blocks and are taking damage more often than intended.
Three pieces of Pitfighter provide:
- +3% HP
- +5% Physical Damage
- +10 Armor
Three pieces of Stonehoove provide:
- +3% HP
- +12 Armor
- No Physical Damage increase


Dazzler and Convergence
Three pieces of Dazzler provide:
- +4 Spell Haste
- +10% Concentration Regeneration
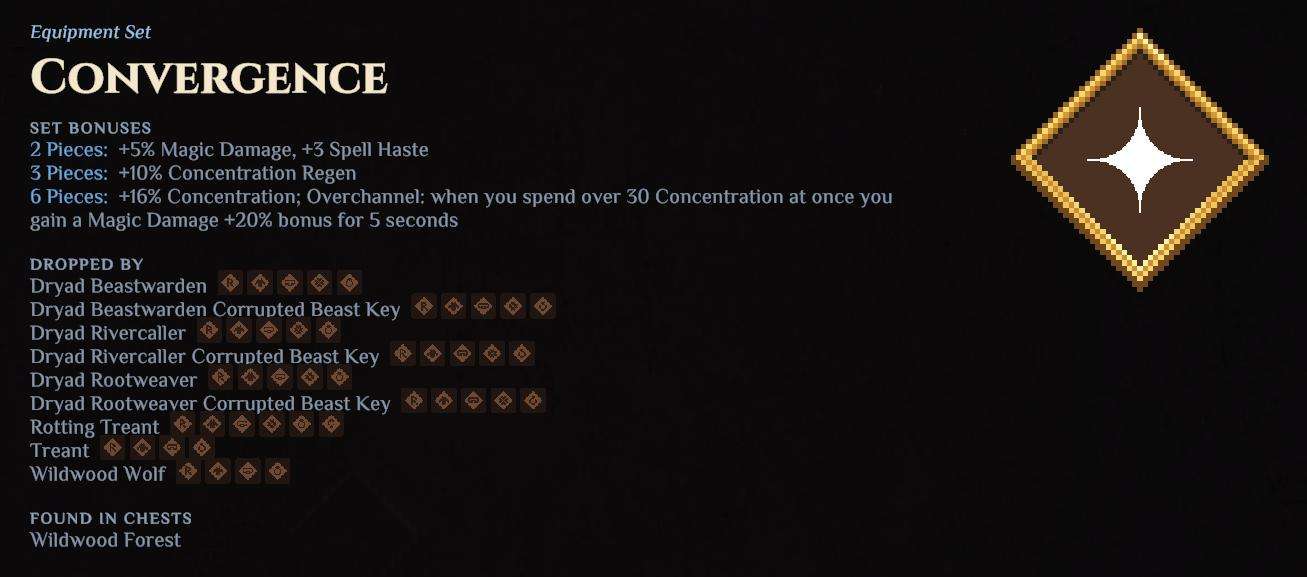
Three pieces of Convergence provide:
- +3 Spell Haste
- +10% Concentration Regeneration
- +5% Magic Damage
The Magic Damage bonus is unnecessary for this build. However, Convergence is much easier to access than Dazzler, and the one-point difference in Spell Haste does not make Dazzler worth farming if you already have a Convergence set.

Pet
There are two viable options:
- Moon Cat
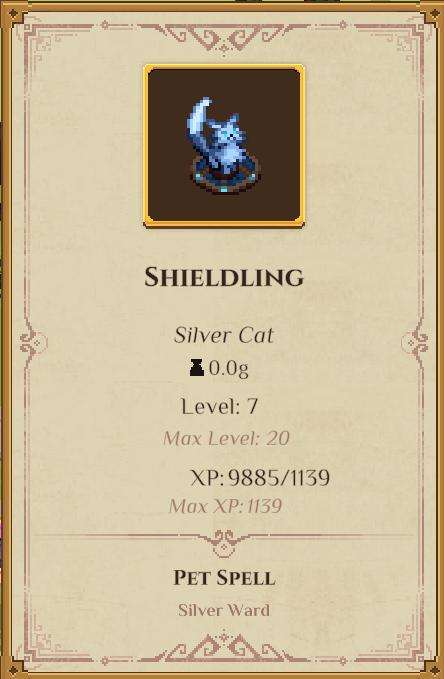
- Silver Cat
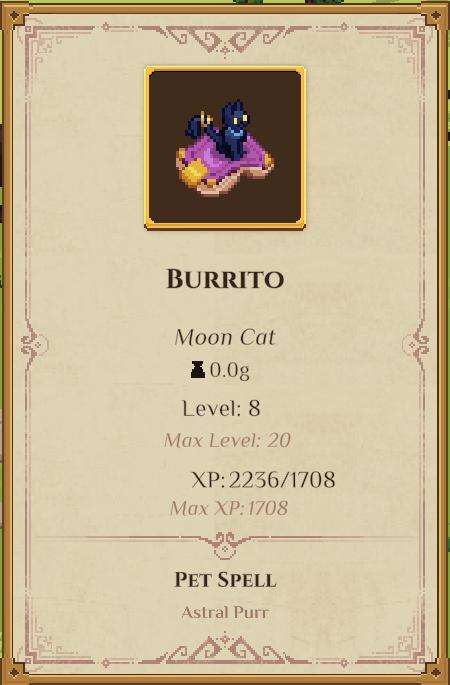
Moon Cat
Use Moon Cat if you expect to take little damage during most fights. Its additional Concentration regeneration is useful but not necessary.
Silver Cat
Use Silver Cat if you expect to take significant damage.
The cat shield will not completely protect you, but reducing the amount of damage you take is extremely important for this build. The less damage you take, the more healing remains available for allies.
Food and Drink
Use:
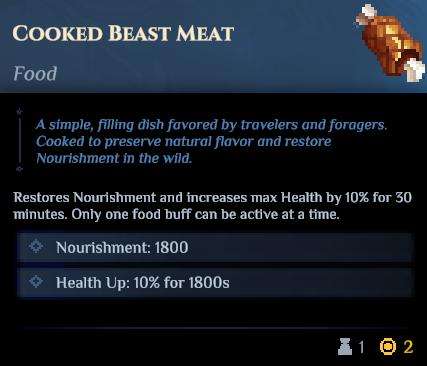
- Cooked Beast Meat
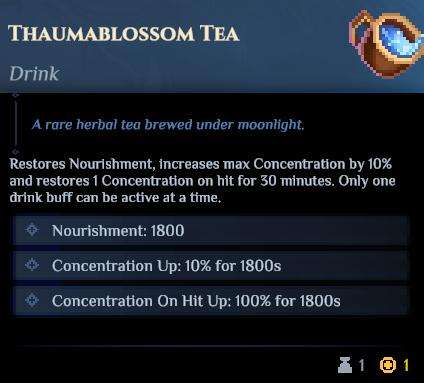
- Thaumablossom Tea
Cooked Beast Meat provides +10% Max HP.
Thaumablossom Tea provides:
- +10% Max Concentration
- +100% Concentration on hit increase
The Concentration on hit increase from the tea is particularly powerful. Both items are also easy to make in large quantities through normal gameplay.
Consumables
The recommended consumables are:
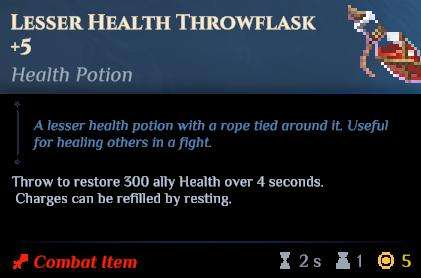
- Lesser Health Throwflask +5
- Lesser Concentration Throwflask +5
- Lesser Stamina Throwflask +5
- Oil Flask +5
Lesser Health Throwflask
The Health Throwflask is the most important consumable because it is the only source of ally healing available to this build in the current update.
Its range is relatively decent, while its AoE is somewhat small. Use it when an ally has relatively low HP.
You may find yourself missing frequently during boss fights. An alternative is to save the flasks for when you are reviving an ally. As soon as the revival ends, throw the flask onto the ground below you. This guarantees a hit on both you and the ally, restoring both to maximum HP.
The Throwflask variant heals for less than the default potion, but 450 healing from the normal potion is usually excessive because you have only around 300 HP, and many players do not invest heavily in Physique.
You cannot have the normal healing potion and the Throwflask variant at the same time.
Avoid taking unnecessary damage. Every time you need to heal yourself, there is less healing available for your teammates.
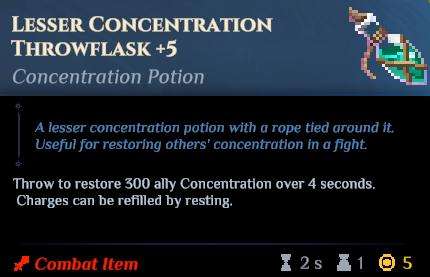
Lesser Concentration Throwflask
The Concentration Throwflask restores 300 Concentration over 4 seconds, equivalent to 75 Concentration per second.
Players generally have less Concentration than HP. Because of this, 75 Concentration per second allows most players to spam spells or attacks for those 4 seconds without worrying about running out.
These flasks do not need to be saved as carefully as the healing flasks. They provide useful temporary boosts to caster allies.
During a boss damage phase, throw one to an ally so they can take advantage of the increased resource regeneration.
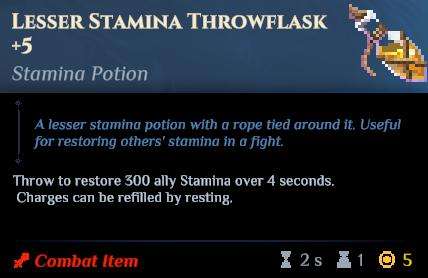
Lesser Stamina Throwflask
The Stamina Throwflask restores 300 Stamina over 4 seconds, equivalent to 75 Stamina per second.
Because players generally have less Stamina than HP, this amount of regeneration can allow most players to repeatedly use attacks for those 4 seconds without worrying about running out.
Use it as a temporary boost for melee allies, particularly when it is time to deal damage to a boss.
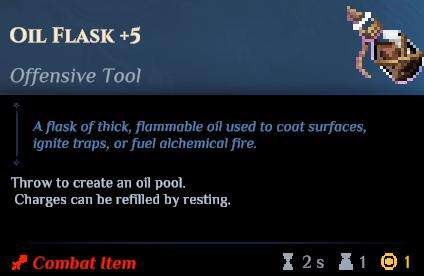
Oil Flask
Oil Flasks create Oil Puddles. Throw them onto enemies or bosses to enable allies using fire-based builds to deal additional damage.
Skill Tree
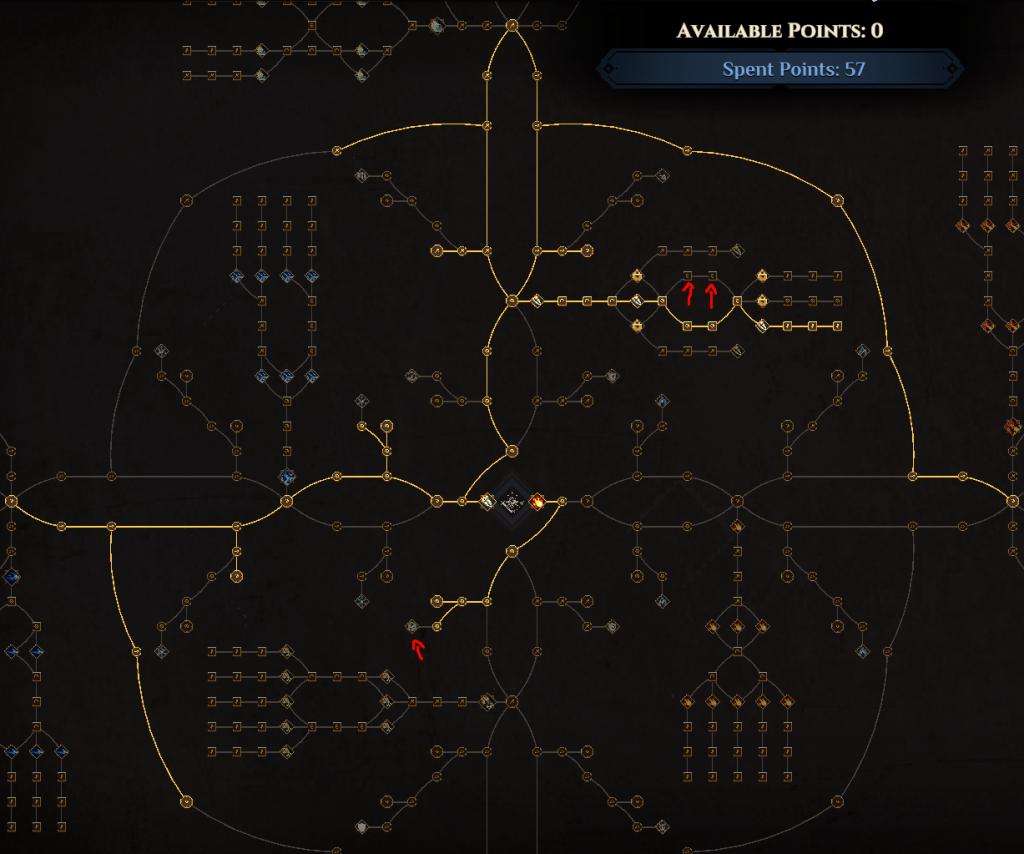
The skill tree contains the following nodes and upgrades.
Nodes that provide two different bonuses are counted as two separate nodes in the totals below, so the total number of listed nodes exceeds sixty.
Damage, Health, and Resource Nodes
- 2 nodes that increase all Magic Damage by 6%
- 1 node that increases Strike Damage by 6%
- 1 node that increases the maximum amount of Burning you can apply by 2
- 1 node that increases the maximum amount of Bleeding you can apply by 2
- 1 node that increases the maximum amount of Chill you can apply by 2
- 1 node that increases maximum HP by 8
- 4 nodes that increase maximum Concentration by 3
- 1 node that increases maximum Concentration by 6
- 1 node that increases maximum Concentration by 9
- 4 nodes that increase Concentration gain on hit by 2
- 3 nodes that increase Concentration gain on hit by 4
- 2 nodes that increase maximum Stamina by 3
- 2 nodes that increase maximum Stamina by 6
Haste and Attack Speed Nodes
- 13 nodes that increase Spell Haste by 2
- 4 nodes that increase Spell Haste by 4
- 2 nodes that increase Spell Haste by 6
- 1 node that increases Spell Haste by 8
- 1 node that increases Spell Haste by 9%
- 5 nodes that increase Attack Speed by 3%
- 1 node that increases Attack Speed by 6%
- 1 node that allows Energy to increase maximum Concentration by 5
Weapon Swap Nodes and Upgrades
- Versatile Warrior upgrade for Weapon Swap
- Support Versatility upgrade for Weapon Swap
- Rending Swap or Envenoming Swap upgrade for Weapon Swap
- 3 nodes that reduce Weapon Swap by 10%
- 3 nodes that increase Versatile Warrior by 0.5
- 3 nodes that reduce the Stamina and Concentration cost of Weapon Swap by 12%
- 3 nodes that increase the Bleed or Poison stacks inflicted by Weapon Swap by 1
Skill Tree Cooldown Changes
The value of this build comes from using its spells, so high Spell Haste, maximum Concentration, Concentration gain on hit, and Attack Speed are important.
War Banner has a long cooldown, making Spell Haste particularly valuable.
With this skill tree, the cooldowns are:
| Ability | Base Cooldown | Reduced Cooldown |
|---|---|---|
| War Banner | 45s | 27.3s |
| Barrier | 16s | 9.7s |
| Empower Ally / Power of the Wild | 15s | 9.1s |
| Combat Medic | 12s | 7.3s |
| Weapon Swap | 8s | 3.4s |
With proper skill usage, the reduced cooldowns allow 100% uptime on the 25% Armor and Resistance boost for all allies and the 15% All Damage boost for all allies because Weapon Swap and Power of the Wild have shorter cooldowns than their durations.
Equipment Stats
Prioritize:
- Spell Haste
- Concentration gain on hit
- Maximum Concentration
- Healing Power, if it works with the Health Throwflask
Other stats that help you use spells more often or improve survivability are also useful.
How to Play the Build
Your focus is maintaining buffs, avoiding damage, and keeping enough Concentration available to use your spells.
- Keep Power of the Wild active to maintain its defensive boost.
- Keep Weapon Swap active to maintain its damage boost.
- Watch for allies who are in a bad position and use Barrier to reduce incoming damage.
- Watch for moments when allies are preparing to deal damage to a boss and place War Banner in a good position.
- If an ally is taking damage over time, use Combat Medic to remove their Bleeding, Burning, Chill, Shock, or Poison stacks.
- Use Health Throwflasks to heal allies.
- Use Concentration and Stamina Throwflasks to temporarily boost allies during damage phases.
- Use Oil Flasks on enemies or bosses when supporting an ally with a fire-based build.
- Avoid taking unnecessary damage so more healing remains available for your allies.



Be the first to comment