
More Valheim Guides:
- Full Basic Guide.
- Useful Tips and Tricks.
- Setting Up a Dedicated Server.
- List of All Resources (How to Get and Where to Find).
- Crafting Items List (Basics, Ships and Tools).
- Weapons and Armor Crafting List.
- Guide to Easy Starter Home.
- Dedicated Linux Server.
- Console Commands.
So you’ve built your starter base, you’ve defeated many trees, deer and gathered a lifetime supply of flint. It’s time to expand your base to upgrade that crafting bench and future proof some additional space for that forge.
Flatten & Foundation
All credit goes to Letozeth!
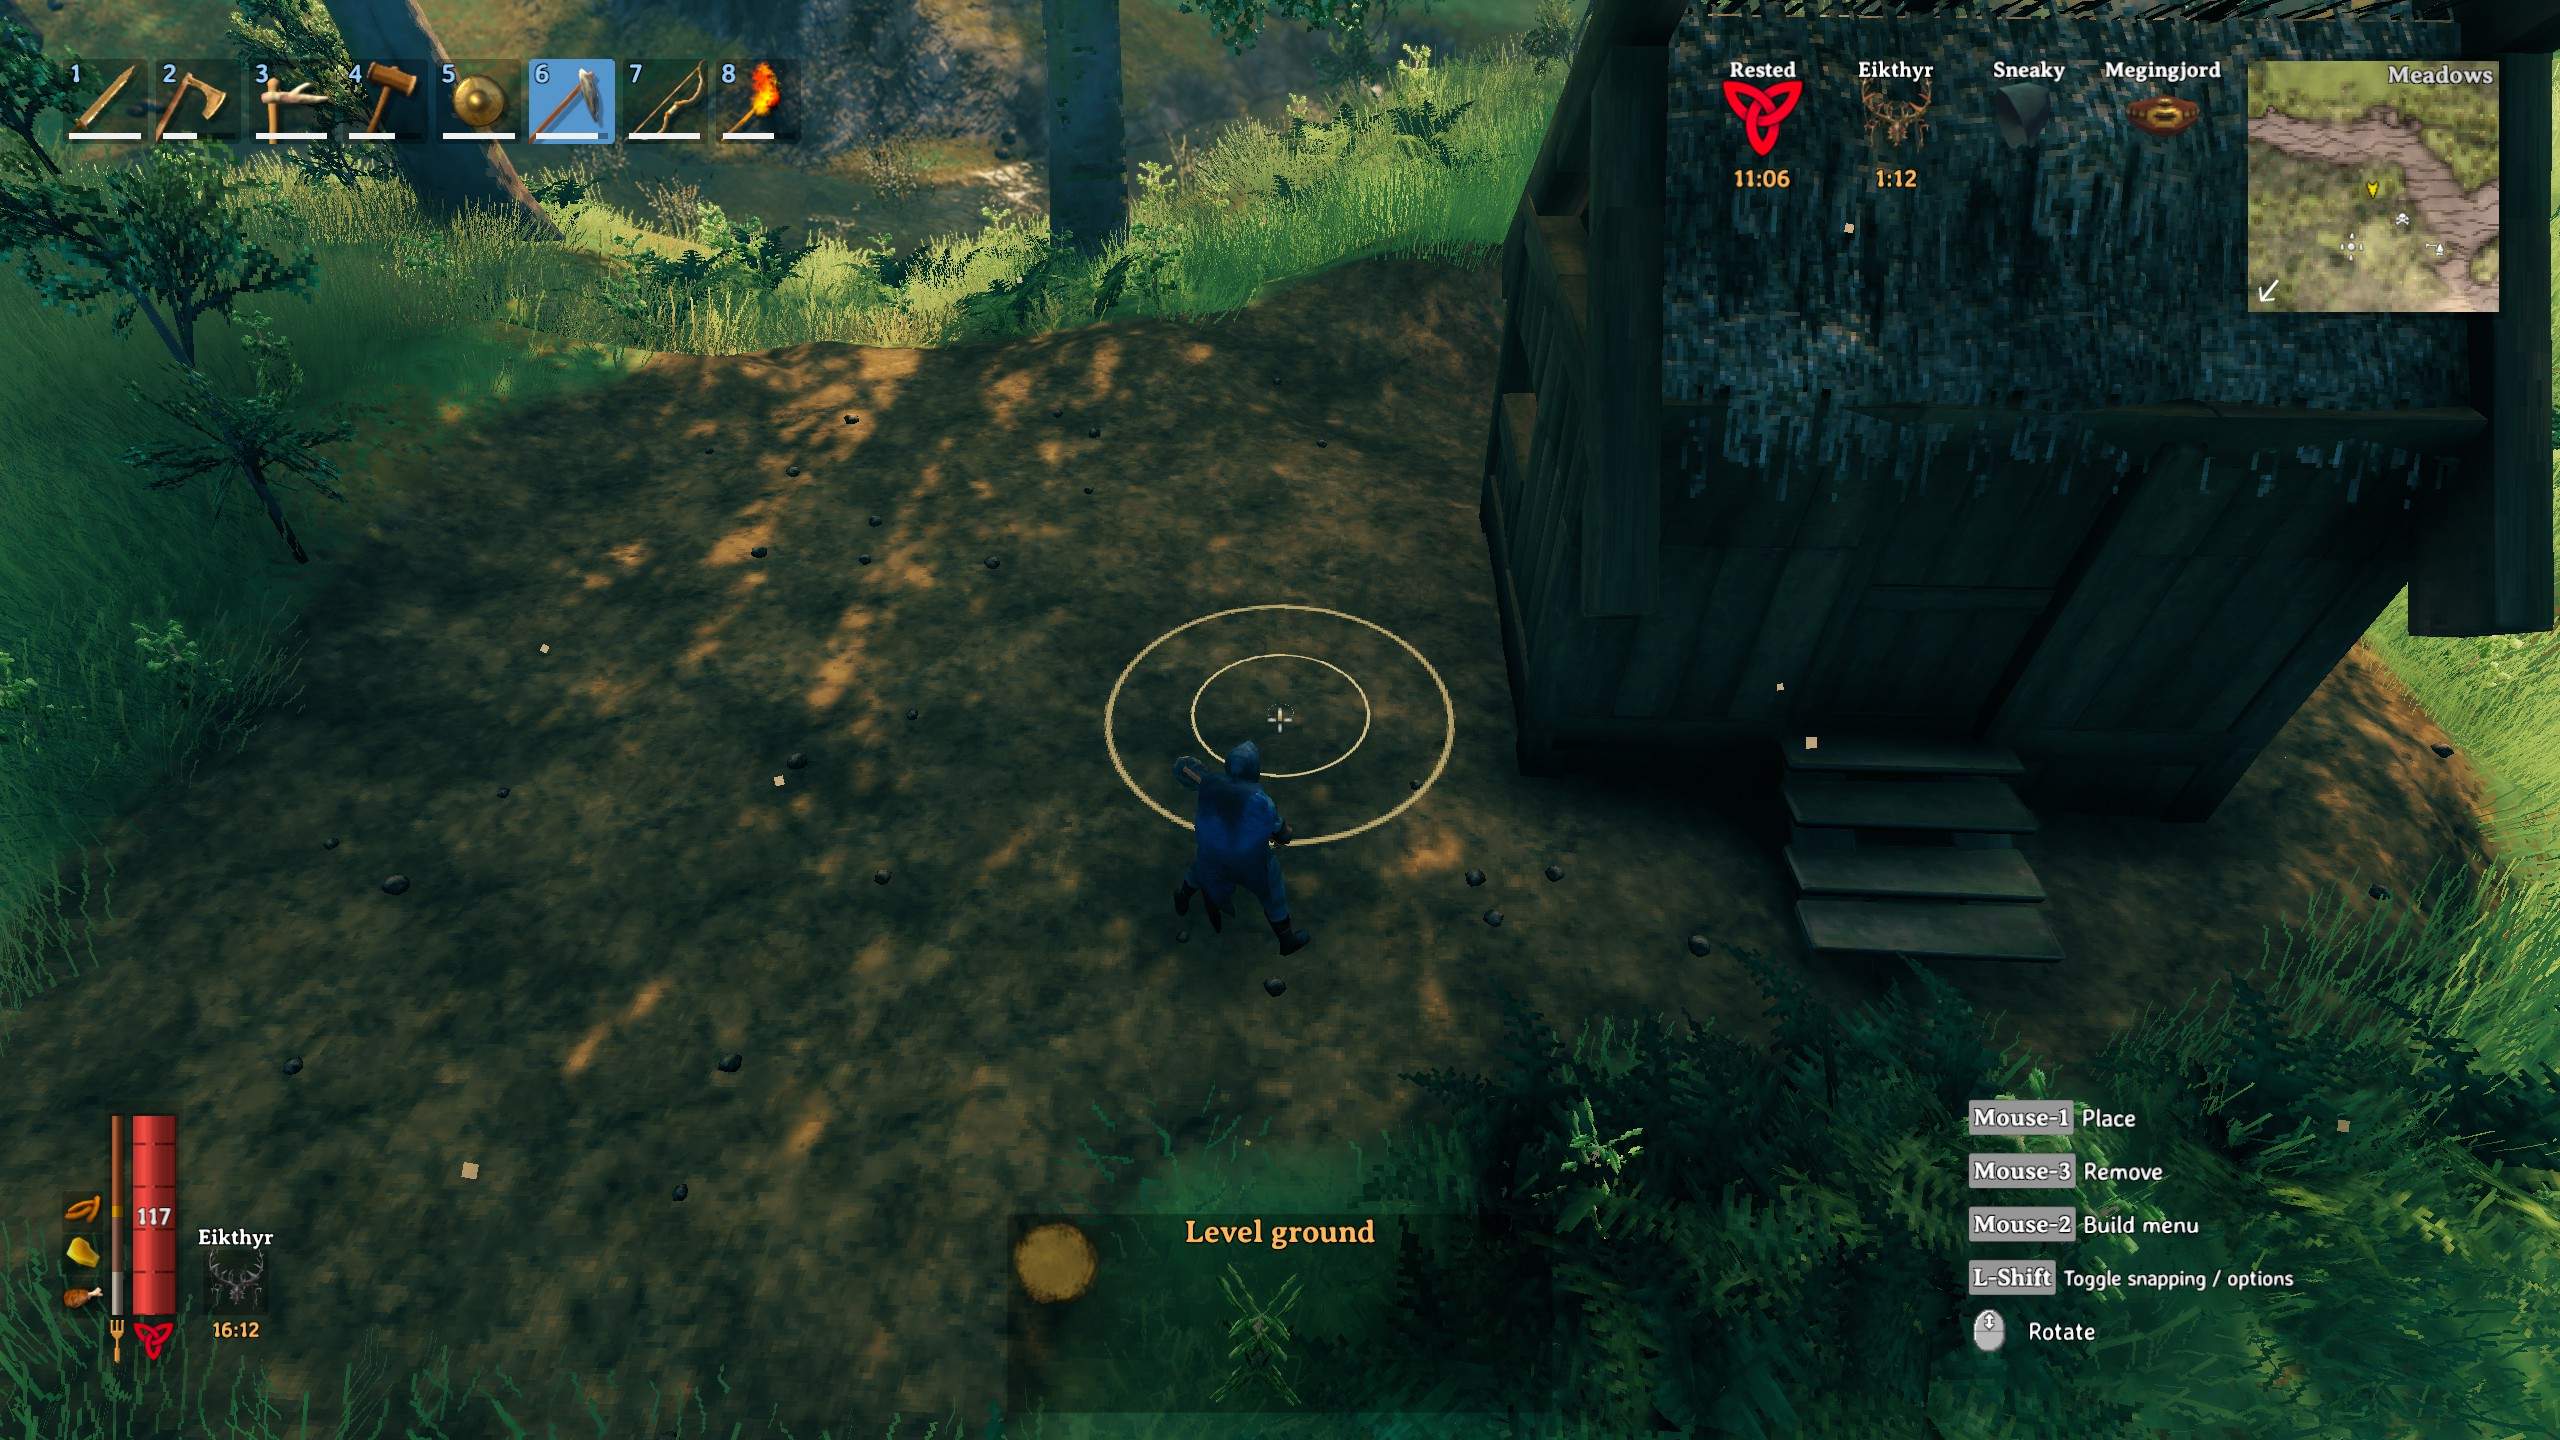
First of all, get that hoe out and flatten out roughly a 10 by 10m area right next to your house. When flattening, remember that it will flatten to the height that your character is currently standing at. So when flattening terrain, it’s best to work in circles around yourself.
If certain terrain refuses to be flattened it may be that you’re trying to flatten too steep terrain. A pickaxe can be used to remove that terrain and then it can be flattened properly.
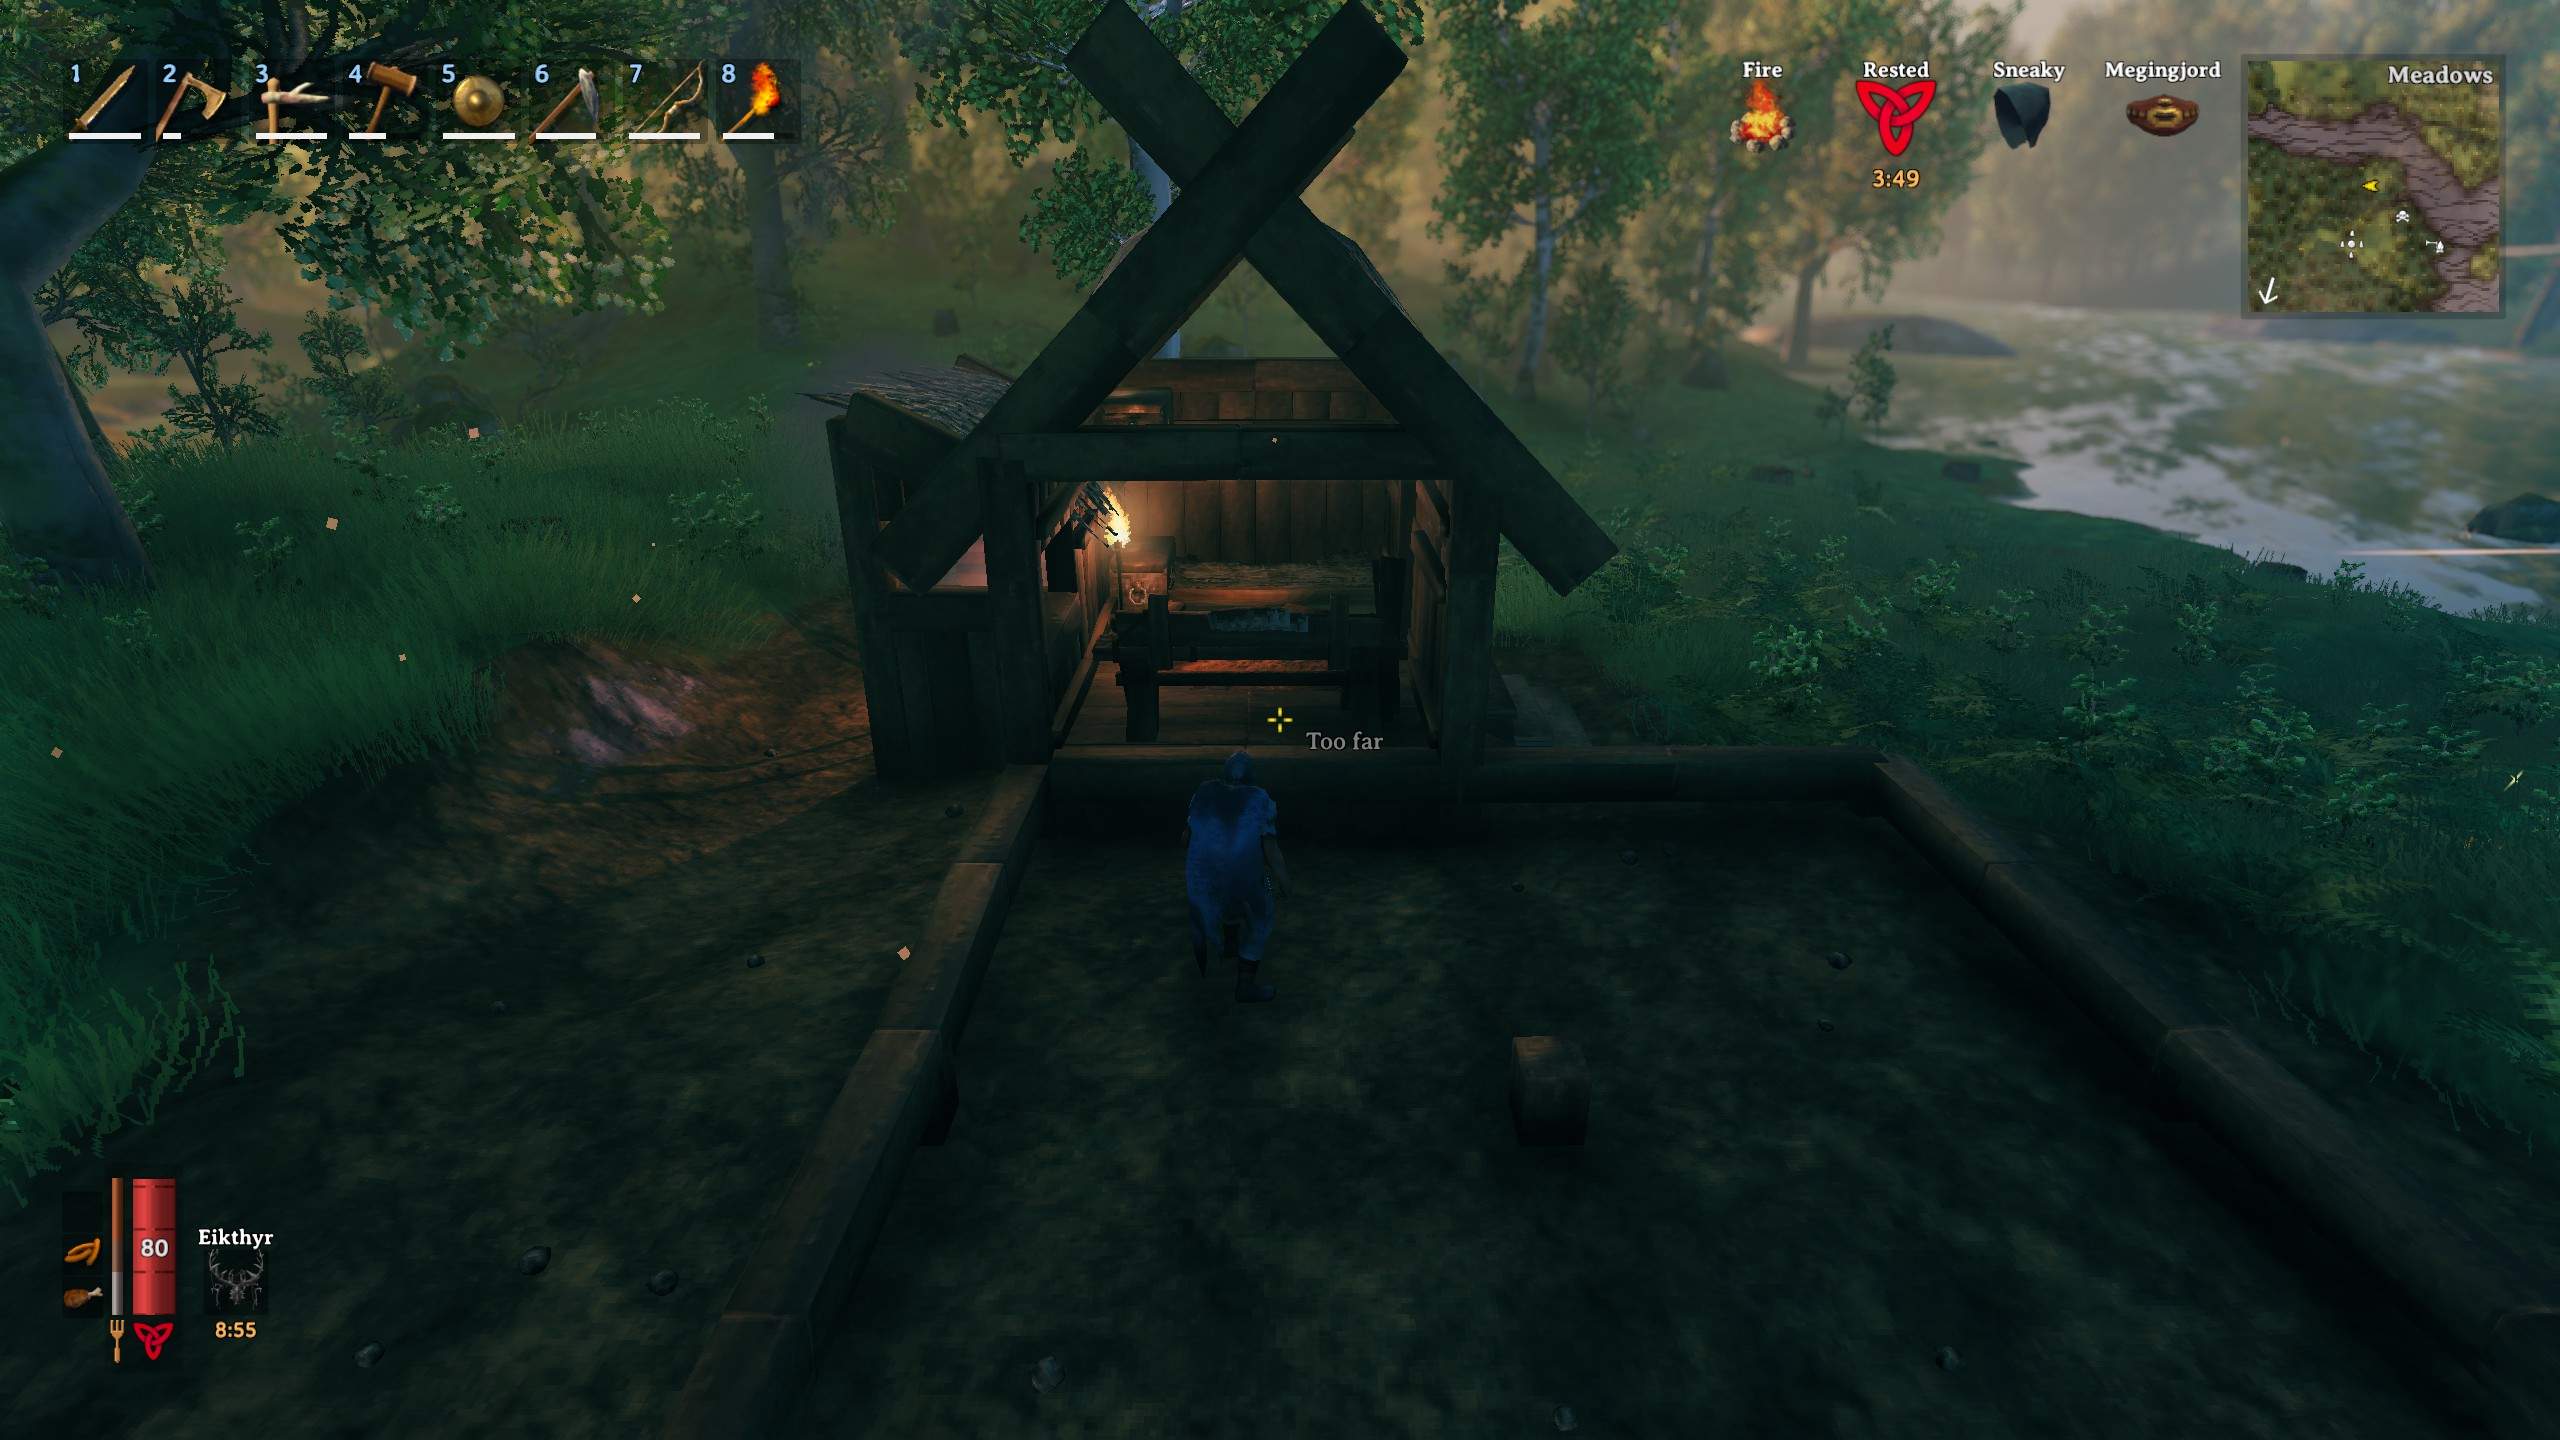
Once you’ve flattened the area, we do the same thing as in the previous guide, we place the foundation down by first extending beams from the house outwards, then placing the poles in the ground from those beams.

You may also want to guide two beams to the center, so you can place a pole down in the middle for structural integrity of the floor.
Opening Wall, Framing & Flooring
Once you’ve finished setting down the foundation, open up the wall where you want to connect the two structures. This is done by middle-clicking with the hammer tool, you regain all the wood spent on the structure when removing it.
Whether or not you want to remove the crossbeams as well is up to you.
Once you’ve opened up that wall, it’s time to put down the floor and then frame the building. Begin by filling the foundation with 2×2 floor, and then place 2m wood poles in each corner as well as in the center of each wall. Place a 1m pole on top of the 2m poles to extend the wall up to the height of the original house. Then connect each pole at the top with 2m wood beams.
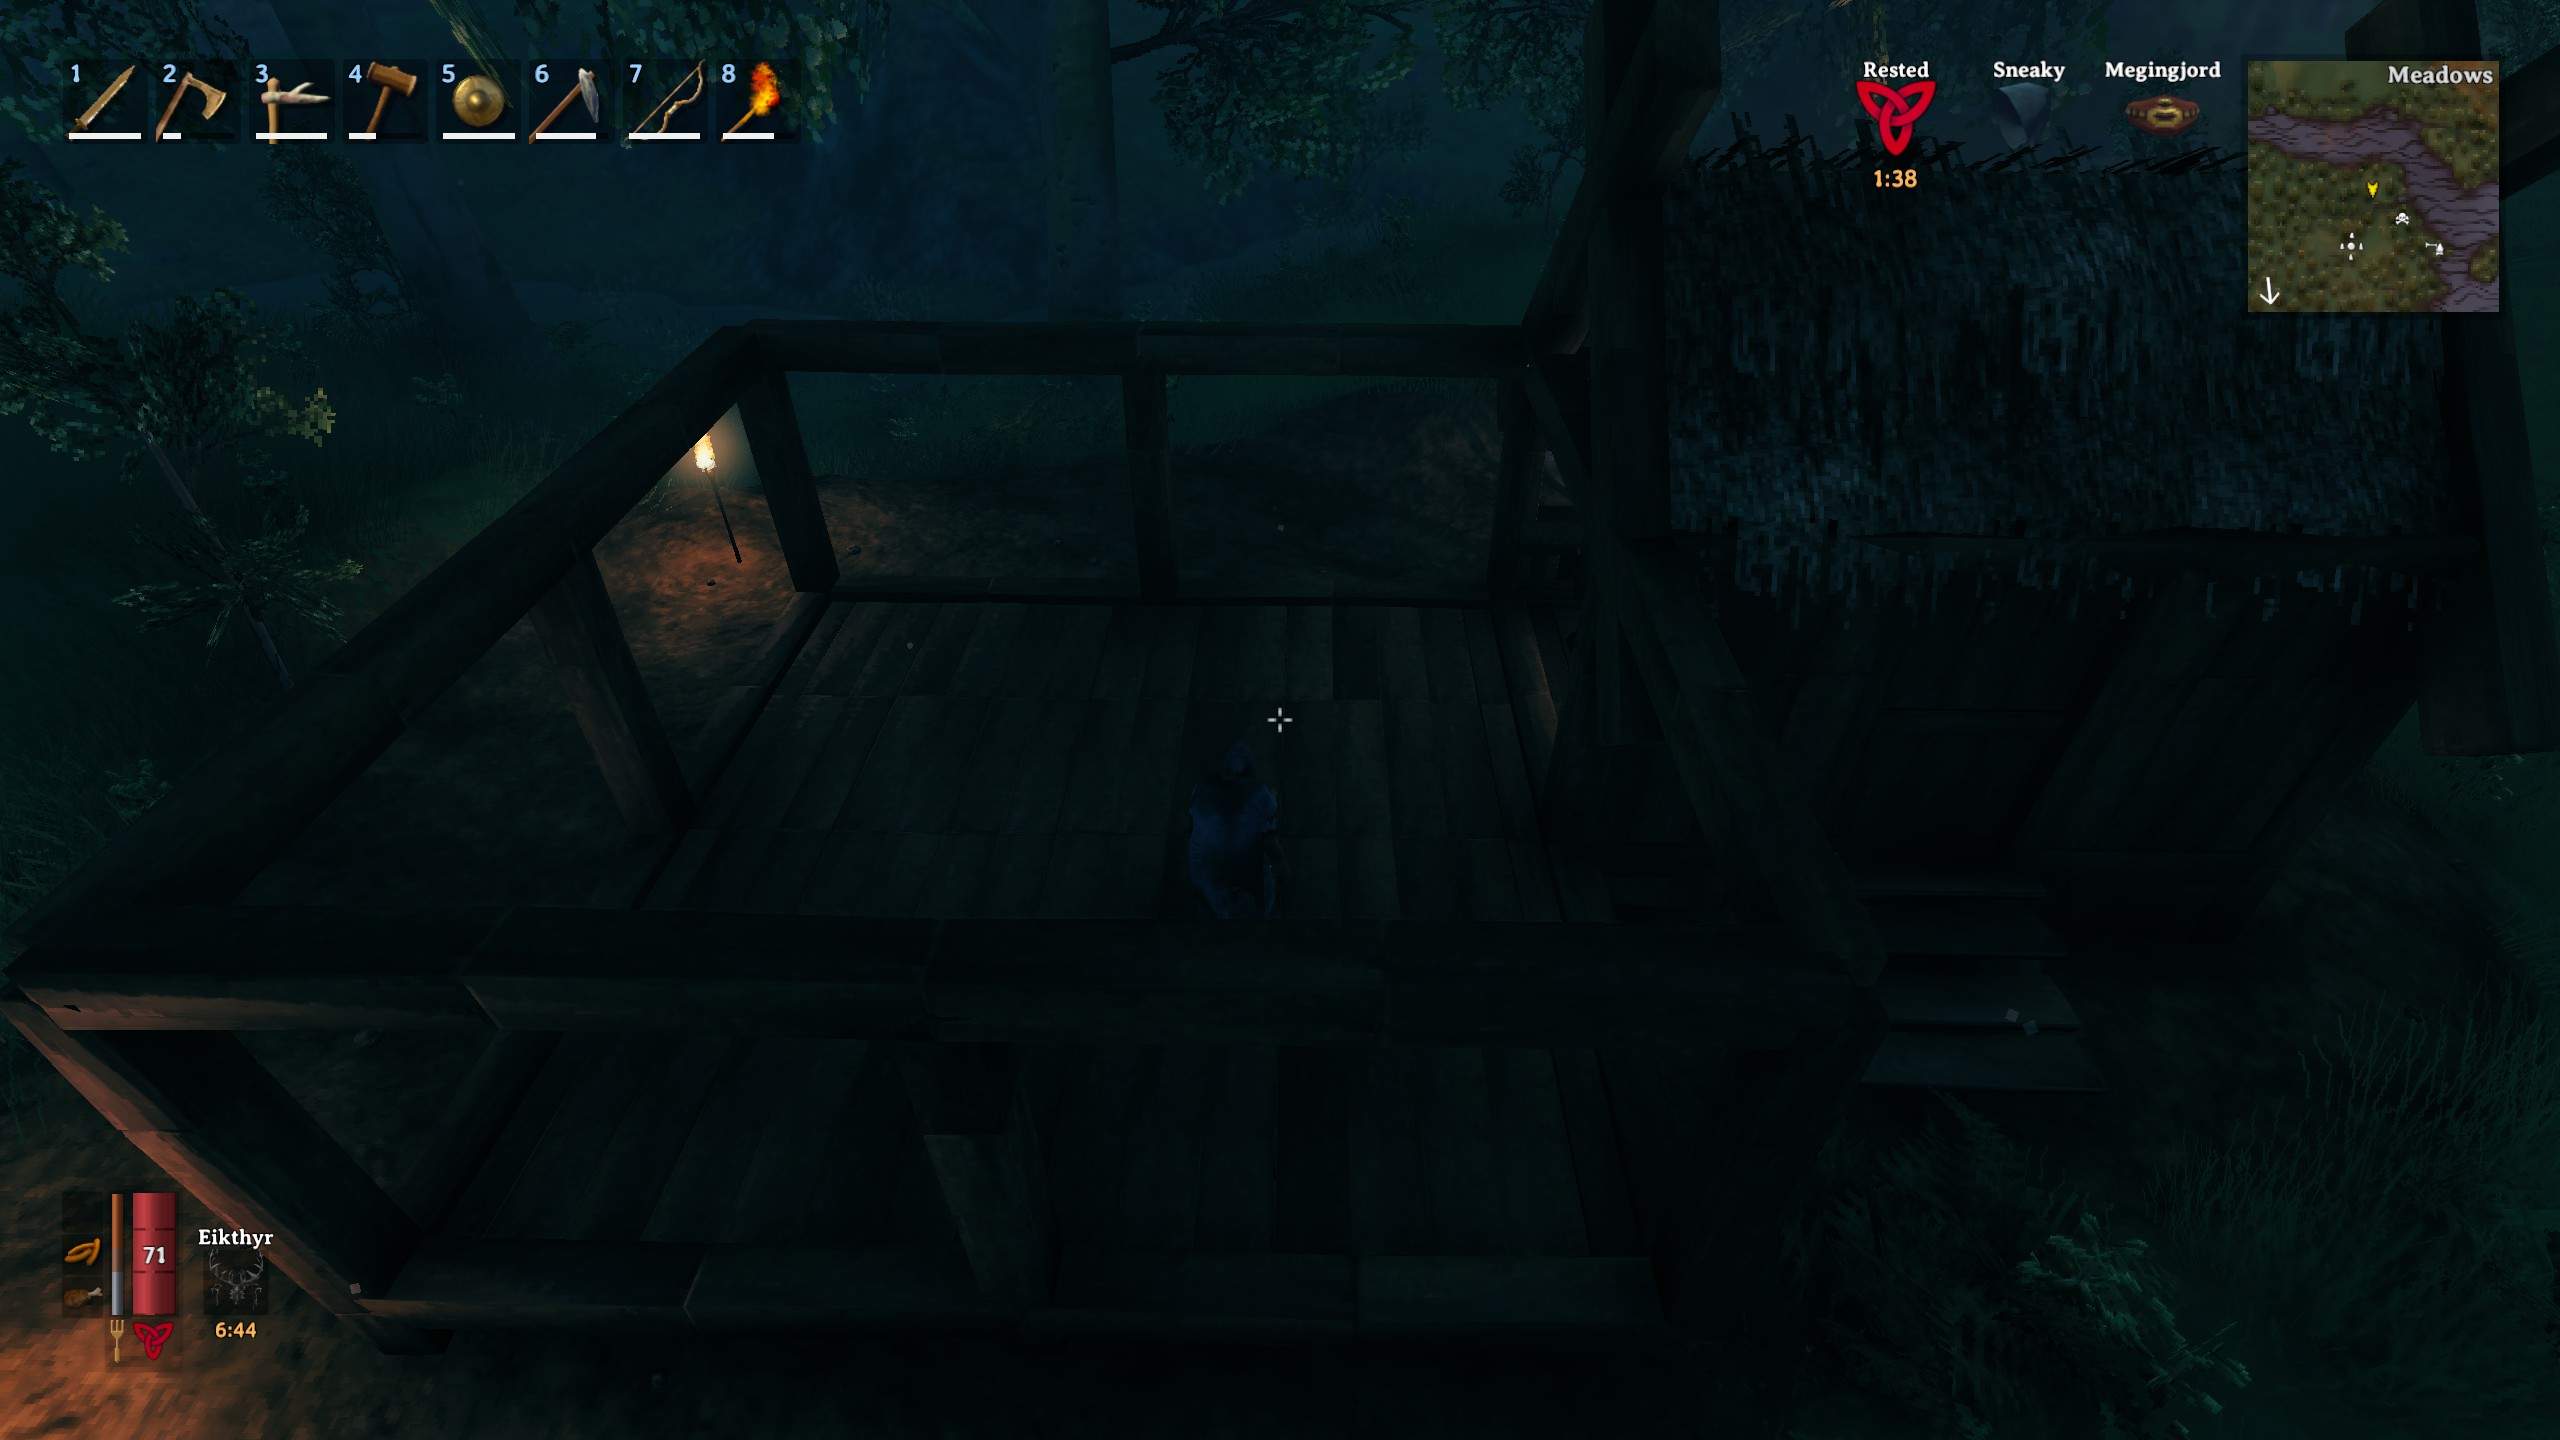
Once the framing is done, simply fill it in with walls and half-wall on top.
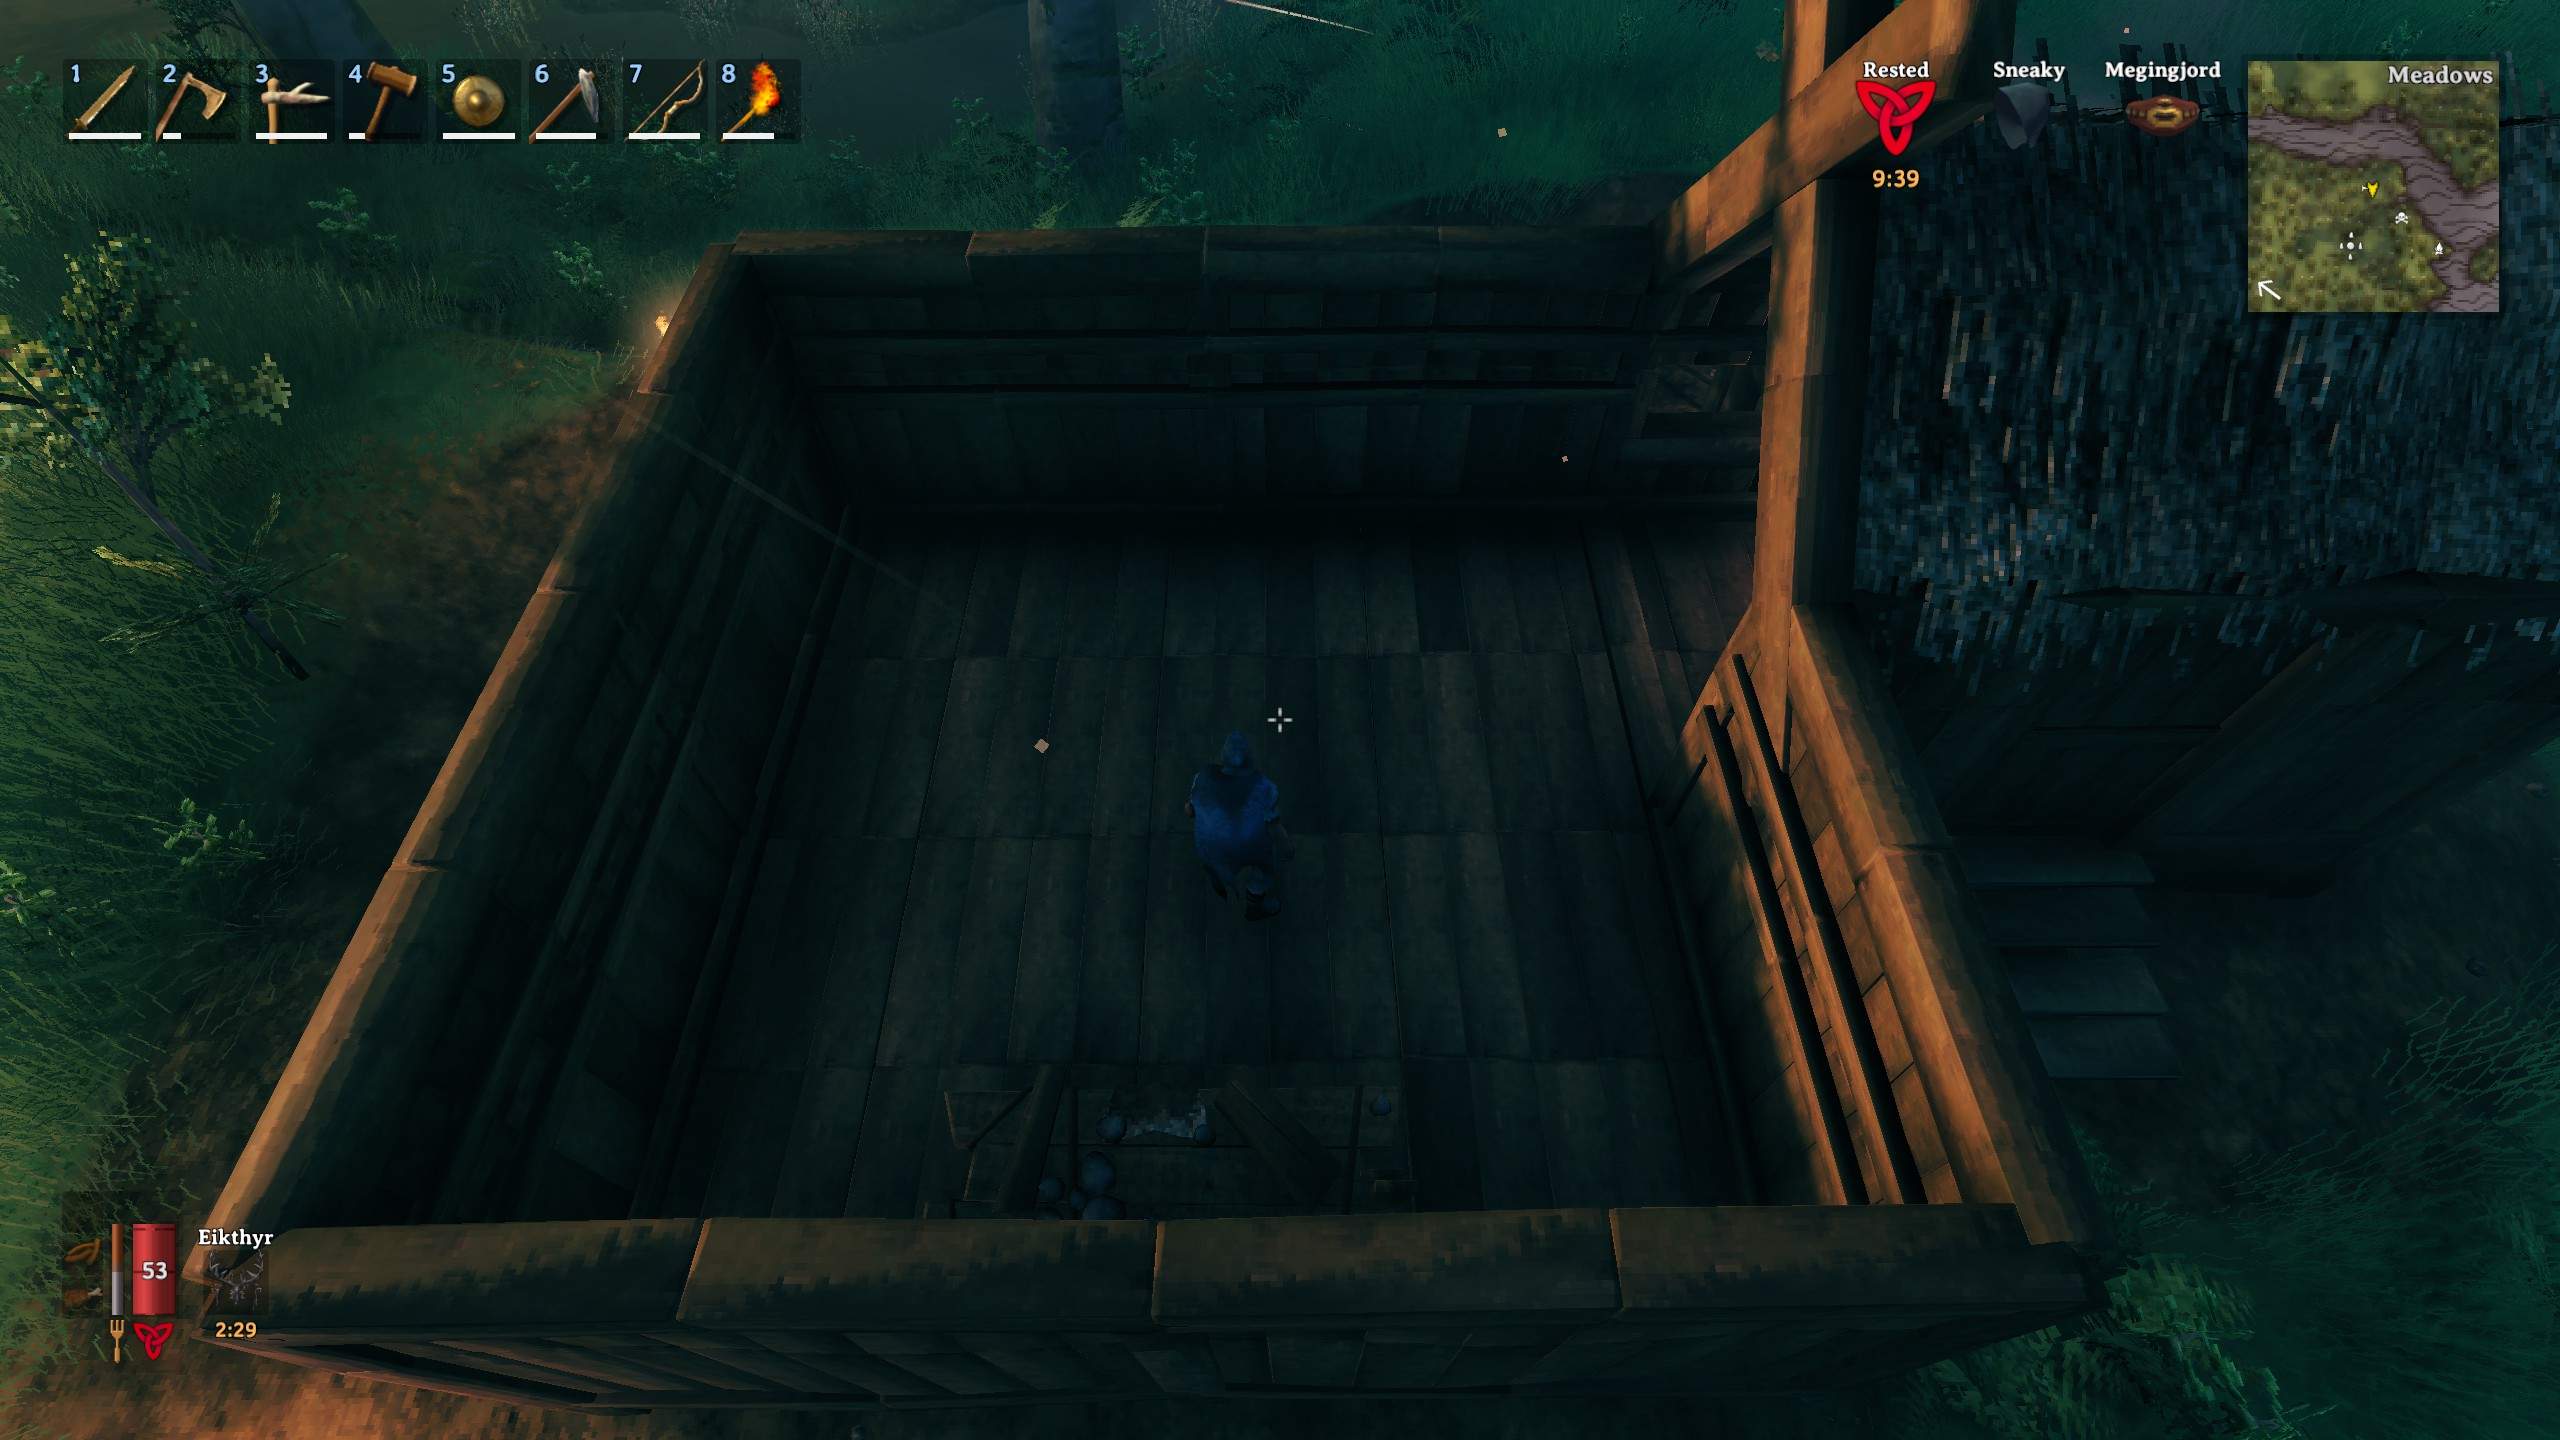
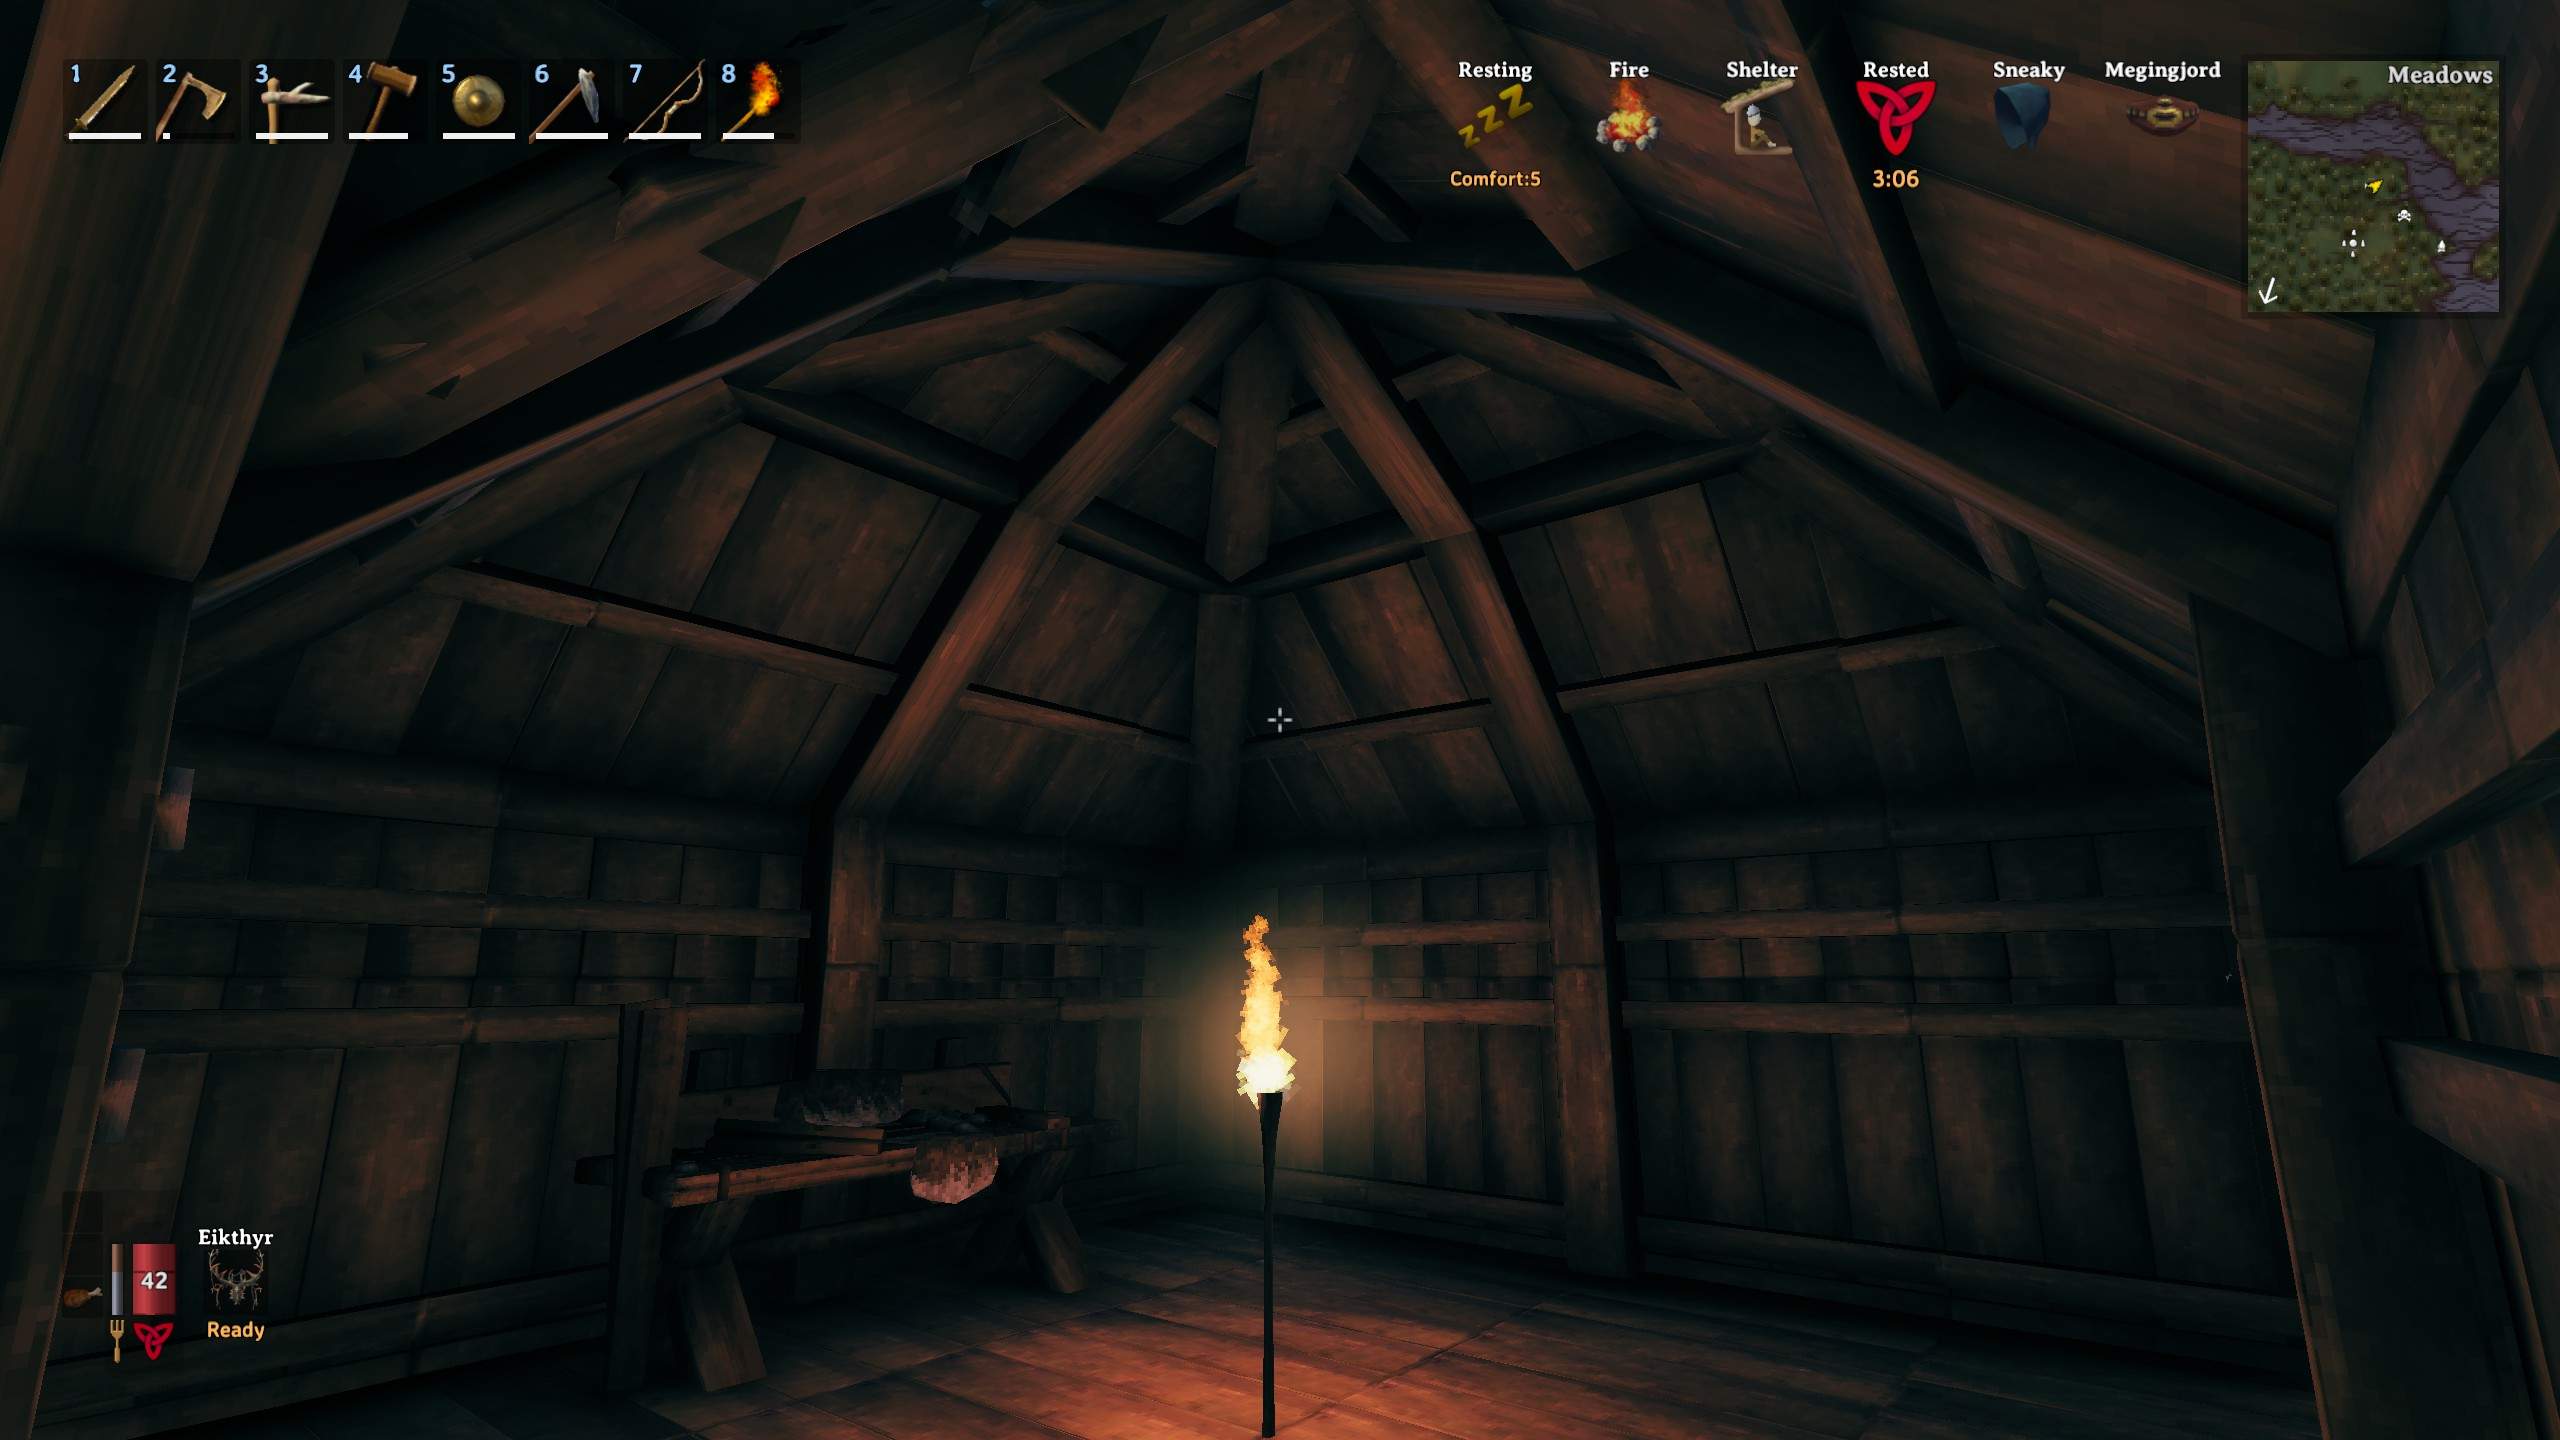
Framing, Flooring and walling is complete!
Roofing
Roofing this 8x8m area is fairly simple, begin by placing 45 degree Tatch Roof on the inner walls, and 45 degree corner pieces in the corners. Fairly simple so far.

When it comes to the connection of the original house and the new addition, you’ll simply place a regular 45 degree tatch roof at the straight wall, and an internal 45 degree internal bend piece by the 90 degree connection bend as shown in the picture.
Once this is done, add 26 degree tatch corner pieces in the remaining 4 areas to finish off the roof!

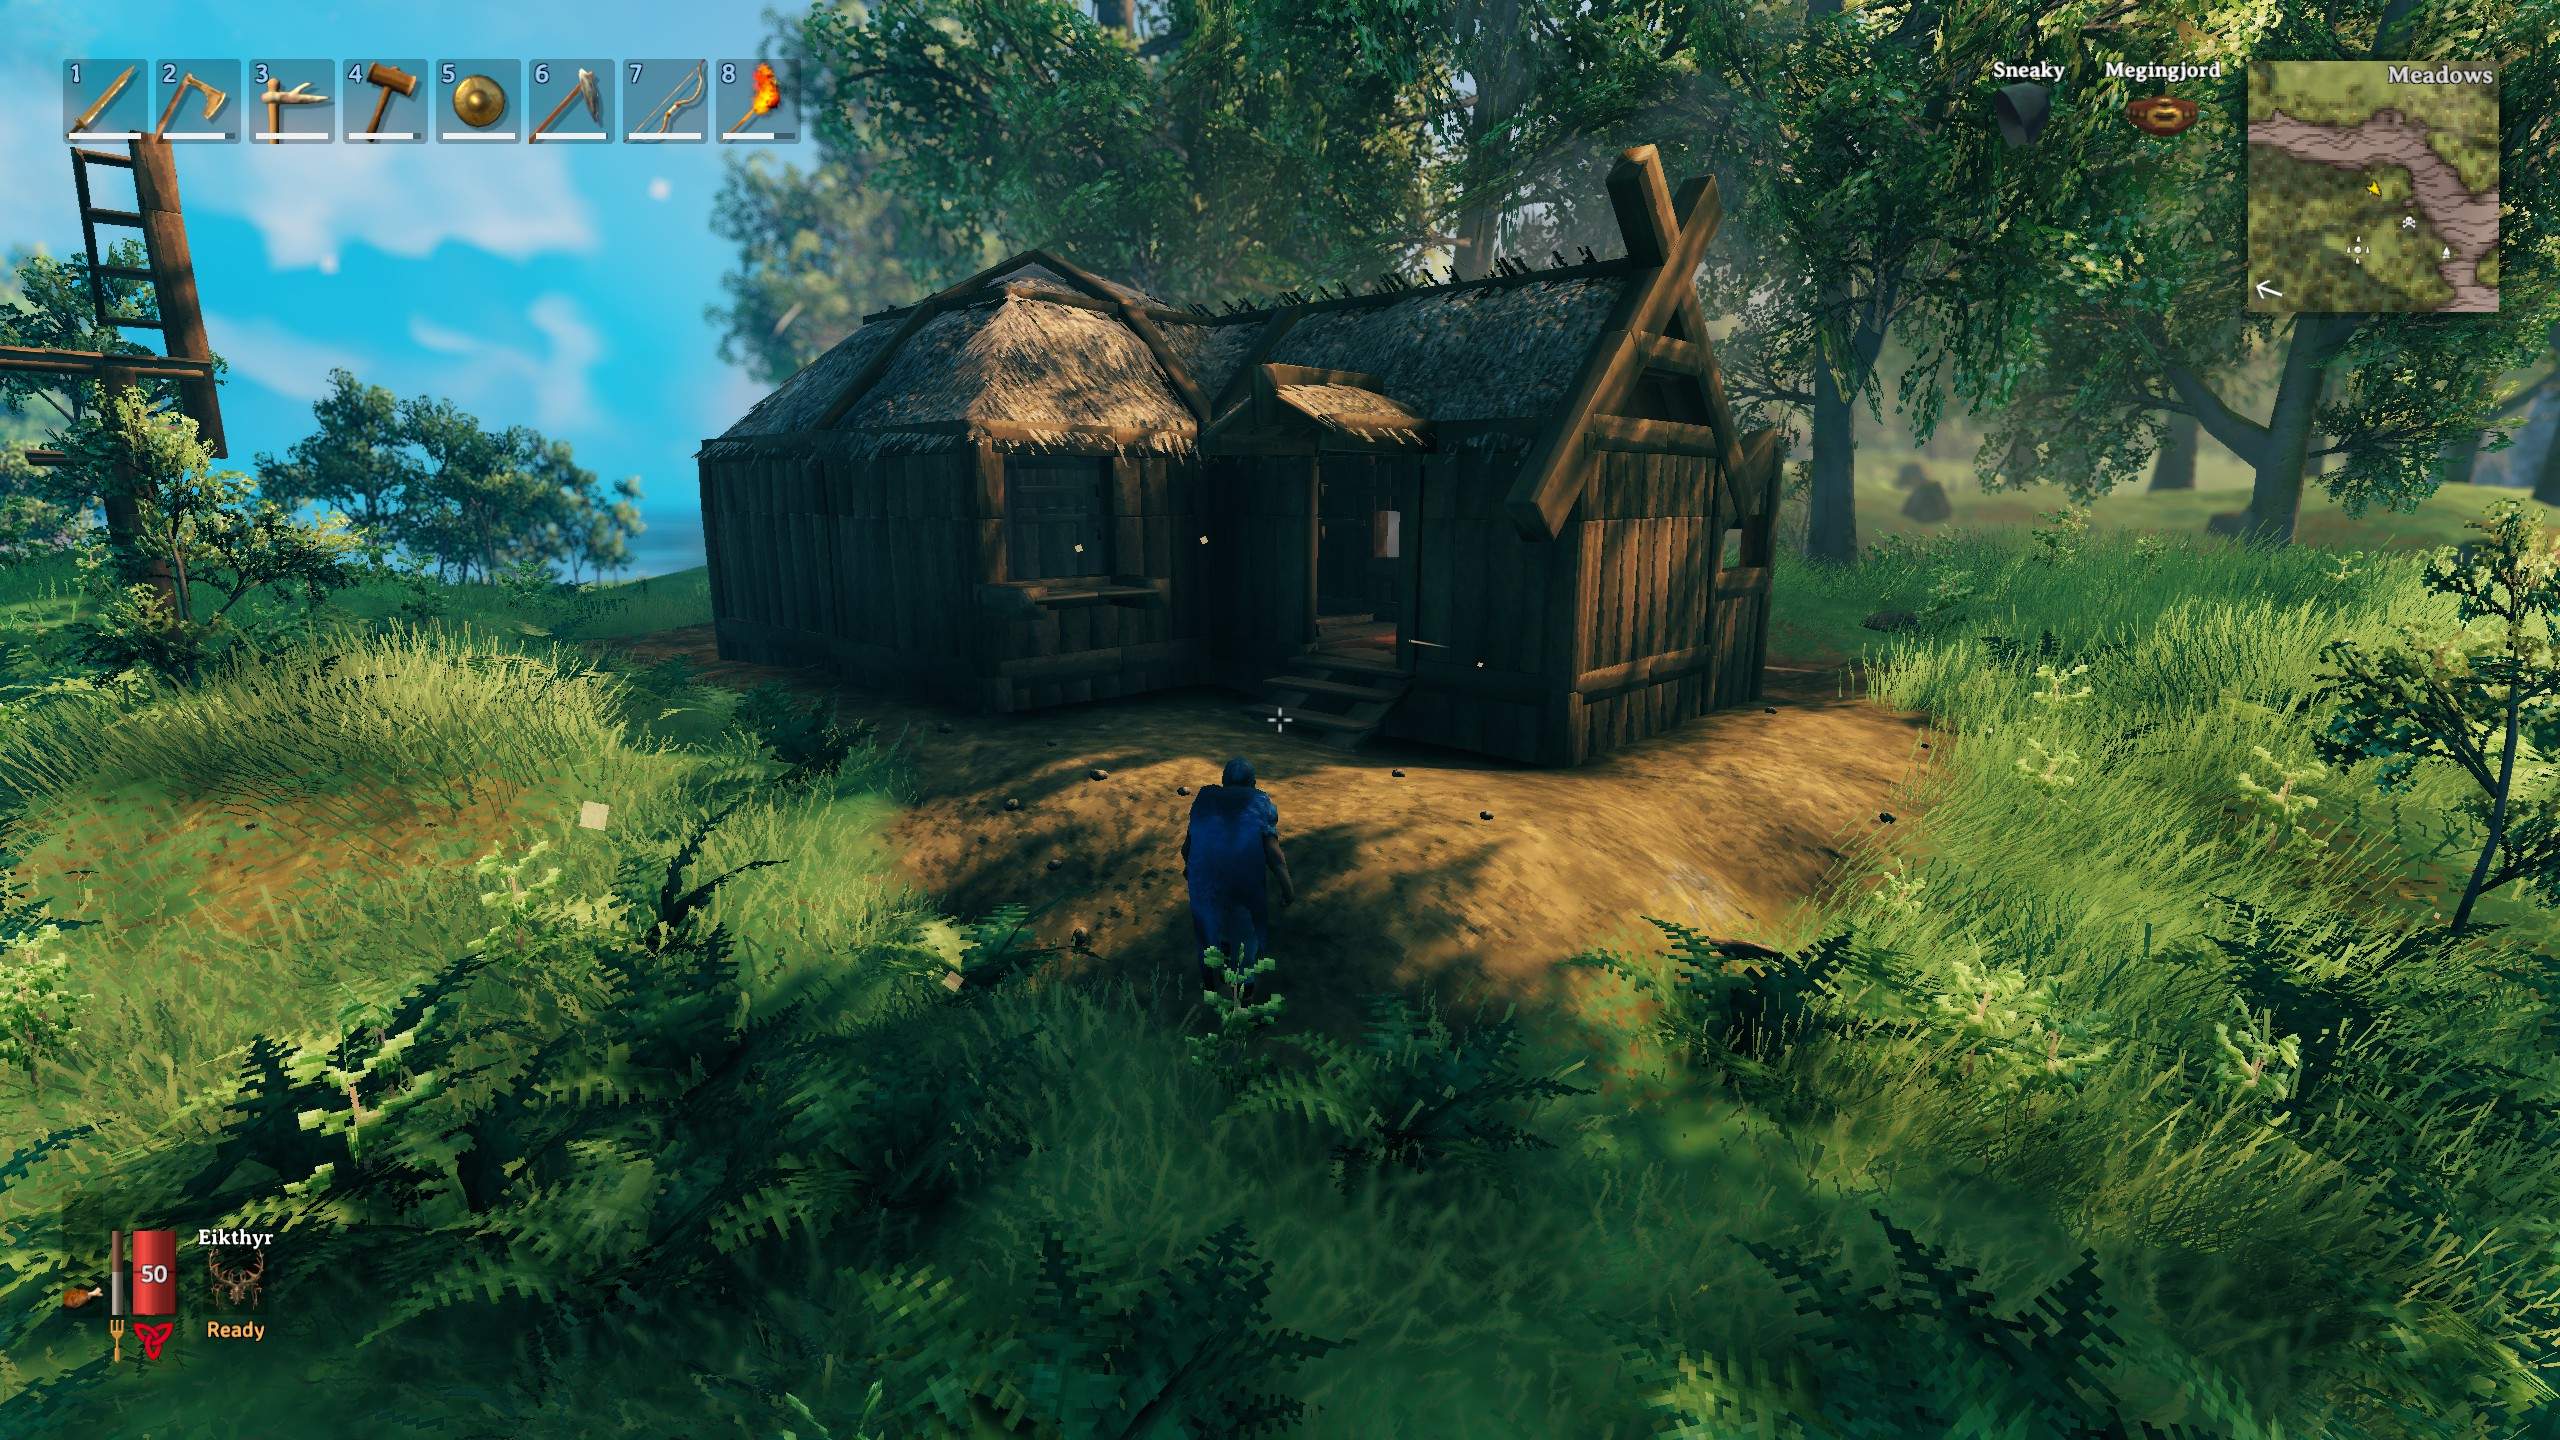
The addon is now finished and can be used as is!
Finishing Touches and Final Look
If you got the extra time and wood to spare, adding some finishing touches can make your house look way more pleasing to the eye, and something to be more proud of.
I decided to add some wood poles as well as 26 degree and 45 degree beams just for details sake. Some of the 2m beams do provide structural integrity of the roof, but it’s not really needed.
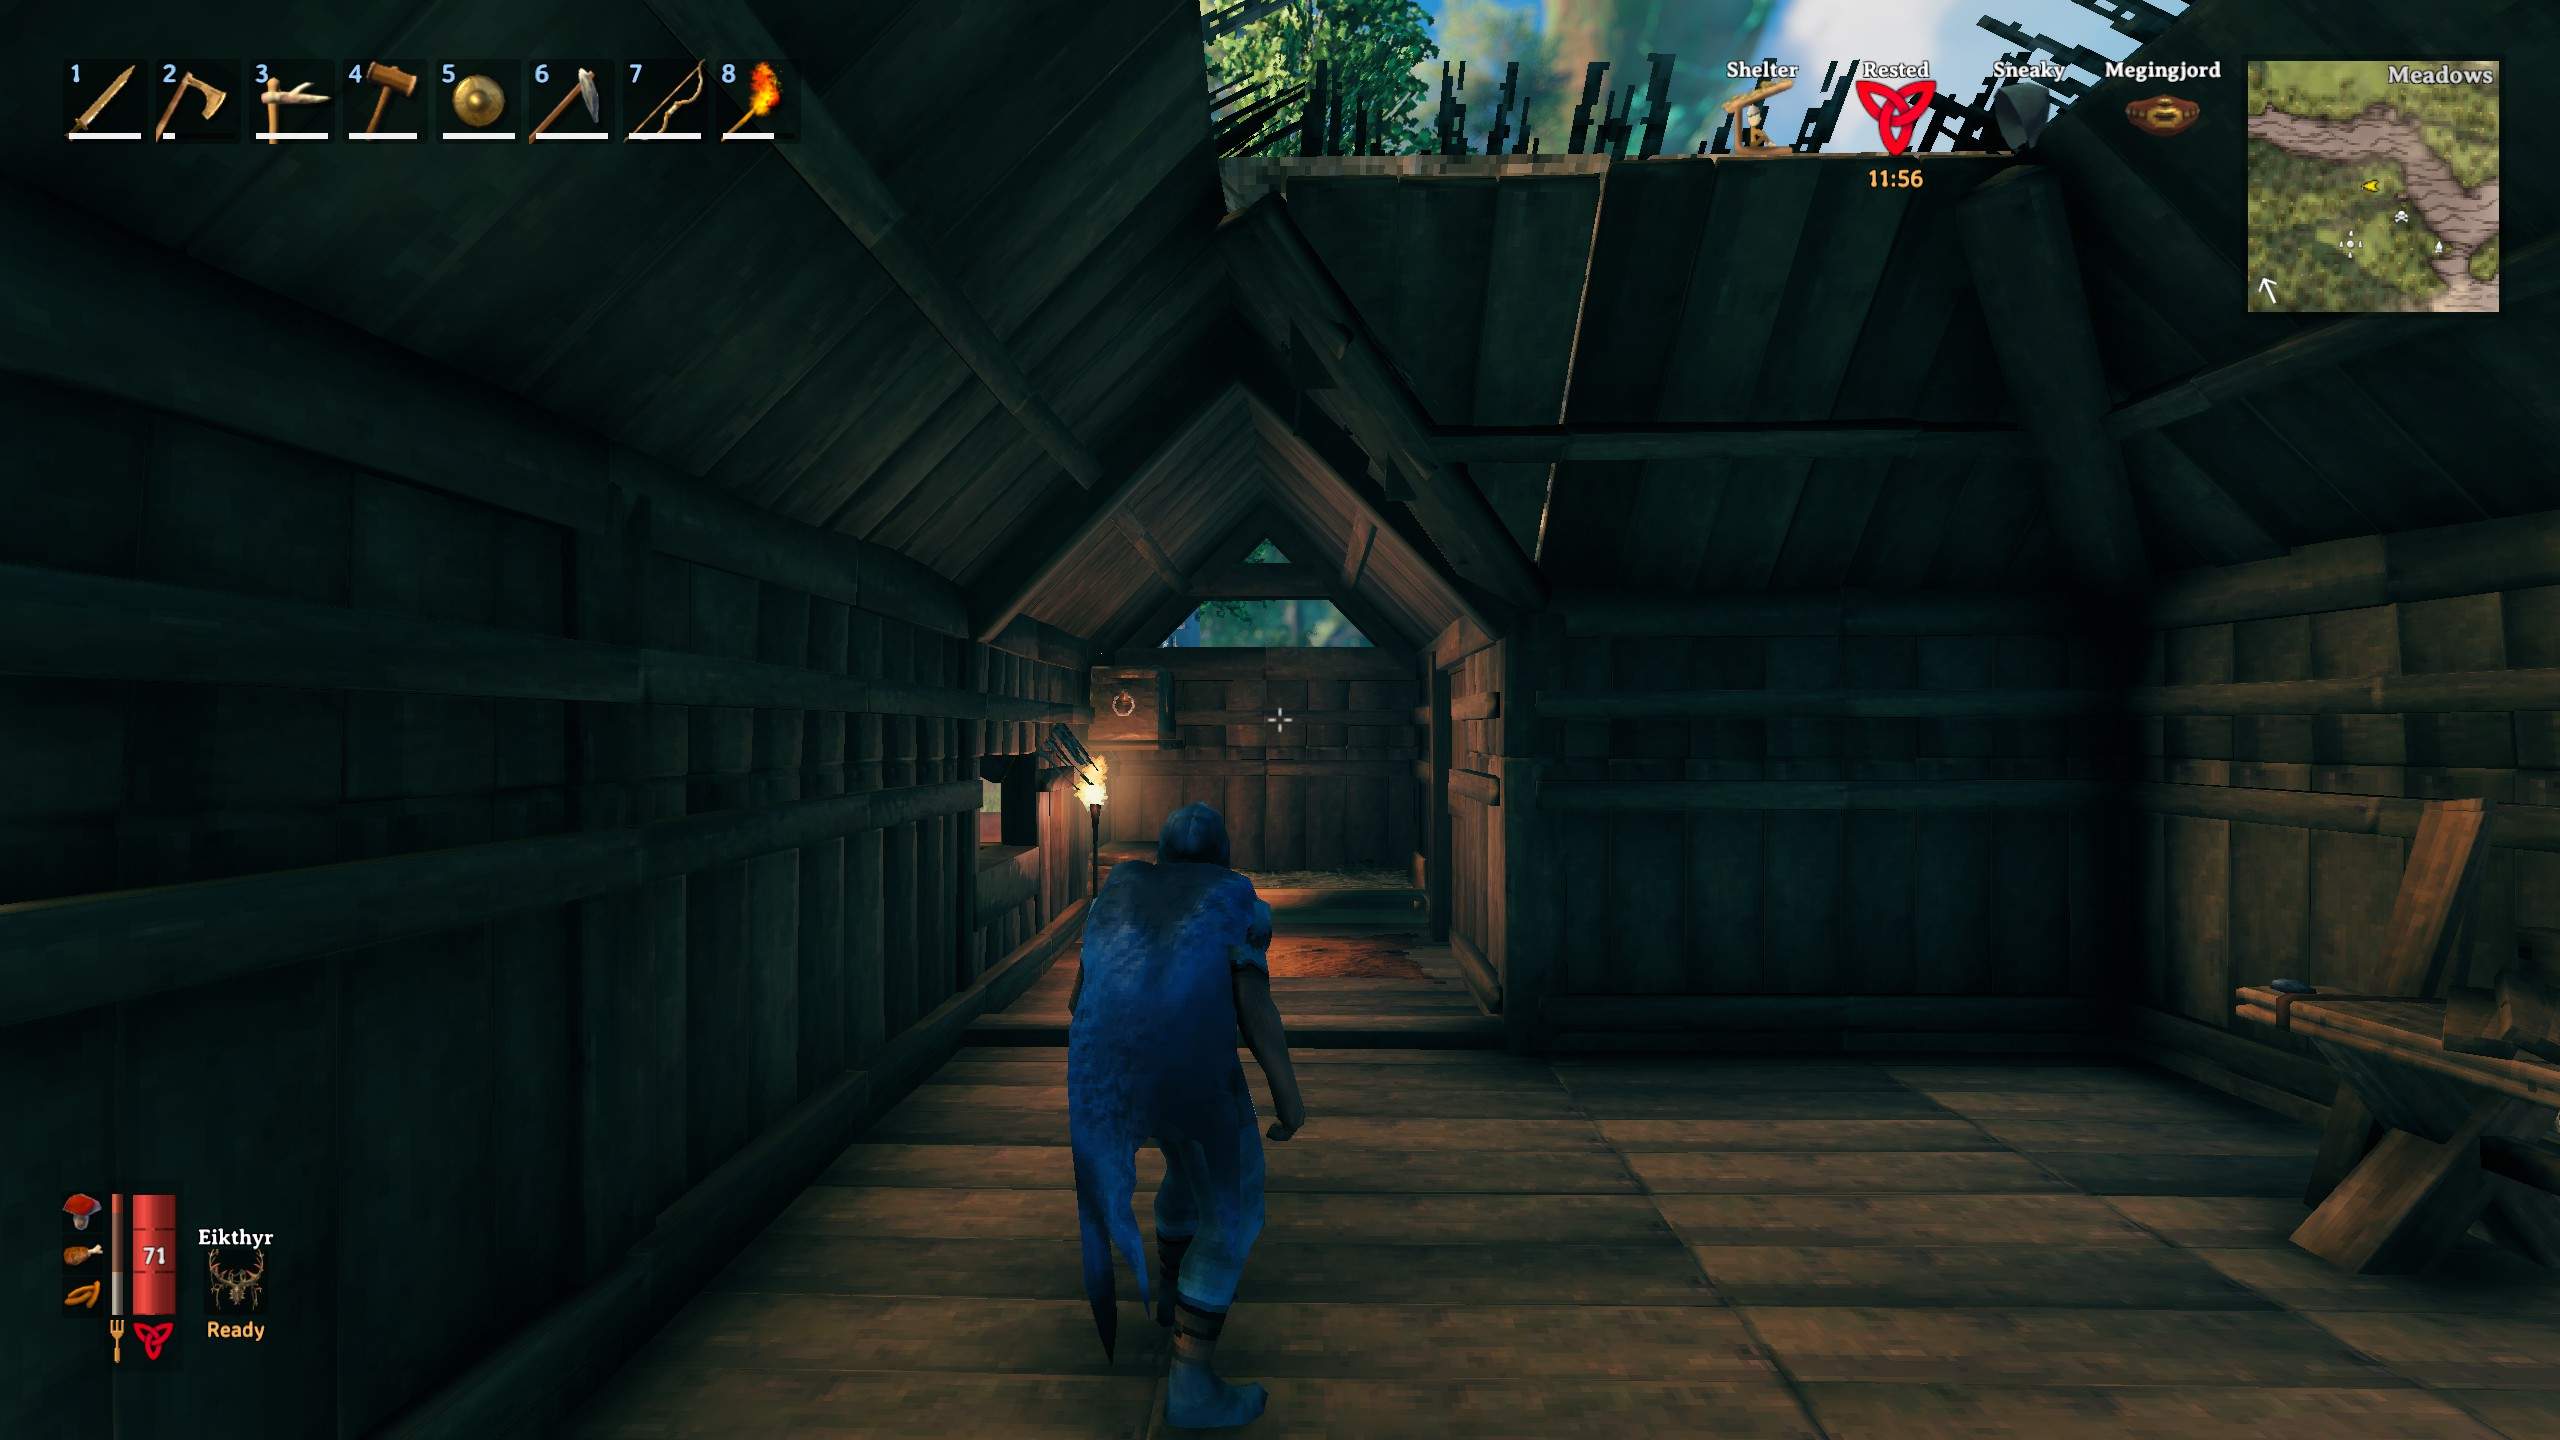
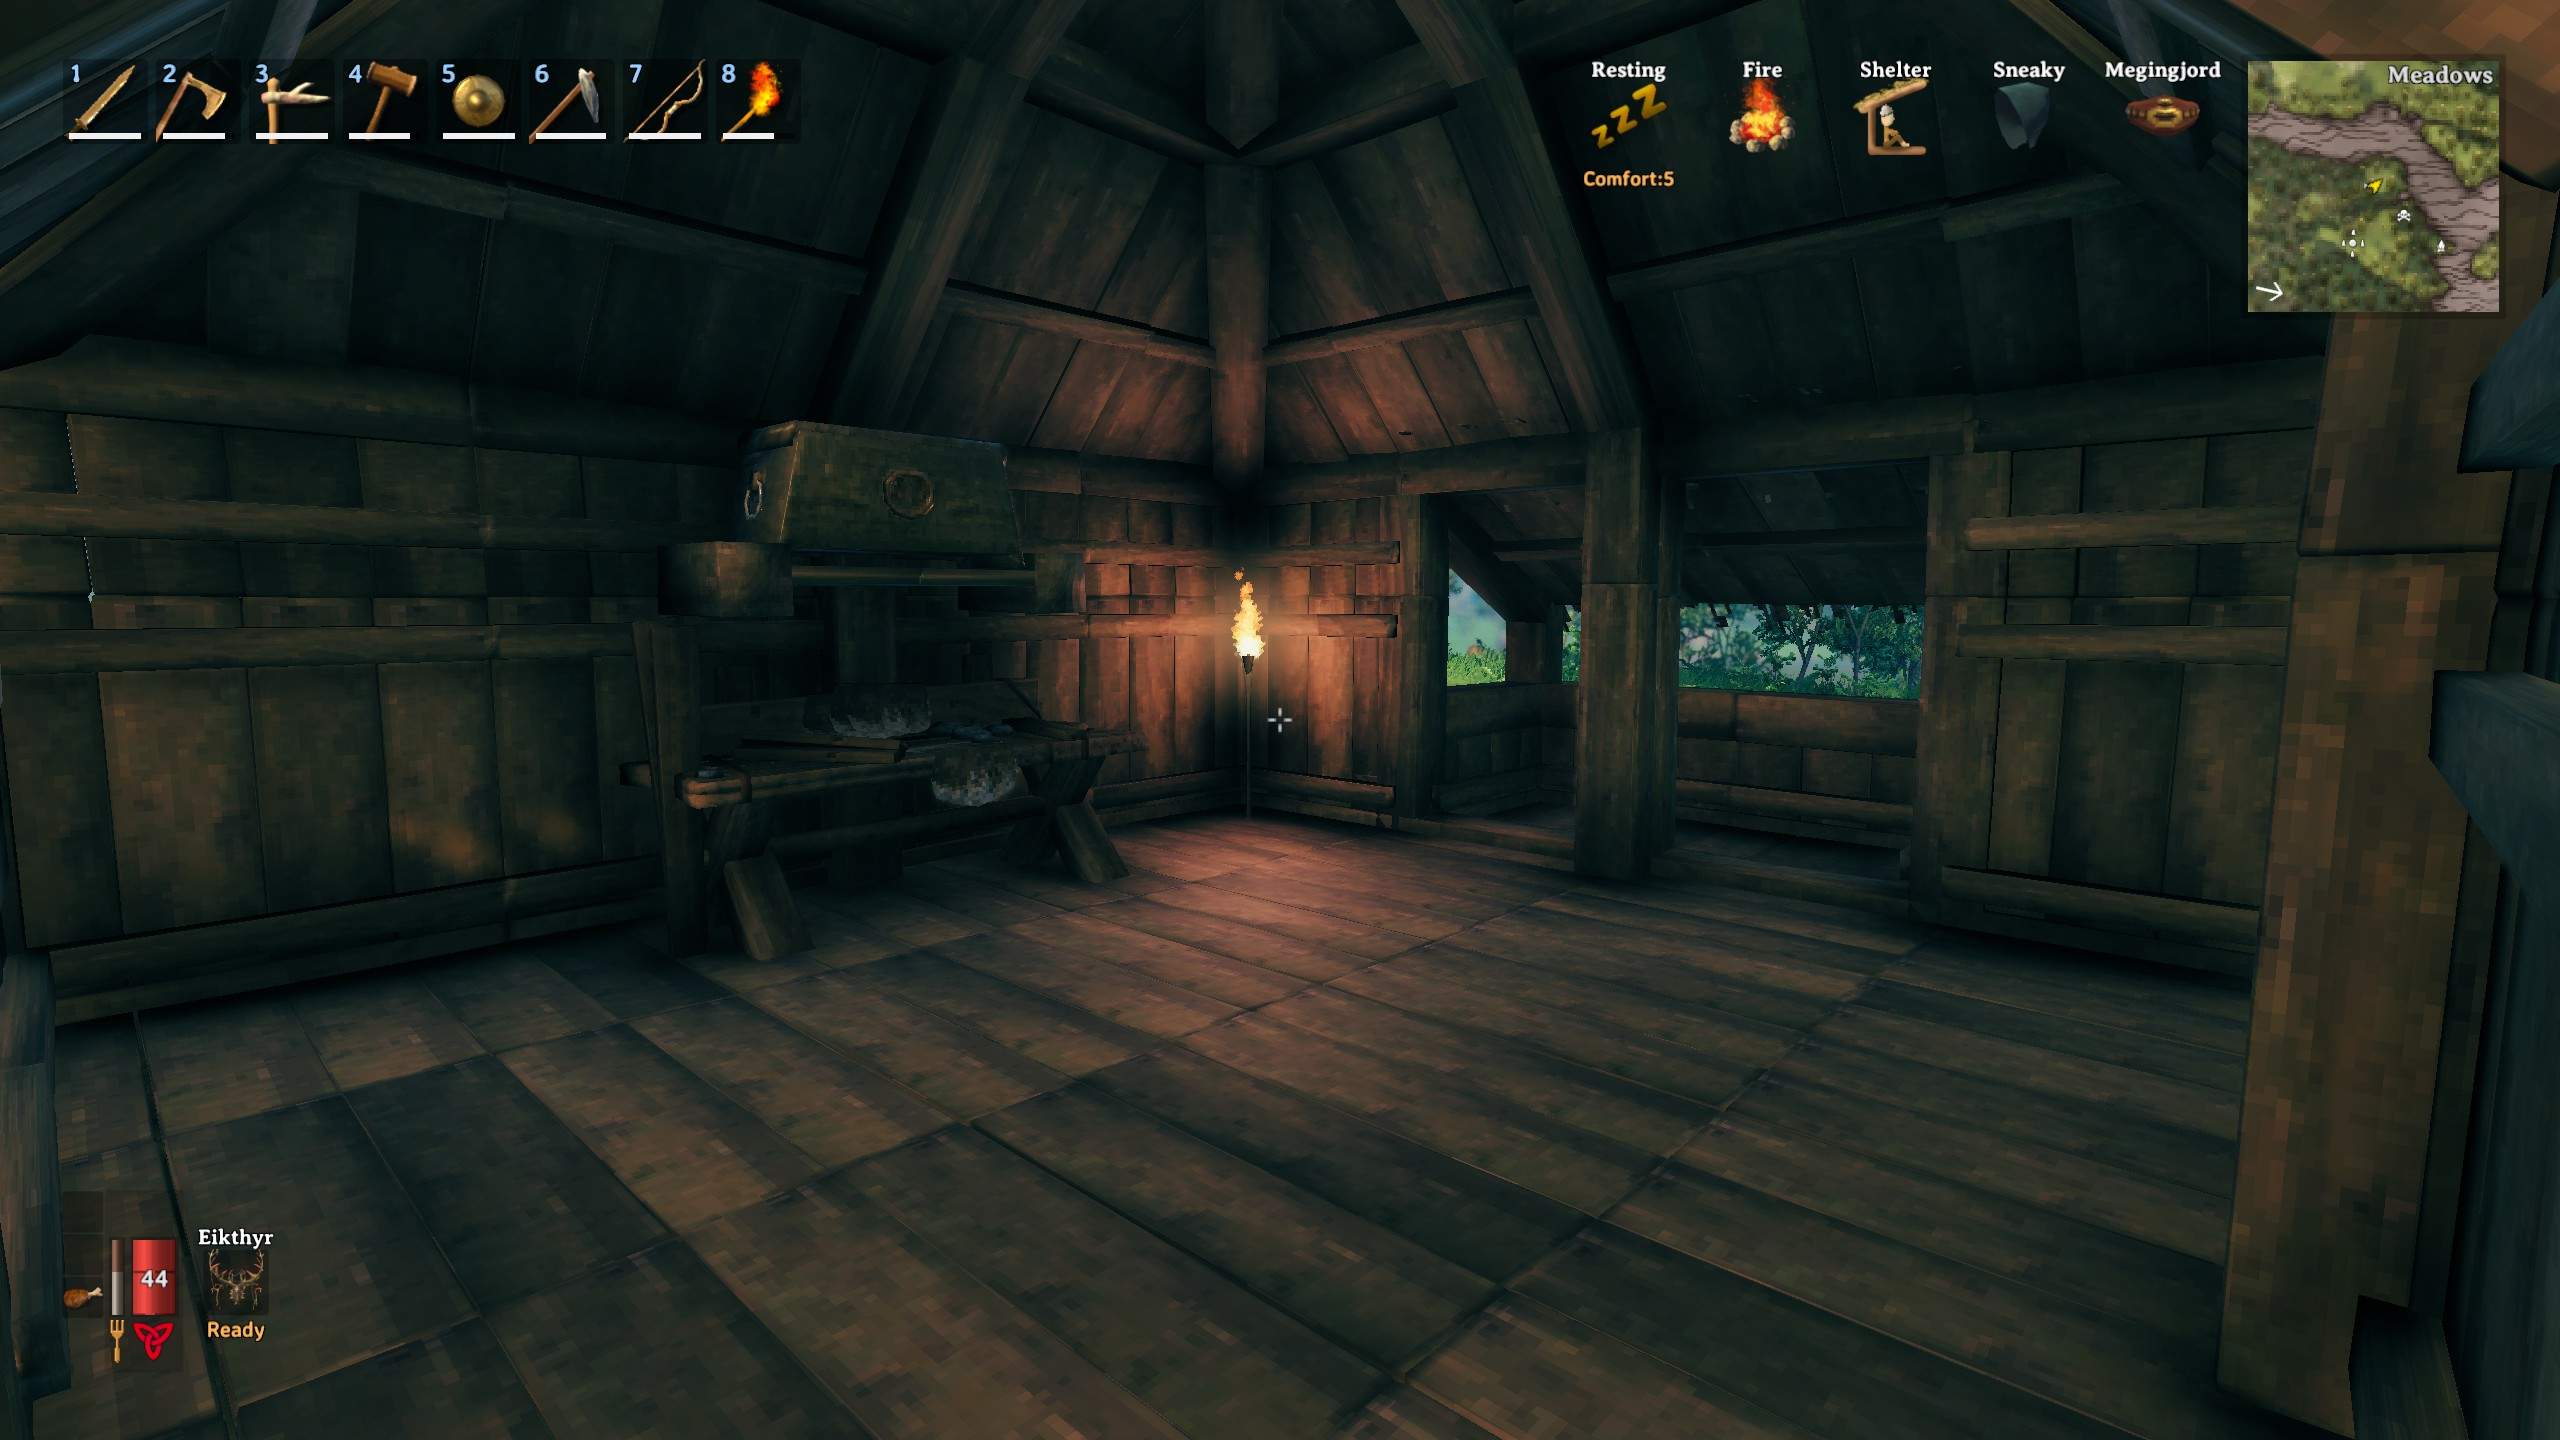
After doing this, I also knocked out a section of wall completely, added a half-wall in it’s place to make a larger window facing the entrance of the building. And then I also added a balcony, because why not. I also added a shelf for a chest above the crafting bench that has now been moved into the large room, where it has plenty of space to be upgraded to level 4.
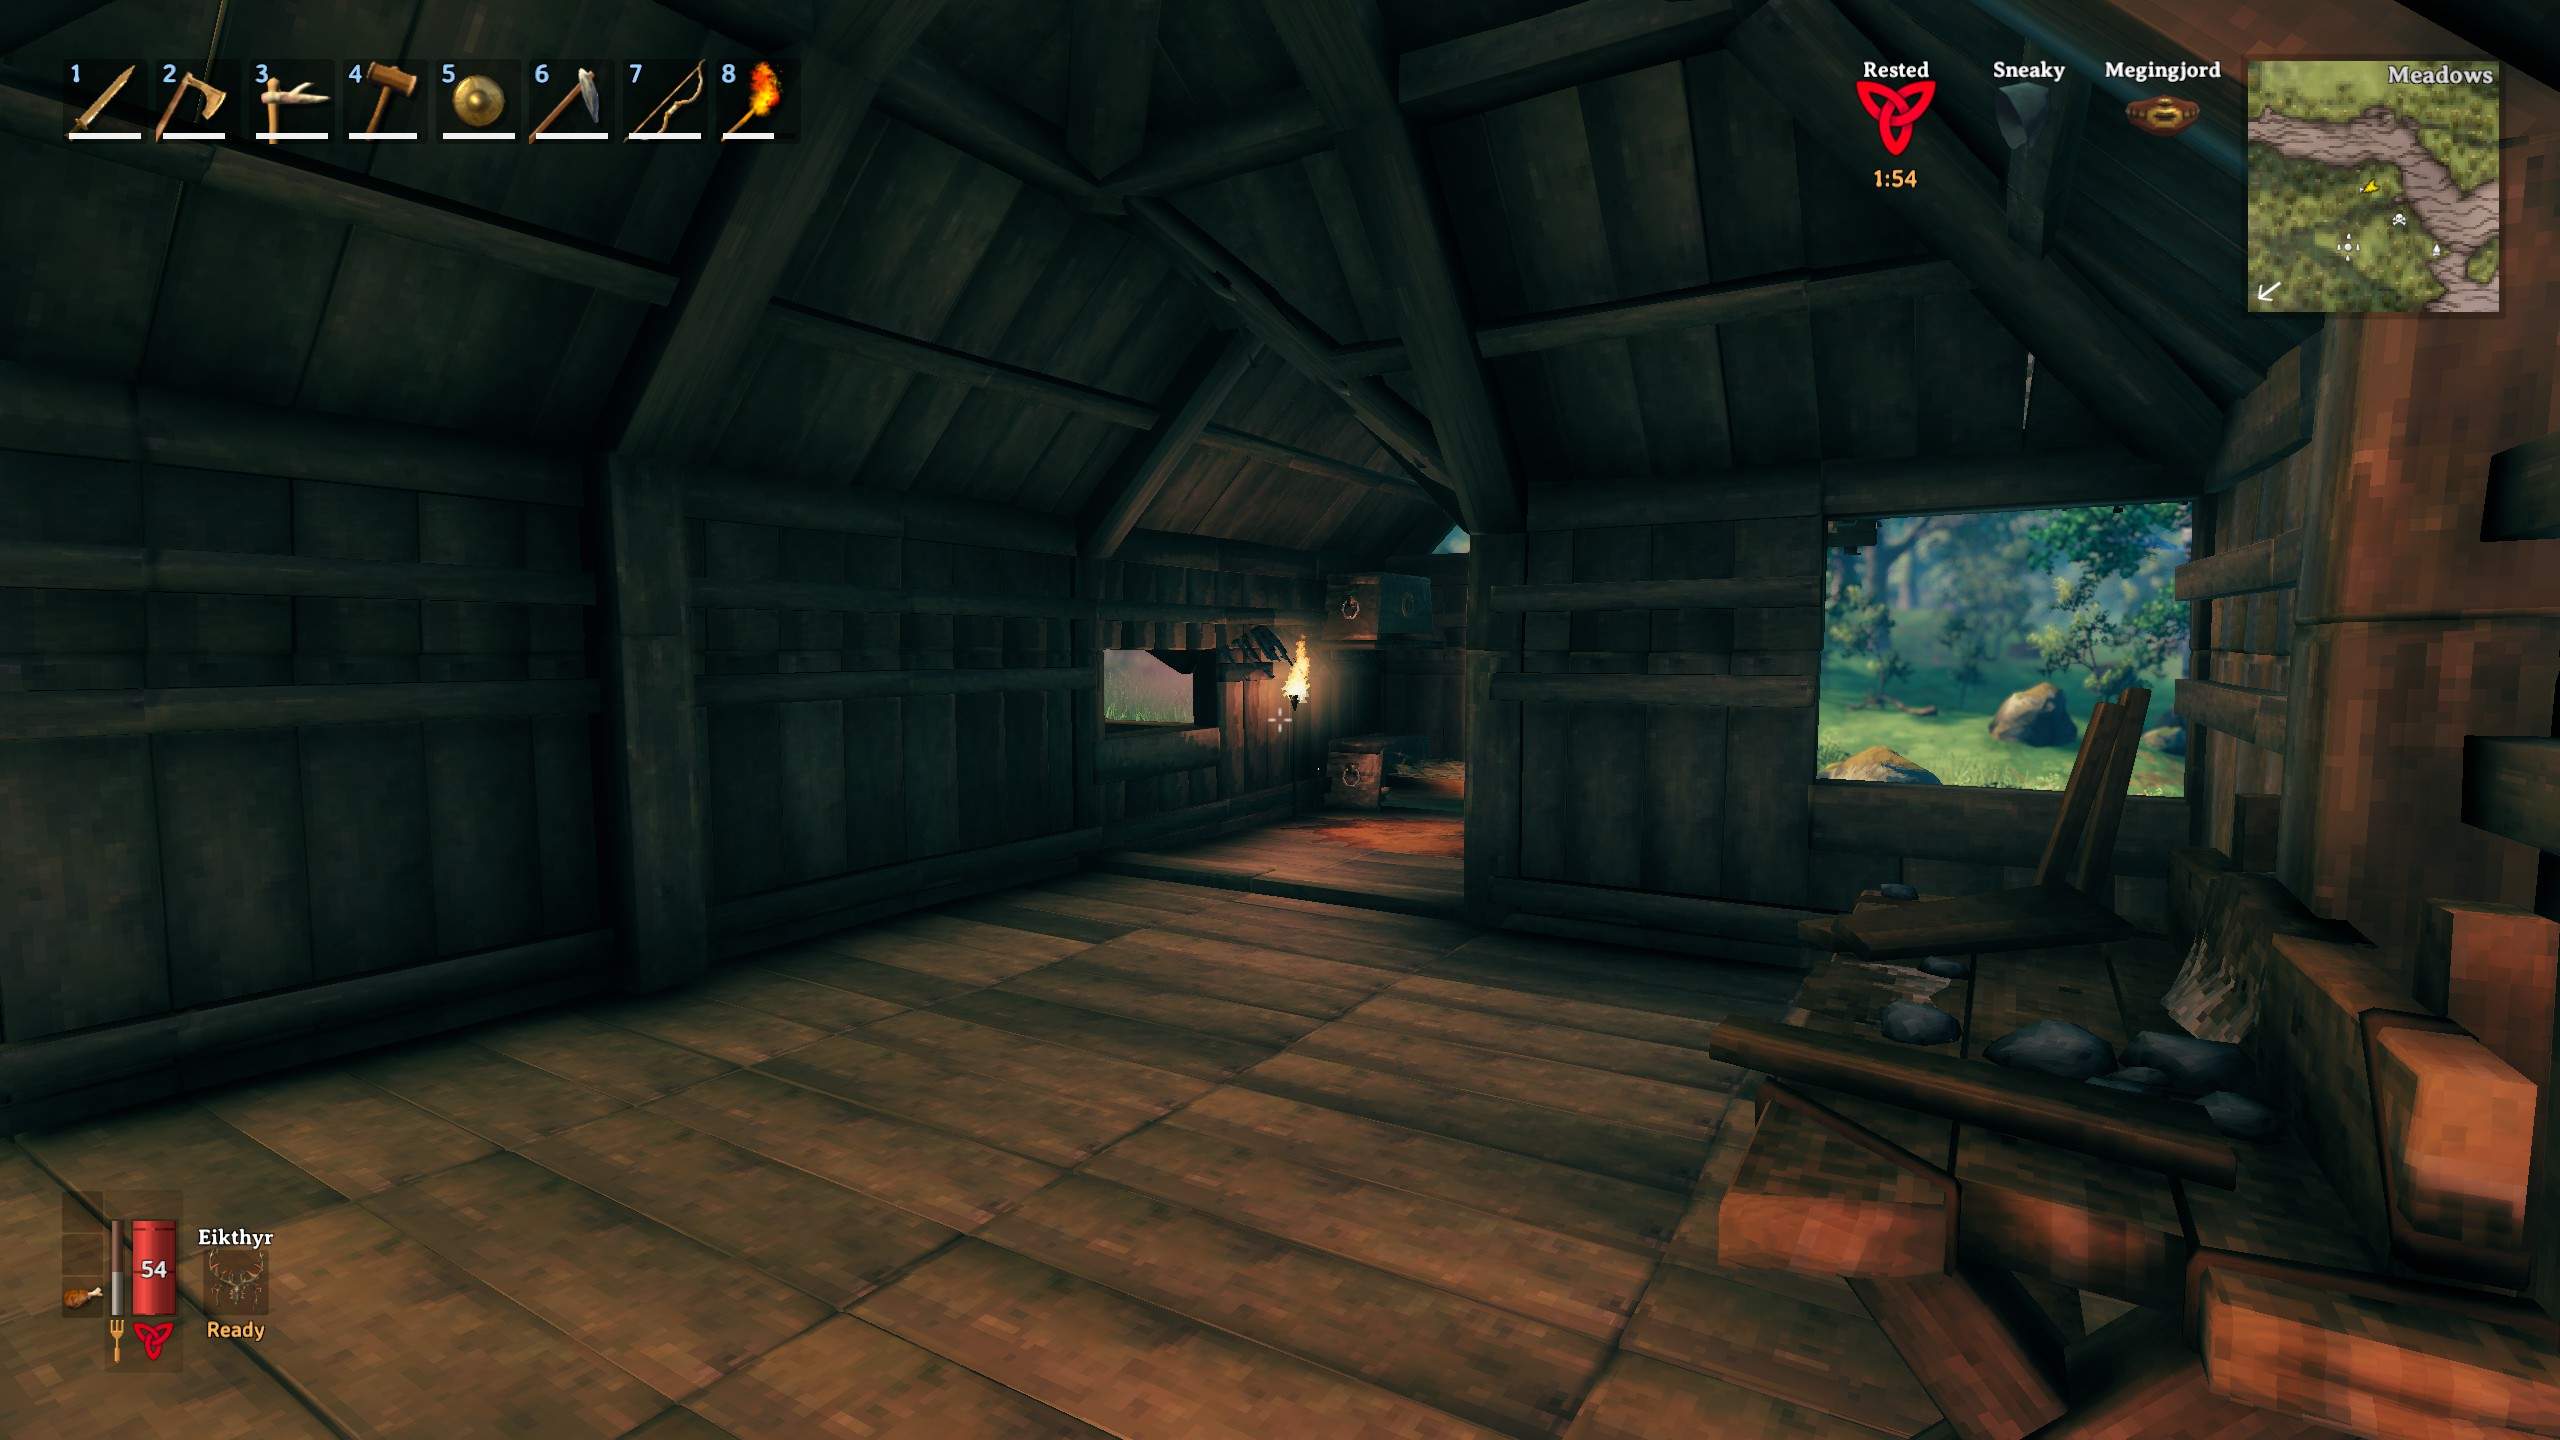
The little windowsill also serves as a way to get up on the roof.
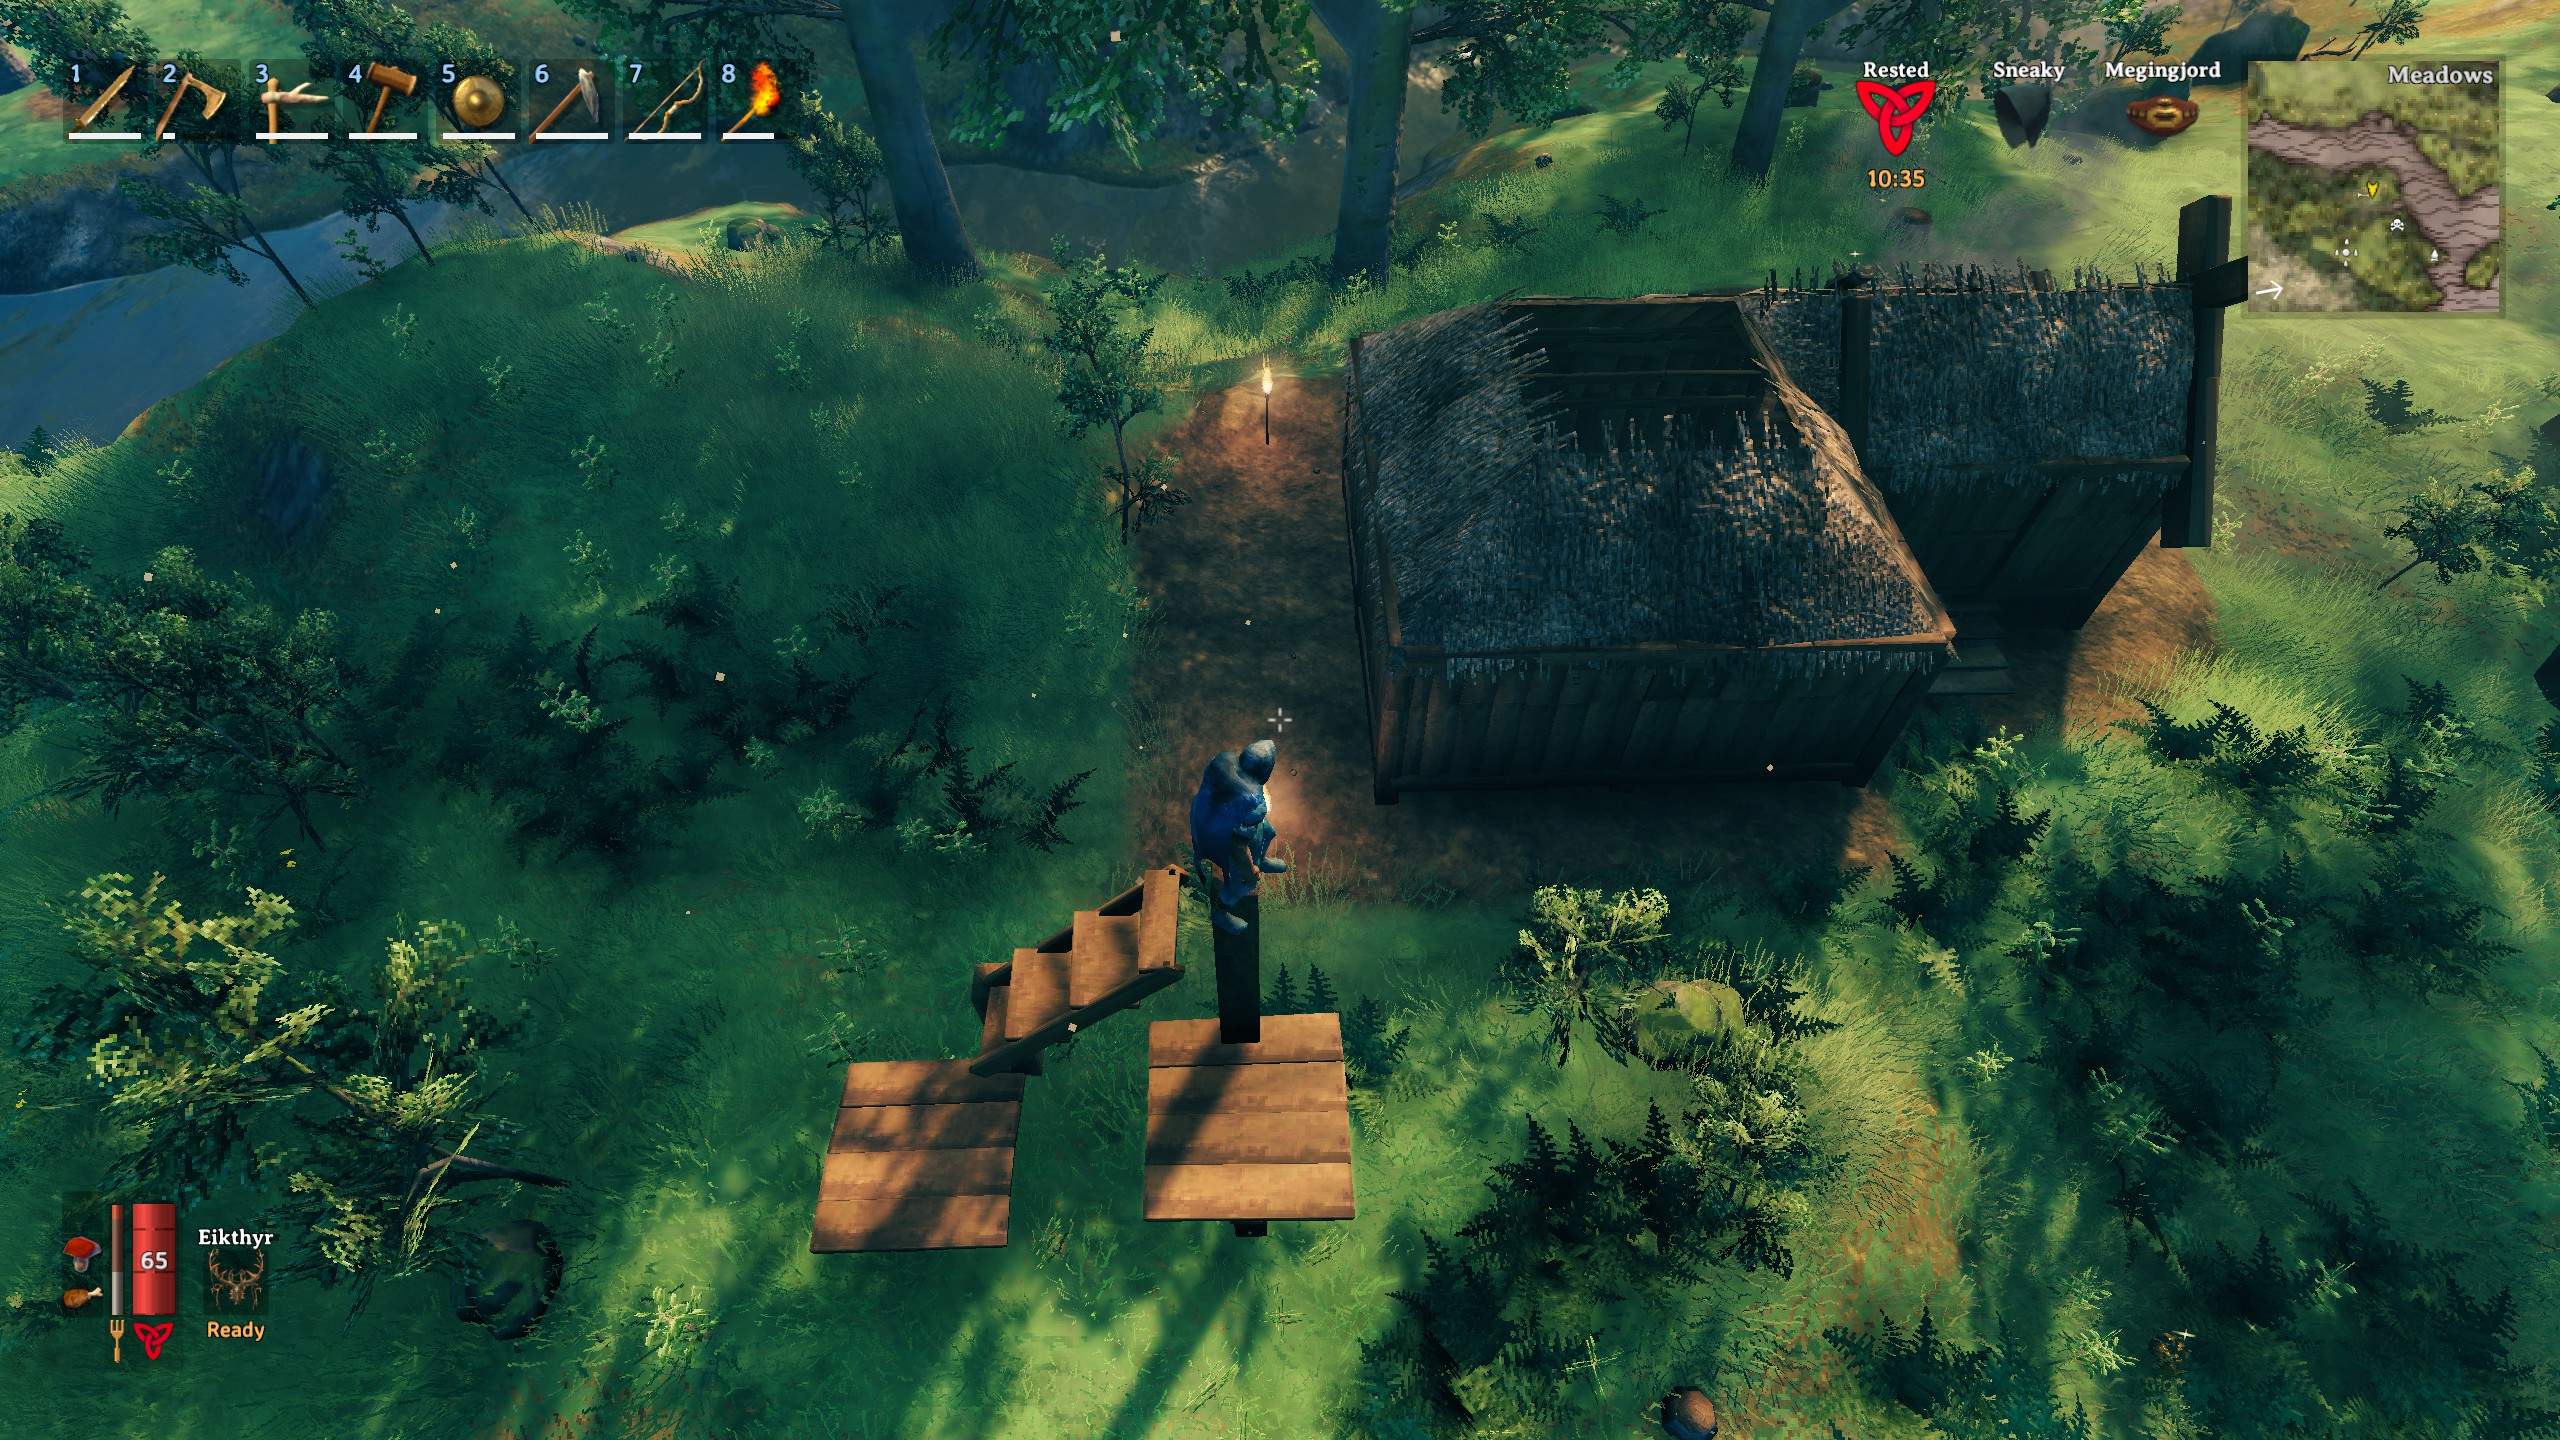
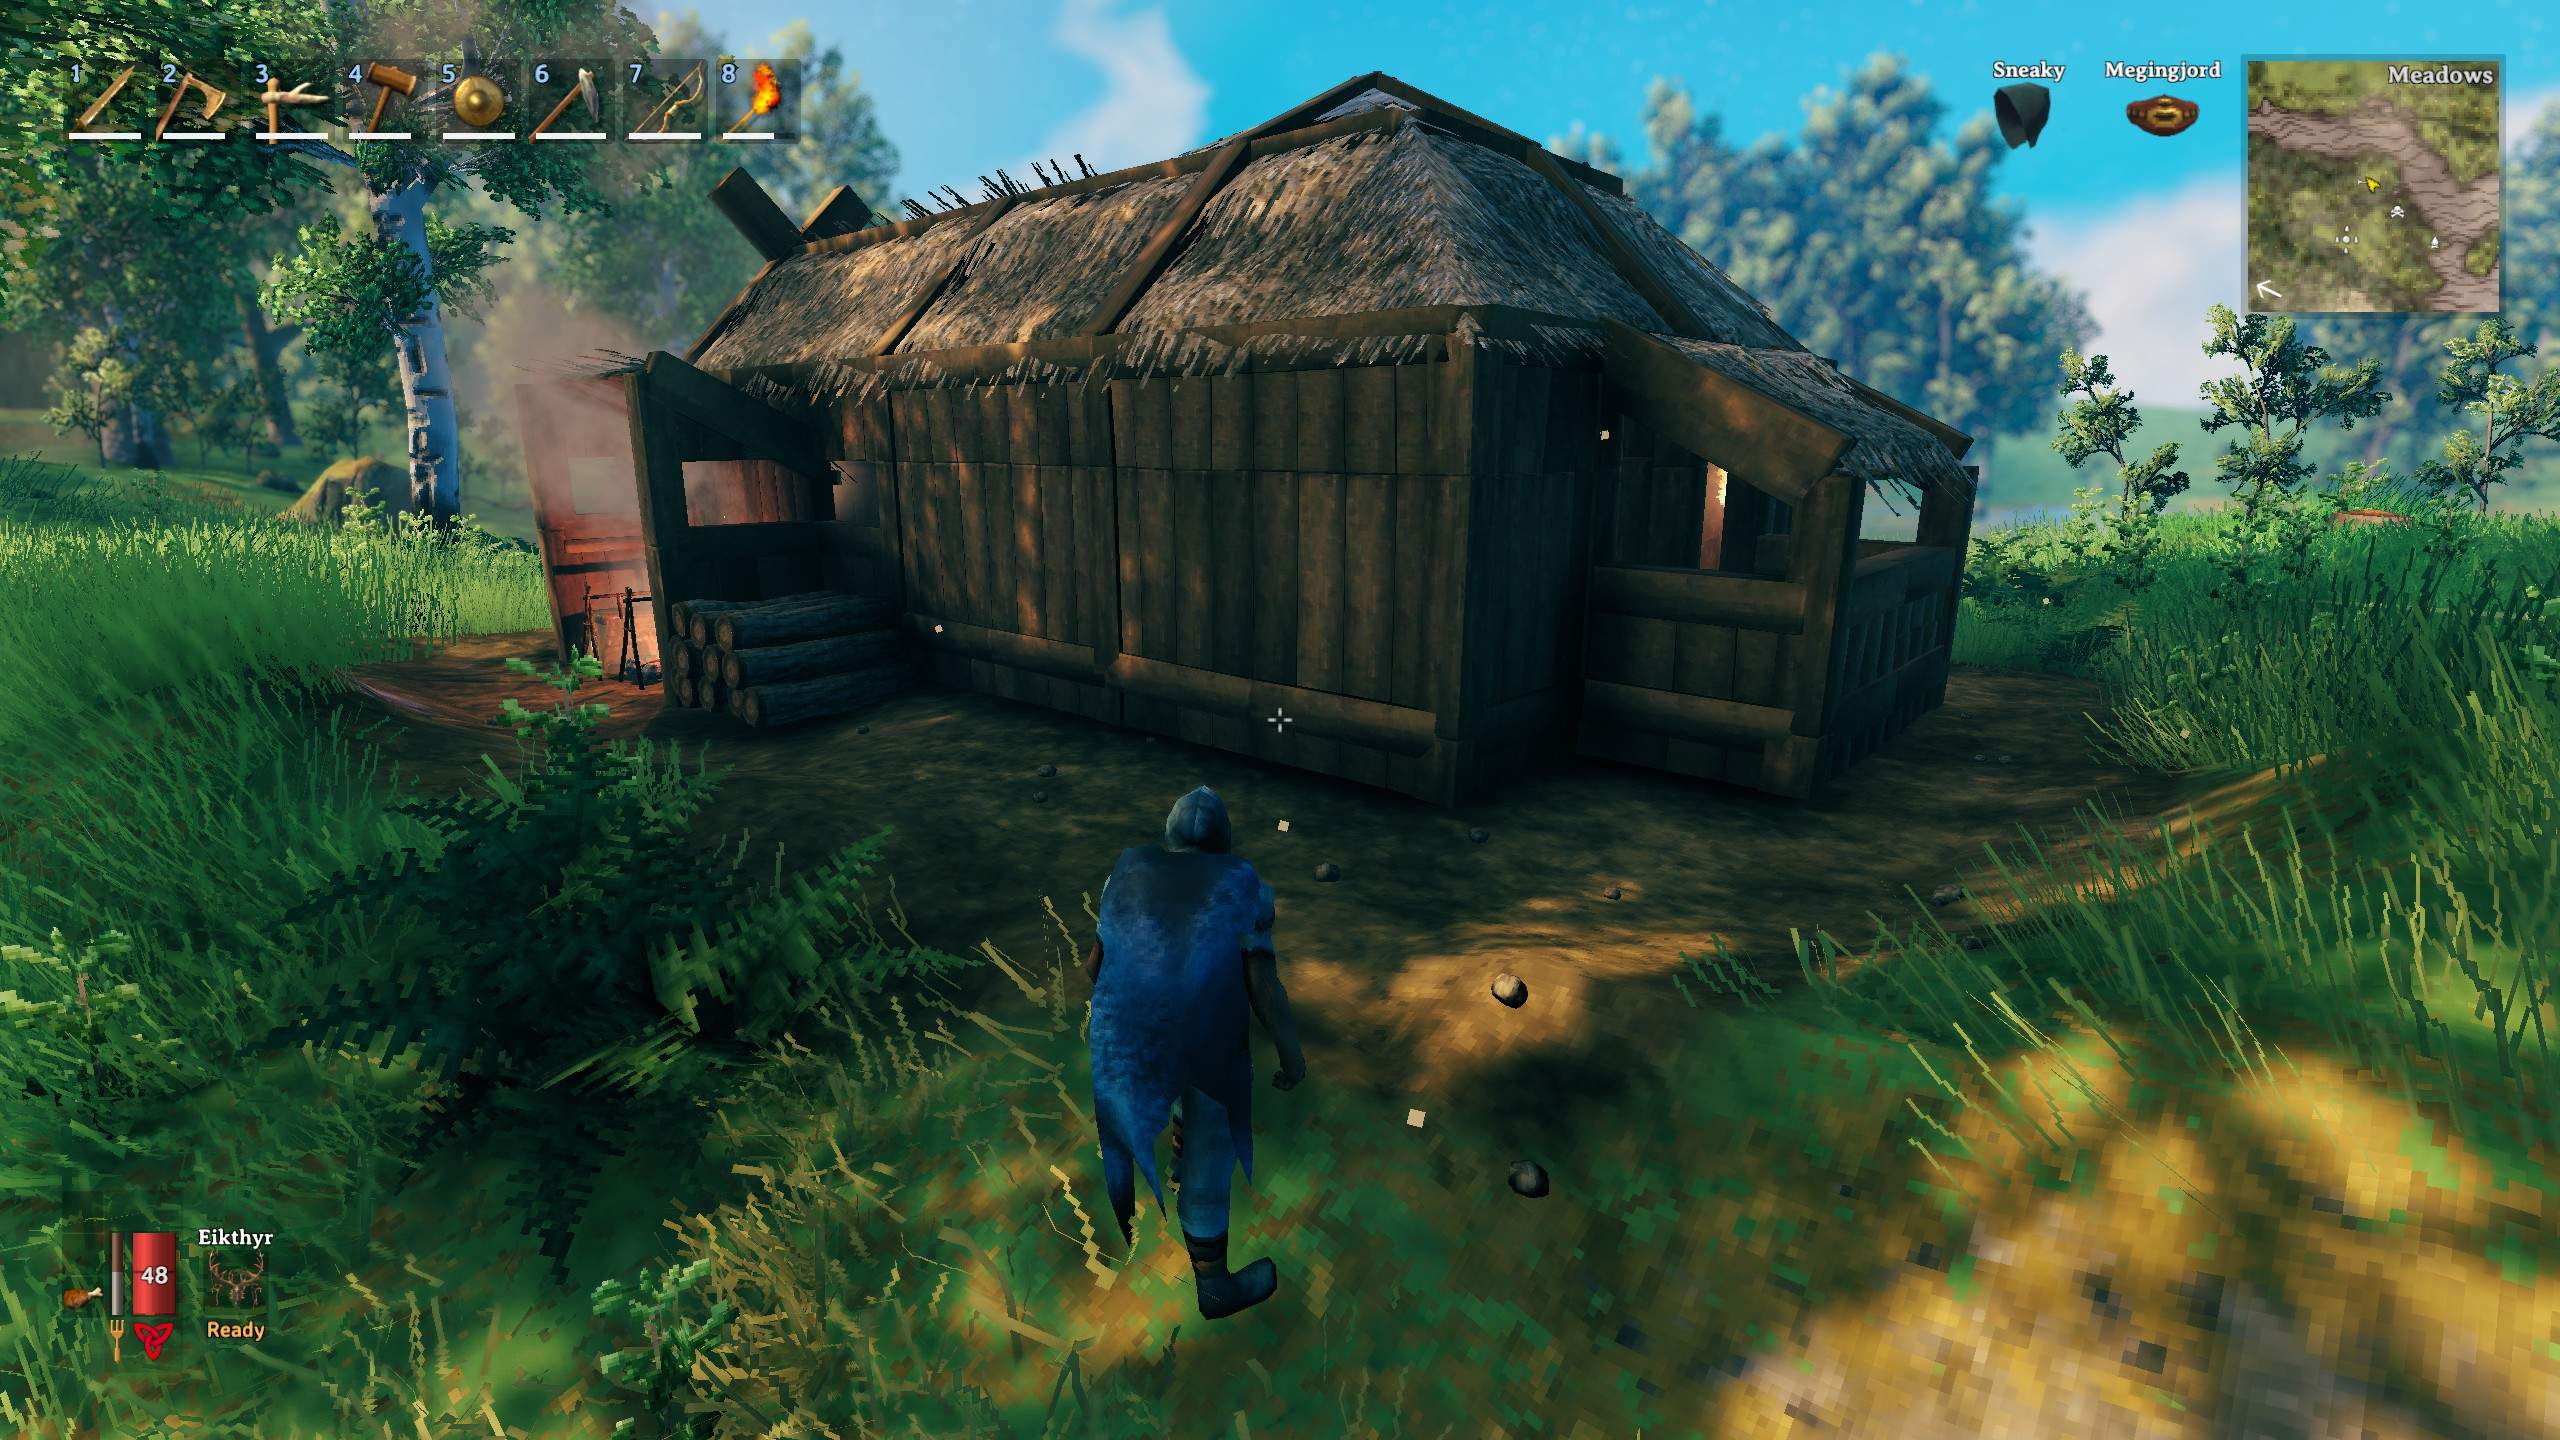
And a final look of the house from behind.
I hope this guide was useful to you, and that it helps people build awesome starting bases in Valheim. May you be blessed with much iron, and not stumble across Odin in a darkened forest on an empty stomach.


Be the first to comment