
Contents
Memory of Chaos Difficulty Up! / Which Teams to Pick for an Easy Clear? (Update 1.5)
Сrеdit gоеs to Best Welt!
Hey there Trailblazers! The Memory of Chaos enters a new reset cycle with V1.5~ This time, the Memory of Chaos proves to be slightly more challenging compared to previous resets in that the Cycles Remaining requirement for achieving full stars is increased (reduced available combat Cycle), and HP of enemies have been buffed.
However, it’s not at all a problem for casual players to get all stars! How, you ask? Let’s take a look at the strategy guide together and find out.
Memory Turbulence Analysis
First Reset

After an ally uses Skill or Ultimate, add 1 Hit(s) Per Action to [Memory Turbulence], up to 10 extra hit(s). At the start of every Cycle, every hit will deal DMG based on the enemy targets’ respective Max HP to random enemy targets 1 time.
Analysis: This effect is good for characters who DPS mainly with their Skill and Ultimate. It’s also recommended to add high SPD characters to effectively generate stacks of the buff. Seele, Bronya, and Kafka are great characters for this reason.
If you can get 10 stacks of the buff, you get a decent chunk of DMG from the Memory Turbulence, taking out about half of the enemy’s HP. This Memory Turbulence is strong because it doesn’t deal fixed DMG, rather the DMG scales with the HP of enemies, so against Bosses with high HP like True Sting, you can easily dish out 100k+ DMG and boost it even further through DEF reduction and Vulnerability debuffs (Silver Wolf, Pela Ultimates/Vulnerability applied when defeating Juvenile Stings).
Suffice to say that even if your characters aren’t well-built, you can still rely on the Memory Turbulence to carry you through by stacking SPD and Energy Regeneration Rate on your allies for more Skill and Ultimate casts.
Note here that the stacks can only be gained via offensive Skills and Ultimates. Support-type Abilities that don’t deal DMG (Bronya and Tingyun’s Skill and Ultimate for instance) cannot add stacks.
Second Reset
When an ally uses their Ultimate, obtain [Memory Imprint]. This effect stacks up to 10 times. At the start of every Cycle, regenerate Energy to all allies based on the number of [Memory Imprint] stacks (Each stack regenerates 10 Energy). Energy obtained in this way can exceed allies’ Max Energy.
Analysis: Gain [Memory Imprint] based on the amount of Ultimates cast by allies and restore Energy. This buffs characters that cast their Ultimate frequently but have a large Energy demand, helping them deal with enemies more efficiently.
Recommended Characters
Weakness Analysis:
There are a lot of enemies with Physical Weakness in the first half of Stage 9 and Stage 10 in the Memory of Chaos of V1.5. Almost no Wind Weakness is present, and Imaginary Weakness is second to Physical Weakness. Ice Weakness dominates the second half of Stages 9 and 10.
Recommended Characters: Imbibitor Lunae, Jingliu, Jing Yuan, Kafka, Qingque, Seele, Topaz & Numby, Clara, Huohuo, Luocha, Fu Xuan, Pela
- Imbibitor Lunae is no doubt still an excellent choice, just remember to pair him with support characters that can remove CC.
- The Huohuo + Jing Yuan follow-up attack build is also great to play for the first half.
- Jingliu is no doubt your best option for the second half. You can take on the IPC employees in the second half of Stage 9 with the Jingliu + Pela combo, since Weakness Breaking the enemy is a highly effective way of robbing Performance Points.
- Imbibitor Lunae + Topaz is better for the second half of Stage 9.
- Qingque, Imbibitor Lunae, Seele, and Jingliu can easily take care of the True Sting Boss in the second half of Stage 10.
Recommended Team Setup:
- Quantum Team: Seele/Qingque + Silver Wolf + Fu Xuan + Lynx/other support with matching Weakness Type
- Dot Team: Kafka + Sampo/Luka/Serval/Guinaifen + Silver Wolf/Pela/Asta/Yukong + Any Abundance/Preservation
- Ice Weakness Setup: Jingliu/Yanqing/Herta + Bronya/Blade + Pela + Luocha/Fu Xuan
- Physical Weakness Setup: Clara/Sushang + Topaz & Numby/Tingyun/Yukong + Fu Xuan/Other Preservation + Luocha/Huohuo/Other Abundance
- Electro Weakness Setup: Jing Yuan/Arlan + Tingyun/Asta/Yukong/Pela/Silver Wolf/Topaz & Numby + Fu Xuan/Other Preservation + Luocha/Huohuo/Other Abundance
- Imaginary Weakness Setup: Imbibitor Lunae + Bronya/Tingyun/Yukong + Welt/Silver Wolf/Pela + Luocha/Huohuo/Other Abundance
- Fire Weakness Setup: Topaz & Numby +Clara/Himeko/Hook/Guinaifen +Any Harmony/Silver Wolf/Pela + Luocha/Huohuo/Other Abundance
- Wind Weakness Setup: Blade/Dan Heng + Any Harmony/Bronya + Pela/Silver Wolf + Luocha/Huohuo/Other Abundance
Stage 1


Enemy Lineup
- First Half Group 1: The Ascended + Disciples of Sanctus Medicus: Ballistarius*2 + Mara-Struck Warden
- First Half Group 2: The Ascended + Silvermane Lieutenant
- Second Half Group 1: Frigid Prowler + Everwinter Shadewalker + Imaginary Weaver*2
- Second Half Group 2: Frigid Prowler + Ice Out of Space
Encounter Tips
First Half Group 1: Prioritize taking down standard enemies before taking on The Ascended. Note that The Ascended will lower the Max HP of allies, you can have Pela or Luocha remove the Japa buff on the enemy, or have a support dispel the debuff on allies.
First Half Group 2: The Ascended’s Prana-Siphon on top of Silvermane Lieutenant’s Pierce can easily insta-down allies. Silvermane Lieutenant also summons backup soldiers. Prioritize getting rid of Silvermane Lieutenant to have an easier time with The Ascended.
Second Half Group 1: Prioritize taking down standard enemies, then prioritize killing the summons after Frigid Prowler summons a new Everwinter Shadewalker. If the Frigid Prowler fails to devour any summons during its turn, its DEF will be lowered by 50%. DPS during this window to maximize your DMG.
Second Half Group 2: If your team is not well-built, prioritize Ice Out of Space, otherwise prioritize the Frigid Prowler.
Stage 2

Enemy Lineup
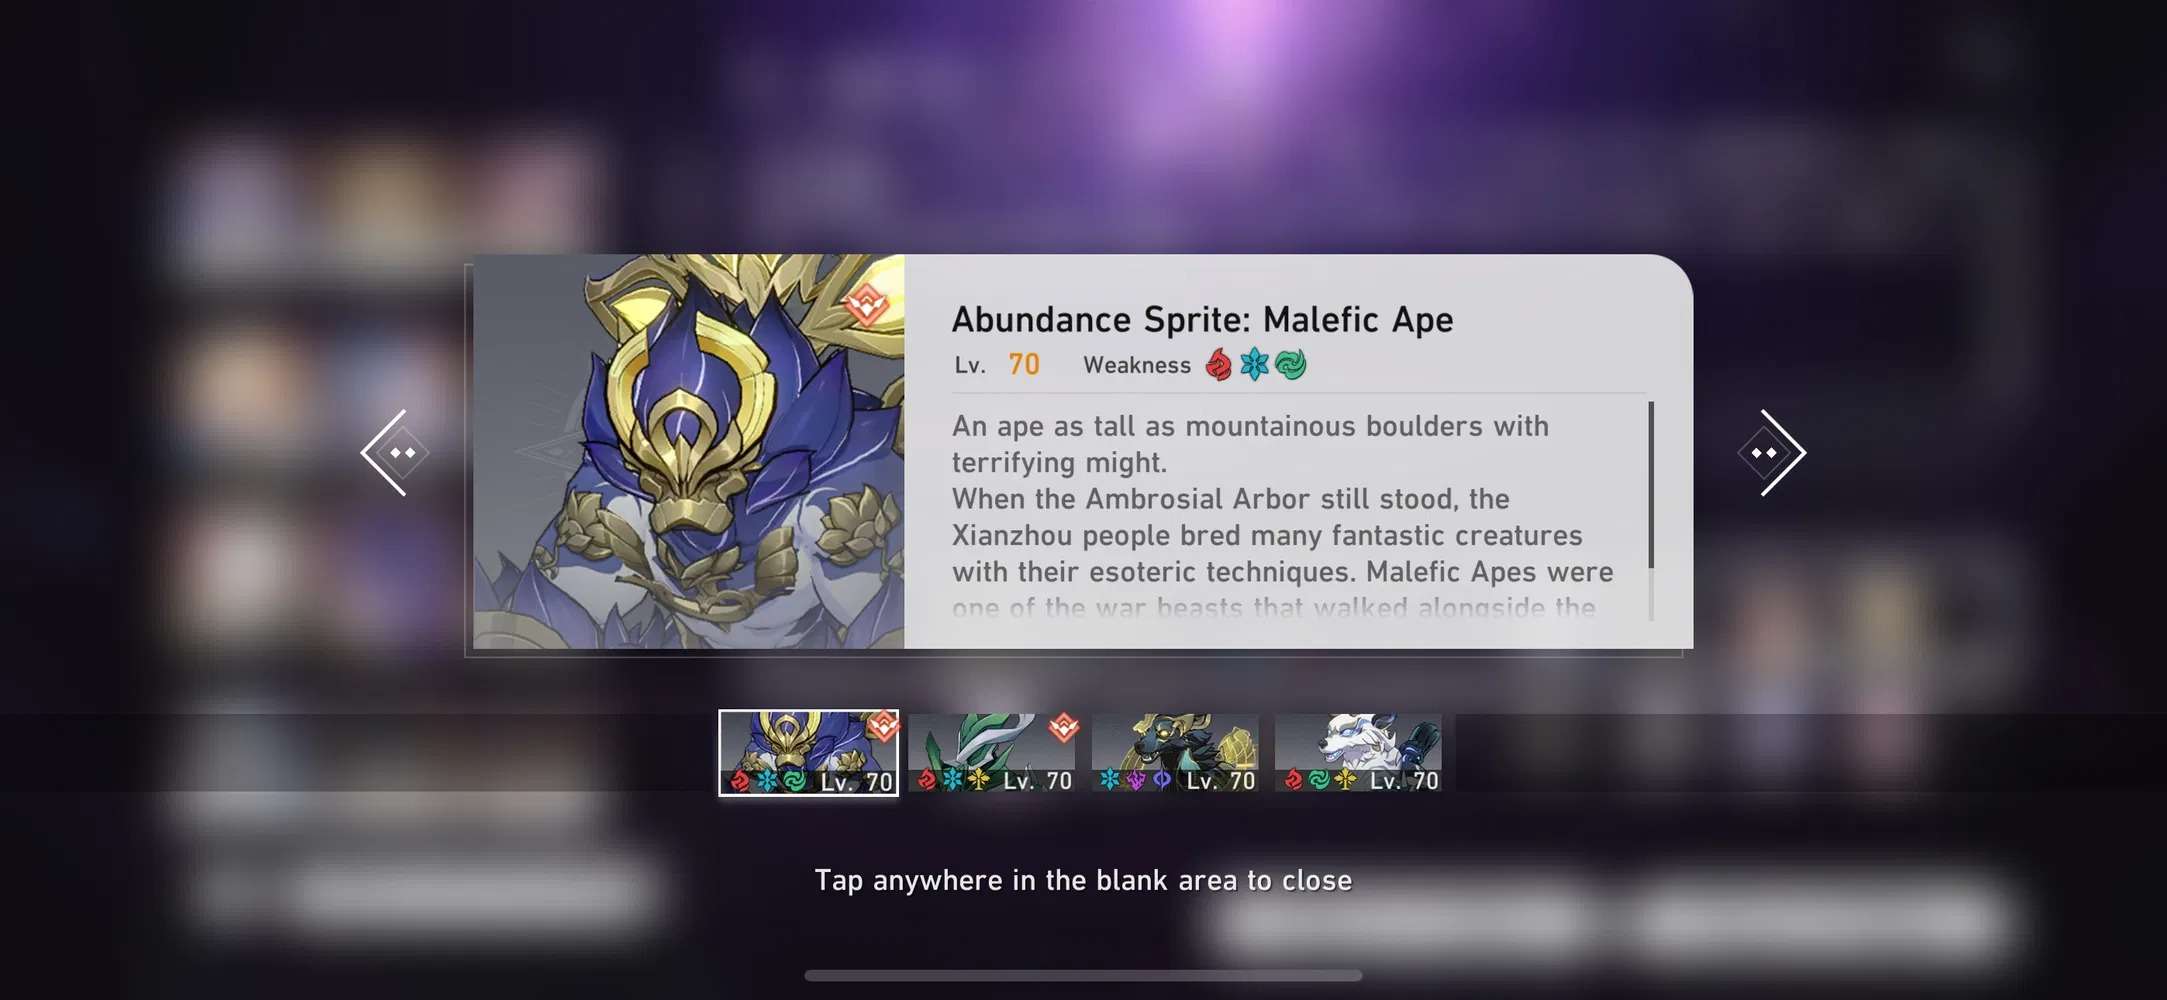
- First Half Group 1: Abundance Sprite: Malefic Ape + Abundance Sprite: Wooden Lupus + Abundance Sprite: Golden Hound
- First Half Group 2: Abundance Sprite: Malefic Ape + Stormbringer
- Second Half Group 1: Aurumaton Spectral Envoy + Wraith Warden*2
- First Half Group 2: Bronya + Aurumaton Spectral Envoy
Encounter Tips
First Half Group 1: Abundance Sprite: Malefic Ape’s single-target attack is very strong and it can apply a DMG buff (stackable) on itself as well. It gets a huge burst of DMG with a stacked buff and can easily down squishy allies. Prioritize the Wooden Lupus, then take out the Golden Hound, and finally focus down the Malefic Ape. When Malefic Ape applies the DMG buff on itself, dispel it with Pela’s Skill or Luocha’s Ultimate to prevent it from getting stacks.
First Half Group 2: Stormbringer will receive an ATK buff when attacking an ally affected by Wind Shear. Prioritize dispelling its buff with Pela’s Skill or Luocha’s Ultimate. The charging attack will lock onto all allies affected by Wind Shear, and the combo can easily down allies. Prioritize defeating Abundance Sprite: Malefic Ape, and try your best to break Stormbringer out of its lock-on state.
Second Half Group 1: The Aurumaton Spectral Envoy and Wraith Warden combo marks allies and CCs them. Prioritize taking down theWraith Warden. The Aurumaton Spectral Envoy will apply [Reverberation] on the ally hit by its single-target ability, and the character will be CC’d by [Strong Reverberation] when the ally with Reverberation is attacked again. Therefore, characters with CC removal such as Luocha and Huohuo are your best choices.
Second Half Group 2: Bronya can remove debuffs on her allies and advance forward their actions. When other enemies are present on the field, she will also become Weakness-locked. Prioritize taking down Aurumaton Spectral Envoy.
Stage 3


Enemy Lineup
- First Half Group 1: Disciples of Sanctus Medicus: Shape Shifter + Mara-Struck Warden*2
- First Half Group 2: Disciples of Sanctus Medicus: Shape Shifter + Voidranger: Trampler
- Second Half Group 1: Decaying Shadow + Imaginary Weaver + Automaton Beetle*2
- Second Half Group 2: Svarog + Decaying Shadow
Encounter Tips
First Half Group 1: Shape Shifter will summon Mara-Struck Soldiers. Use Luocha’s Ultimate or Pela’s Skill to dispel the [Rebirth] effect on the Soldier and the [Draining Hit] effect on the Shape Shifter.
First Half Group 2: Prioritize taking out the Voidranger: Trampler. When the Trampler is charging up, you can force change its target with Fire Trailblazer’s Skill, or heal and apply a shield before the hit.
Second Half Group 1: Decaying Shadow will lower the DMG taken from Basic ATK, Skill, Ultimate, and follow-up attack. It will still take DoT DMG as normal. Prioritize getting rid of the Imaginary Weaver and Automatons, then focus down the Decaying Shadow. Here we recommend taking out as many stacks of its attack as possible to dampen the burst DMG.
Second Half Group 2: Prioritize taking down Decaying Shadow. Svarog’s AoE attack will greatly lower ally DEF. If Svarog summoned a Robot Unit, switch focus and take down the Robot Unit first instead.
Stage 4


Enemy Lineup
- First Half Group 1: Aurumaton Spectral Envoy + Entranced Ingenium: Illumination Dragonfish*2 + Entranced Ingenium: Obedient Dracolion
- First Half Group 2: Aurumaton Spectral Envoy + The Ascended
- Second Half Group 1: Senior Staff: Team Leader + Grunt: Security Personnel
- Second Half Group 2: Senior Staff: Team Leader + Automaton Direwolf
Encounter Tips
First Half Group 1: Prioritize taking down the Entranced Ingeniums, then switch to the Aurumaton Spectral Envoy.
First Half Group 2: Focus on the Aurumaton Spectral Envoy, The Ascended will cast an Ultimate ability that locks ally HP, lowering Max HP. Try to Weakness Breaking her before she casts the Ultimate or interrupting the cast with hard CC. You can also remove the debuff with Luocha or Pela.
Second Half Group 1: Take down the Grunt first. Remember that as the Senior Staff: Team Leader is charging up for its Ultimate, you need to Weakness Break it to seize Performance Points and increase allied DMG. If the situation is dire, you can also use Luocha’s Ultimate or Pela’s Skill to directly dispel existing Performance Points on the enemy.
Second Half Group 2: Prioritize taking down the Automaton. Try your best to seize Performance Points from the Senior Staff: Team Leader for a generous boost to the whole team.
Stage 5


Enemy Lineup
- First Half Group 1: Aurumaton Gatekeeper + Mara-Struck Warden*2
- First Half Group 2: Aurumaton Gatekeeper + Guardian Shadow
- Second Half Group 1: Blaze Out of Space*2 + Everwinter Shadewalker + Incineration Shadewalker
- Second Half Group 2: Swarm: True Sting
Encounter Tips
First Half Group 1: Quickly dispatch the Mara-Struck Warden. Aurumaton Gatekeeper will deal very high single-target DMG after entering Sanction Mode, so remember to not trigger its Sanction Mode with attacks (the Gatekeeper will act first). Once the Dragonfish have been summoned, take care of them first to lower the DEF of the Gatekeeper before focusing on it.
First Half Group 2: Prioritize taking down the Aurumaton Gatekeeper then finally the Guardian Shadow. If your characters aren’t well-built, be careful of Guardian Shadow’s Ban. Follow the Ban instructions to get around the problem.
Second Half Group 1: Prioritize getting rid of lesser enemies. Blaze Out of Space deals very high DMG in the Molten Fusion state. You can remove the buff directly with Pela’s Skill.
Second Half Group 2: You can eliminate the summoned Swarm first to increase the DMG taken by the Boss. Make use of [Entomon Eulogy] to apply DMG vulnerability on the Boss so allies can deal more DMG against it. Recommending characters that can dispel debuff effects (such as Pela and Huohuo).
Stage 6


Enemy Lineup
- First Half Group 1: The Ascended + Disciples of Sanctus Medicus: Ballistarius*2 + Mara-Struck Warden
- First Half Group 2: The Ascended + Silvermane Lieutenant
- Second Half Group 1: Frigid Prowler + Everwinter Shadewalker + Imaginary Weaver*2
- Second Half Group 2: Frigid Prowler + Ice Out of Space
Encounter Tips
First Half Group 1: Get rid of Disciples of Sanctus Medicus: Ballistarius and Mara-Struck Warden first, then focus on The Ascended. Remember to interrupt The Ascended’s Ultimate with CC.
First Half Group 2: If The Ascended successfully applies the Max HP debuff on allies, it’s easy to lose allies to the Counter attacks launched by Silvermane Lieutenant, so taking care of either one of them first is highly recommended; If you have more CC, prioritize The Ascended, and if you have more DPS, prioritize Silvermane Lieutenant instead.
Second Half Group 1: Nuke Everwinter Shadewalker and Imaginary Weaver first, then focus on the summons of Frigid Prowler before dishing out DMG.
Second Half Group 2: Ice Out of Space’s next AoE attack in the Freezing Point state will be canceled if you Weakness Break it. Prioritize taking down the Frigid Prowler then keep lowering the Toughness bar of Ice Out of Space so you can break it just after it charges up.
Stage 7


Enemy Lineup
- First Half Group 1: Abundance Sprite: Malefic Ape + Abundance Sprite: Wooden Lupus + Abundance Sprite: Golden Hound
- First Half Group 2: Abundance Sprite: Malefic Ape + Stormbringer
- Second Half Group 1: Aurumaton Spectral Envoy + Wraith Warden*2
- First Half Group 2: Bronya + Aurumaton Spectral Envoy
Encounter Tips
First Half Group 1: Abundance Sprite: Malefic Ape will lock onto the last ally that casted their Skill. Prioritize the Wooden Lupus, then take out the Golden Hound, and finally focus down the Malefic Ape.
First Half Group 2: You mainly need to worry about Stormbringer’s lock-on attacks against allies affected by Wind Shear, as it will deal AoE DMG to all targets after charging up. You can either quickly Weakness Break it to interrupt the cast, or CC it with Freeze, Imprisonment, or other action-delaying abilities. Recommending taking care of the Abundance Sprite: Malefic Ape first to lower risk for allies getting one-shot.
Second Half Group 1: Wraith Warden will apply more CC on allies with the help from Aurumaton Spectral Envoy, so you need a character that can dispel CC on demand in the team. We recommend getting rid of the Wraith Warden first.
Second Half Group 2: Prioritize downing the Aurumaton Spectral Envoy first then focus on Bronya. When soldiers are present, Bronya will disable her Weaknesses. Dispatch her summons to reveal her Weaknesses again, ideally keeping her Toughness bar low to give her longer downtimes between rotations.
Stage 8


Enemy Lineup
- First Half Group 1: Disciples of Sanctus Medicus: Shape Shifter + Mara-Struck Warden*2
- First Half Group 2: Disciples of Sanctus Medicus: Shape Shifter + Voidranger: Trampler
- Second Half Group 1: Decaying Shadow + Imaginary Weaver + Automaton Beetle*2
- Second Half Group 2: Svarog + Decaying Shadow
Encounter Tips
First Half Group 1: Focus on the two Mara-Struck Wardens first then the Shape Shifter. The Shape Shifter complicates the battle by summoning enemies and applying the on-hit heal effect on itself. Characters that can dispel buffs are strongly recommended here, such as Luocha and Pela. Dispel its on-hit healing to quickly speed up the fight.
First Half Group 2: Prioritize taking down the Voidranger: Trampler. Trampler will deal massive DMG after locking onto a target and then applying Entanglement to them. Fire MC is recommended here to force change Trampler’s lock-on target, they receive a chunk of DMG reduction after casting their Skill and can easily tank the hit.
Second Half Group 1: Prioritize taking down the Imaginary Weaver and Automatons, then shift focus onto the Guardian Shadow. Try to attack the Decaying Shadow as much as possible as it gathers Gauge Recollection stacks to deplete them. Keep in mind that Decaying Shadow is also a high SPD enemy, so having Kafka deal with it is the optimal choice.
Second Half Group 2: Prioritize the Decaying Shadow. Once Svarog summons a Robot Unit, switch focus onto the Unit. When the Robot Unit CCs an ally, Weakness Break it ASAP to release the trapped ally.
Stage 9


Enemy Lineup
- First Half Group 1: Aurumaton Spectral Envoy + Entranced Ingenium: Illumination Dragonfish*2 + Entranced Ingenium: Obedient Dracolion
- First Half Group 2: Aurumaton Spectral Envoy + The Ascended
- Second Half Group 1: Senior Staff: Team Leader + Grunt: Security Personnel
- Second Half Group 2: Senior Staff: Team Leader + Automaton Direwolf
Encounter Tips
First Half Group 1: Focus down the Entranced Ingenium, then Aurumaton Spectral Envoy.
First Half Group 2: Prioritize the Aurumaton Spectral Envoy then shift to The Ascended. The Ascended also applies the Wind Shear debuff on top of applying the Max HP debuff, so it’s not guaranteed that your debuff-dispelling characters will remove the Japa debuff straight away.
Second Half Group 1: Get rid of the Grunts first. As Senior Staff: Team Leader starts charging up, try your best to Weakness Break it to interrupt the cast.
Second Half Group 2: Prioritize the Automaton then shift DPS to Senior Staff: Team Leader.
Stage 10


Enemy Lineup
- First Half Group 1: Voidranger: Trampler + Voidranger: Reaver*2 + Voidranger: Distorter
- First Half Group 2: Gepard + Voidranger: Trampler
- Second Half Group 1: Blaze Out of Space*2 + Everwinter Shadewalker + Incineration Shadewalker
- Second Half Group 2: Swarm: True Sting
Encounter Tips
First Half Group 1: Clear out the lesser enemies first. The recommended order here is Distorter first then Reaver. Weakness Breaking the enemy during its charging process will interrupt the cast. If you have taunt characters like Fire MC, you can also force the enemy to change their target.
First Half Group 2: Take care of the Trampler first. Gepard is much easier than you think. You can ignore his summoned allies and Weakness Break him directly.
Second Half Group 1: Clear out the Everwinter Shadewalker and Incineration Shadewalker first, then switch over to Blaze Out of Space. After Blaze Out of Space casts [Molten Fusion], dispel its buff with Pela’s Skill or Luocha’s Ultimate, or Weakness Break it. If any ally is affected by [Enkindle] stacks, use Natasha’s or Luocha’s Skill to remove the debuff.
Second Half Group 2: You can defeat the summoned swarm first. Recommended to bring Lynx for mass Wind Shear cleanse.
And that’s all for our V1.5 Memory of Chaos guide! I hope this helped and please share your comments and suggestions in the discussion. See you next time then.


Be the first to comment